Introduction to Unity
Unity Hub, Unity ID and Unity
Unity is a game engine, or, as discussed previously a collection of software library and visual editor that simplifies the process of making digital games or other interactive media works. In order to use Unity, you need to create a Unity ID. Unity ID is a free account that allows you to use the Personal License version of Unity. Unity Hub manages installation of different version of the Unity Editor and is where we can open our Unity Projects.
Creating a New Unity Account
- Navigate to the Unity ID Website
- Select create one, to create a Unity ID
Unity Projects
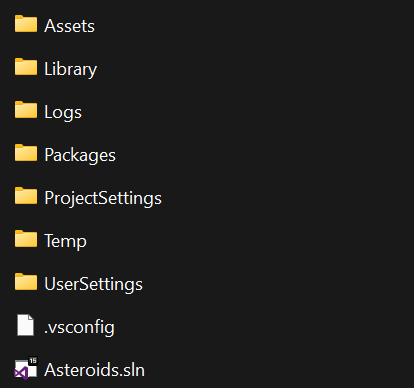
Unity projects are not single files like a Photoshop file (.psd) or a Maya file (.mb). Instead, Unity projects exists as folders that contain all of your assets, scripts and scene data that the Unity Editor uses to construct your projects. Therefore, when saving or sharing a Unity Project, you must share the entire unity project folder.
As you’ll see when we enter into the Unity Editor, when we begin editing our projects, we are editing the actual files that live within this folder structure. Delete something from the Assets folder within Unity, it will be delete from your computer (luckily most files are sent to the Recycling Bin if they are small enough). As this course goes on, we will discuss strategies for file management, including making subfolders to store the variety of different assets we will be working with.
Creating a New 2D Project
- Open the Unity Hub application
- If prompted, login using your Unity ID
- From the Projects tab, select New Project

- Create your project
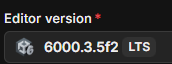
- Select 6000.3.5f2 for your Editor Version
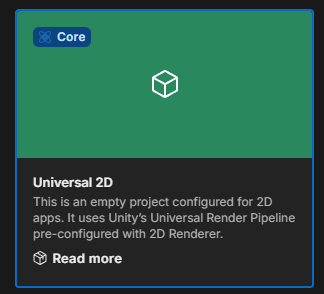
- Select Universal 2D for your template
- Enter in your project name
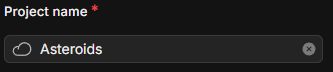
- Choose where you want to save your file
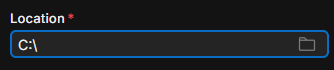
- If using your personal computer, you can choose any folder.
- If using the the lab computer, choose a folder on your external drive or in your class server folder. Data Saved on Guest accounts will be deleted!
- Select Create Project

- Select 6000.3.5f2 for your Editor Version
Following these steps will create a series of folders in your choose location within a folder that has the name of your project. After pressing create project, Unity will begin the process of creating your project and, when finished, open up the Unity Editor.
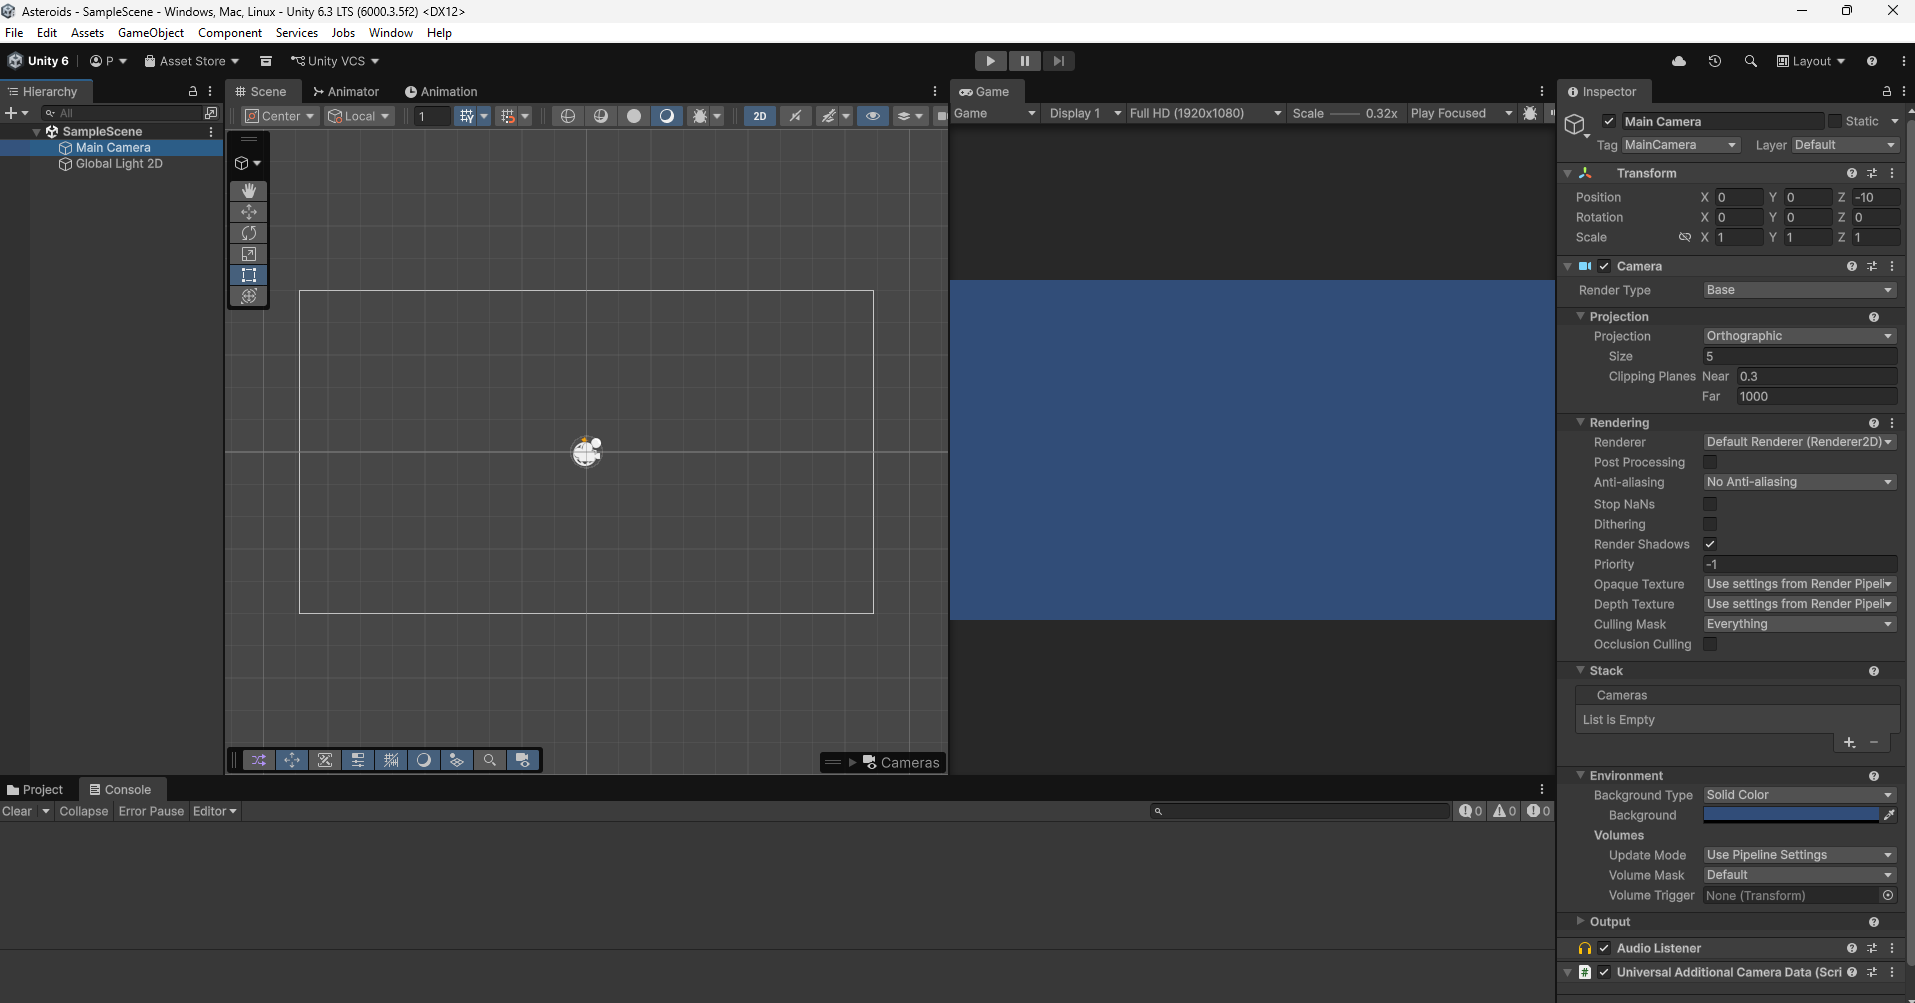
Unity Editor Interface
Review: Unity Documentation
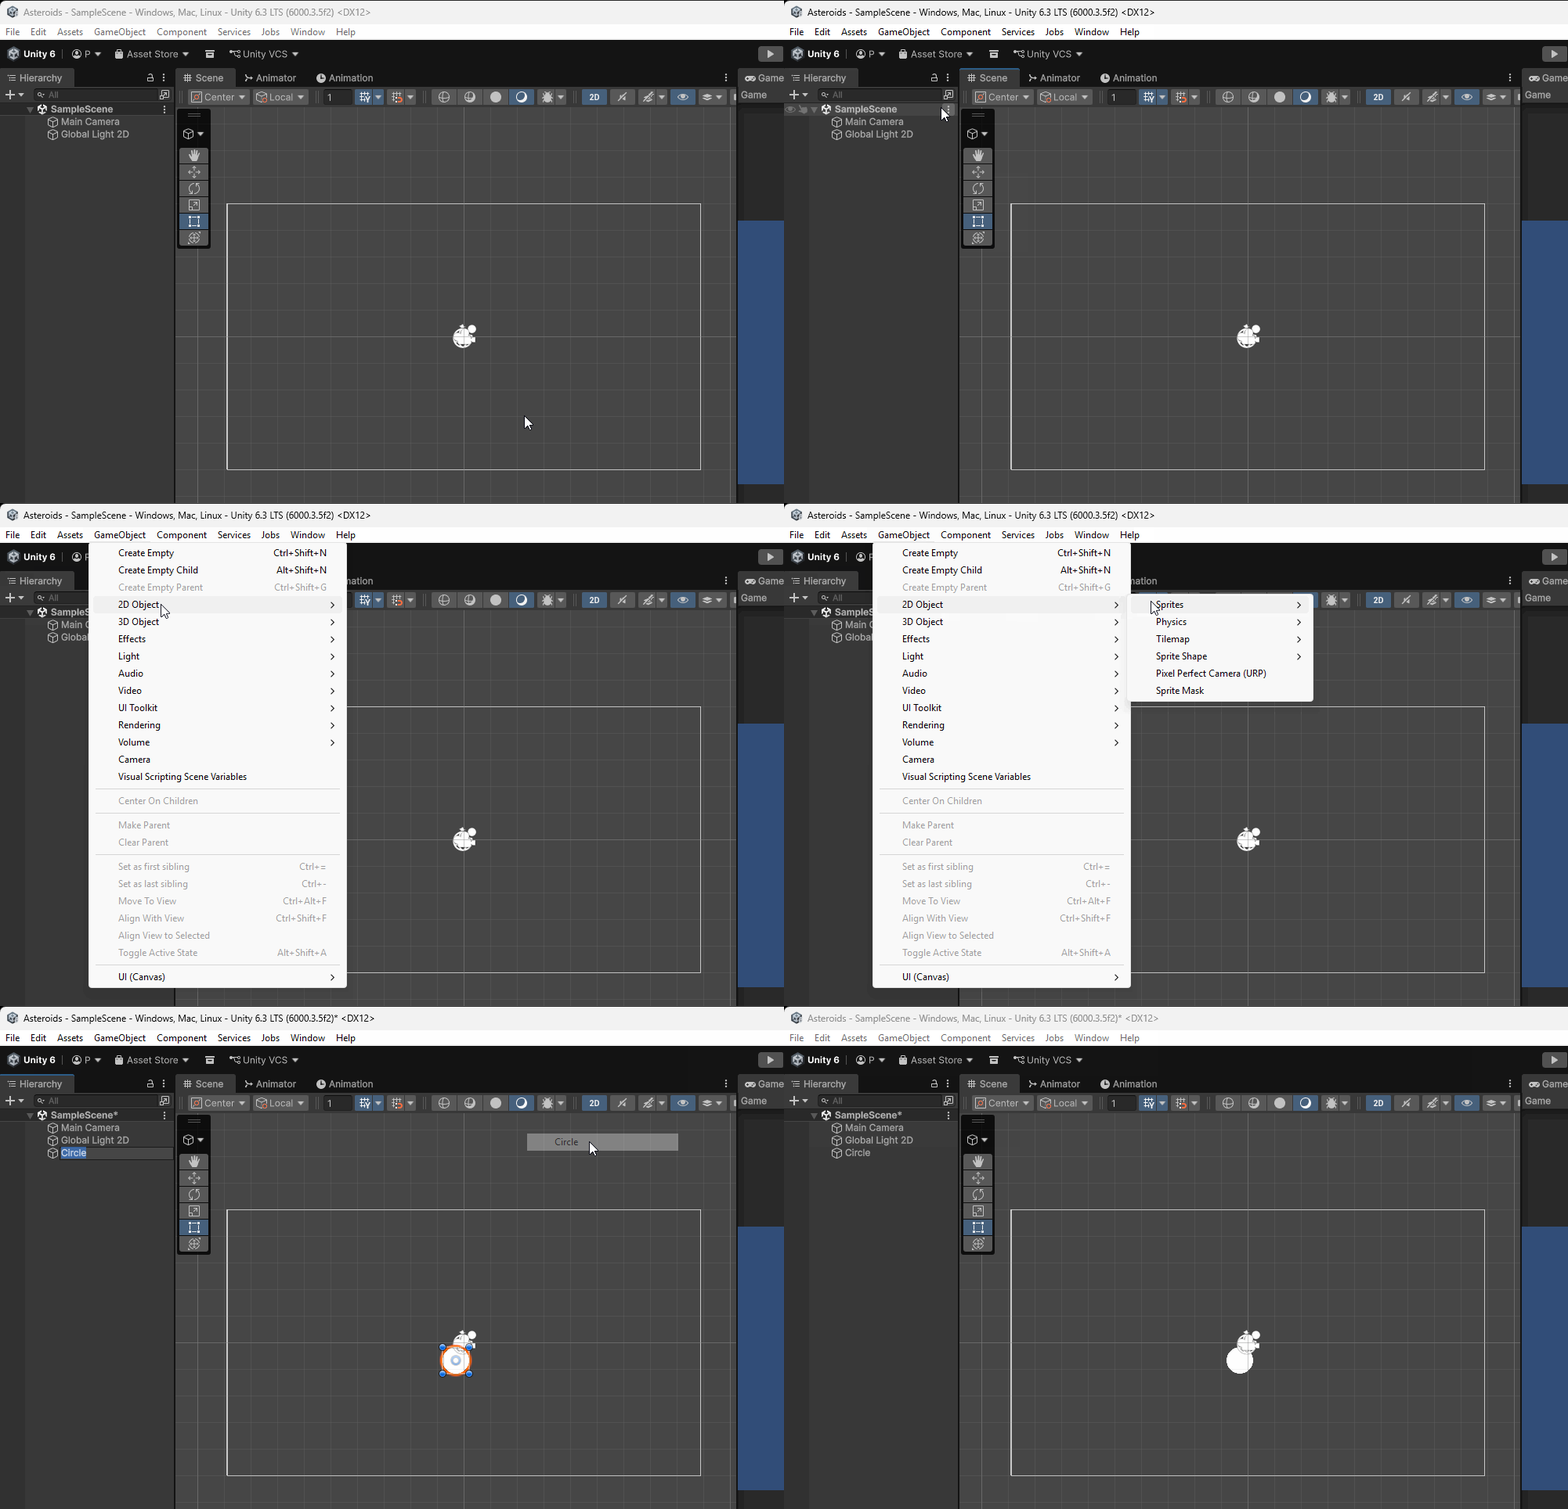
Creating a new GameObject
To create a new Circle Sprite: Navigate to GameObject > 2D Object > Sprites > Circle
Navigating the Scene Window
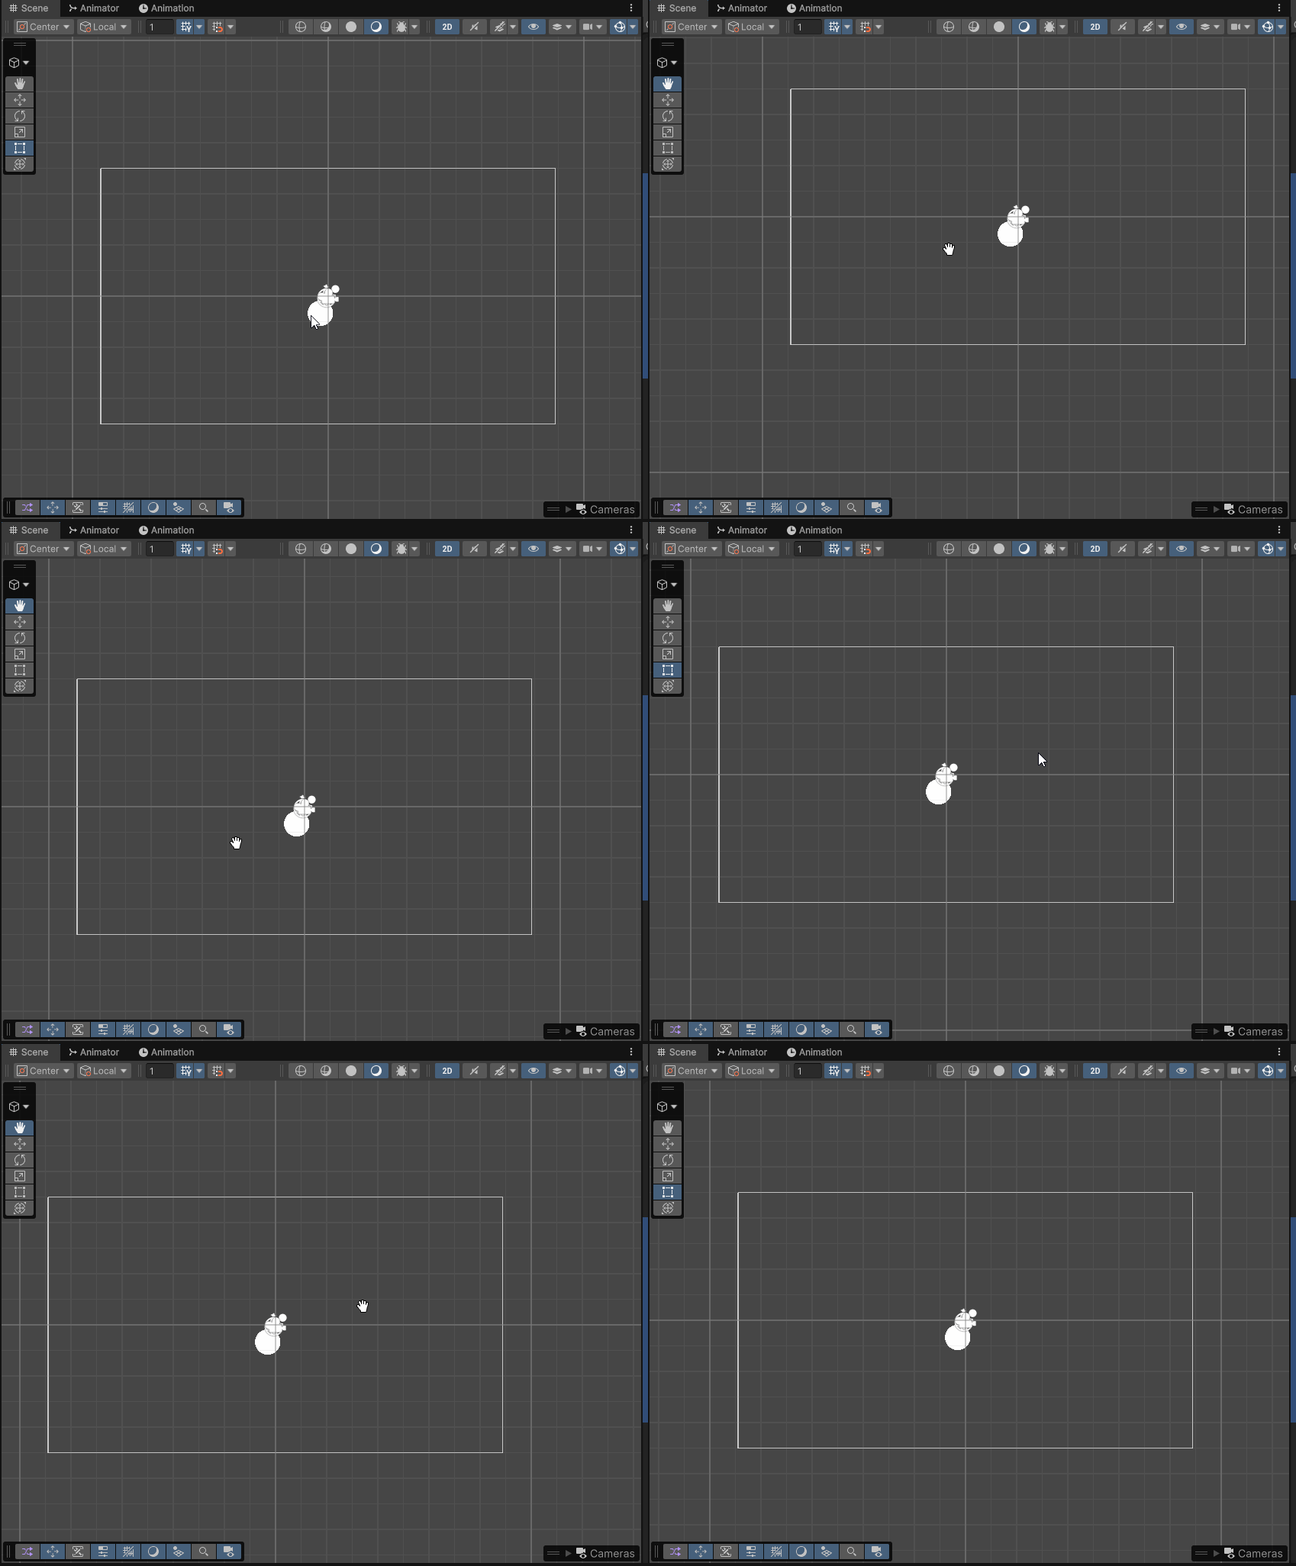
Pan
To pan around a 2D Unity scene, hold and drag either the middle mouse button or the right mouse button.
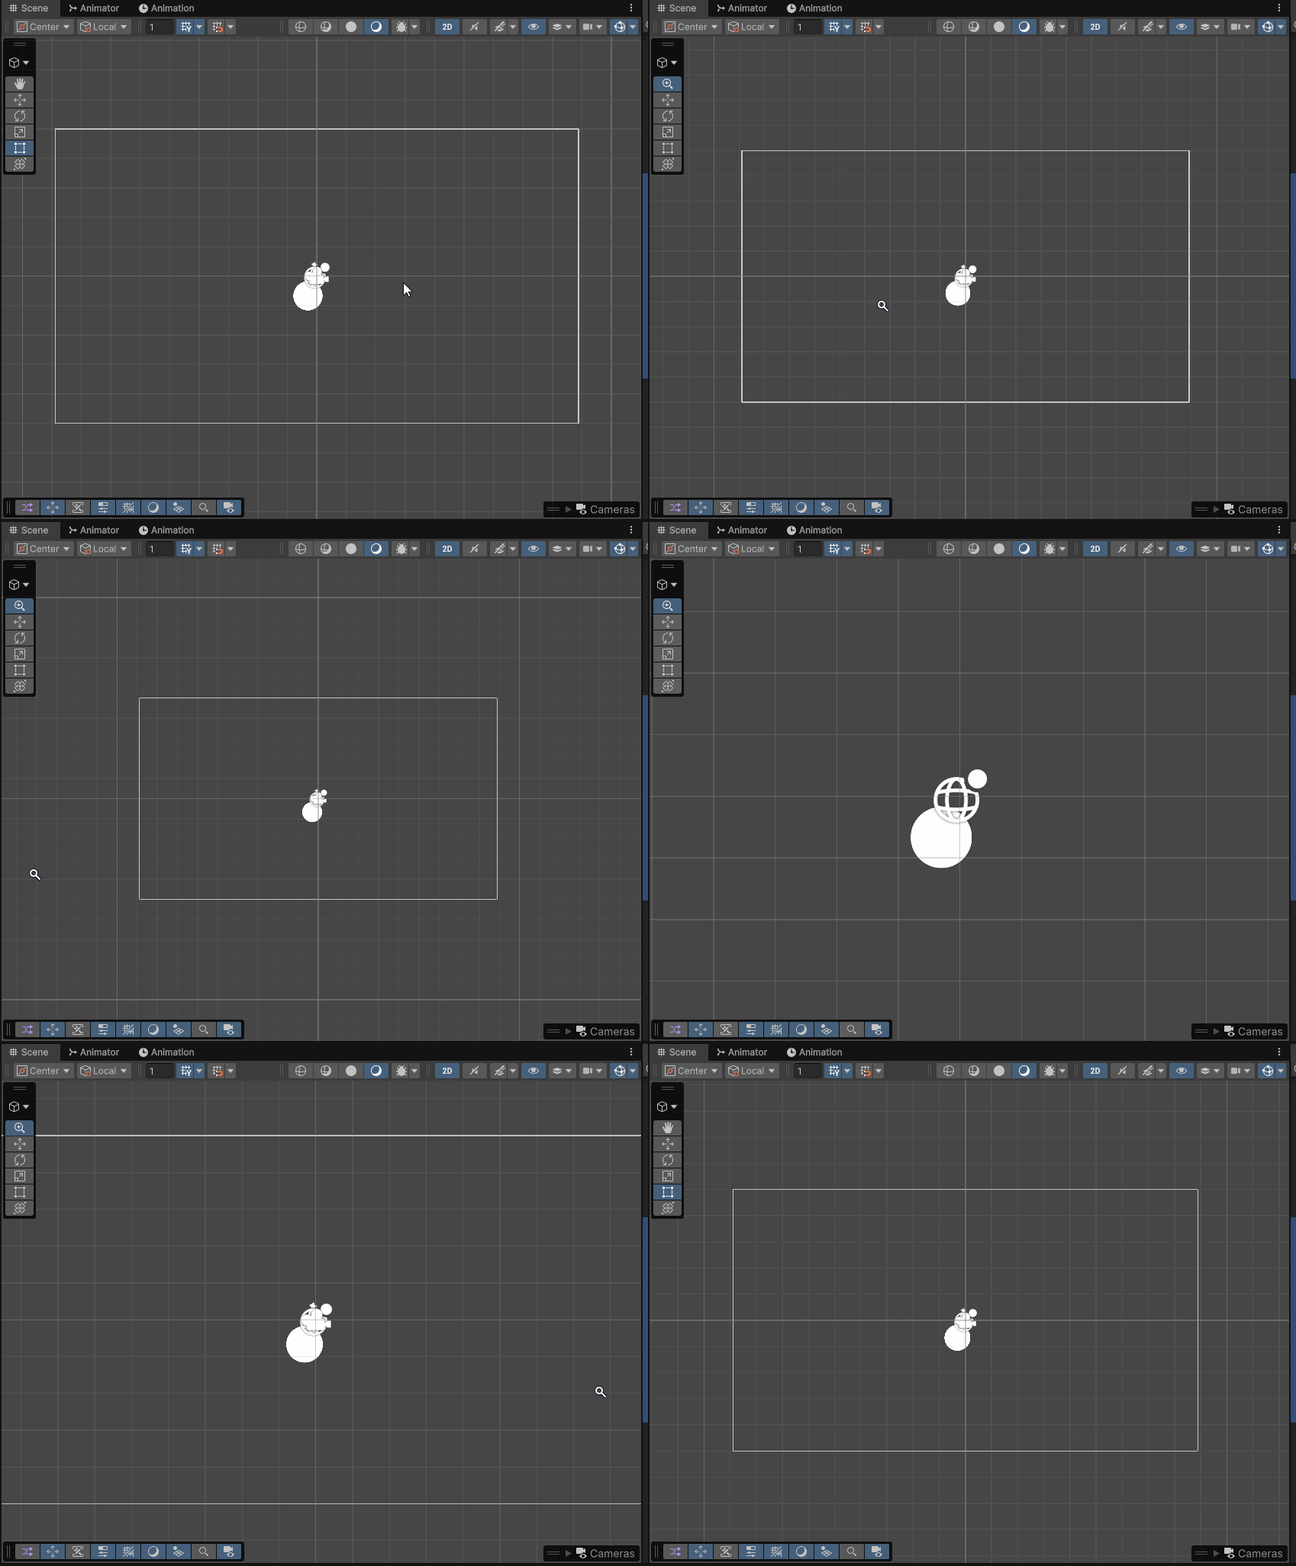
Zoom
To zoom in your 2D Unity scene, either use the mouse scroll wheel or hold and drag ALT and the right mouse button
Selecting and Transforming GameObjects
Like other 2D or 3D asset creation software, GameObjects within unity can be moved, rotated or scaled.
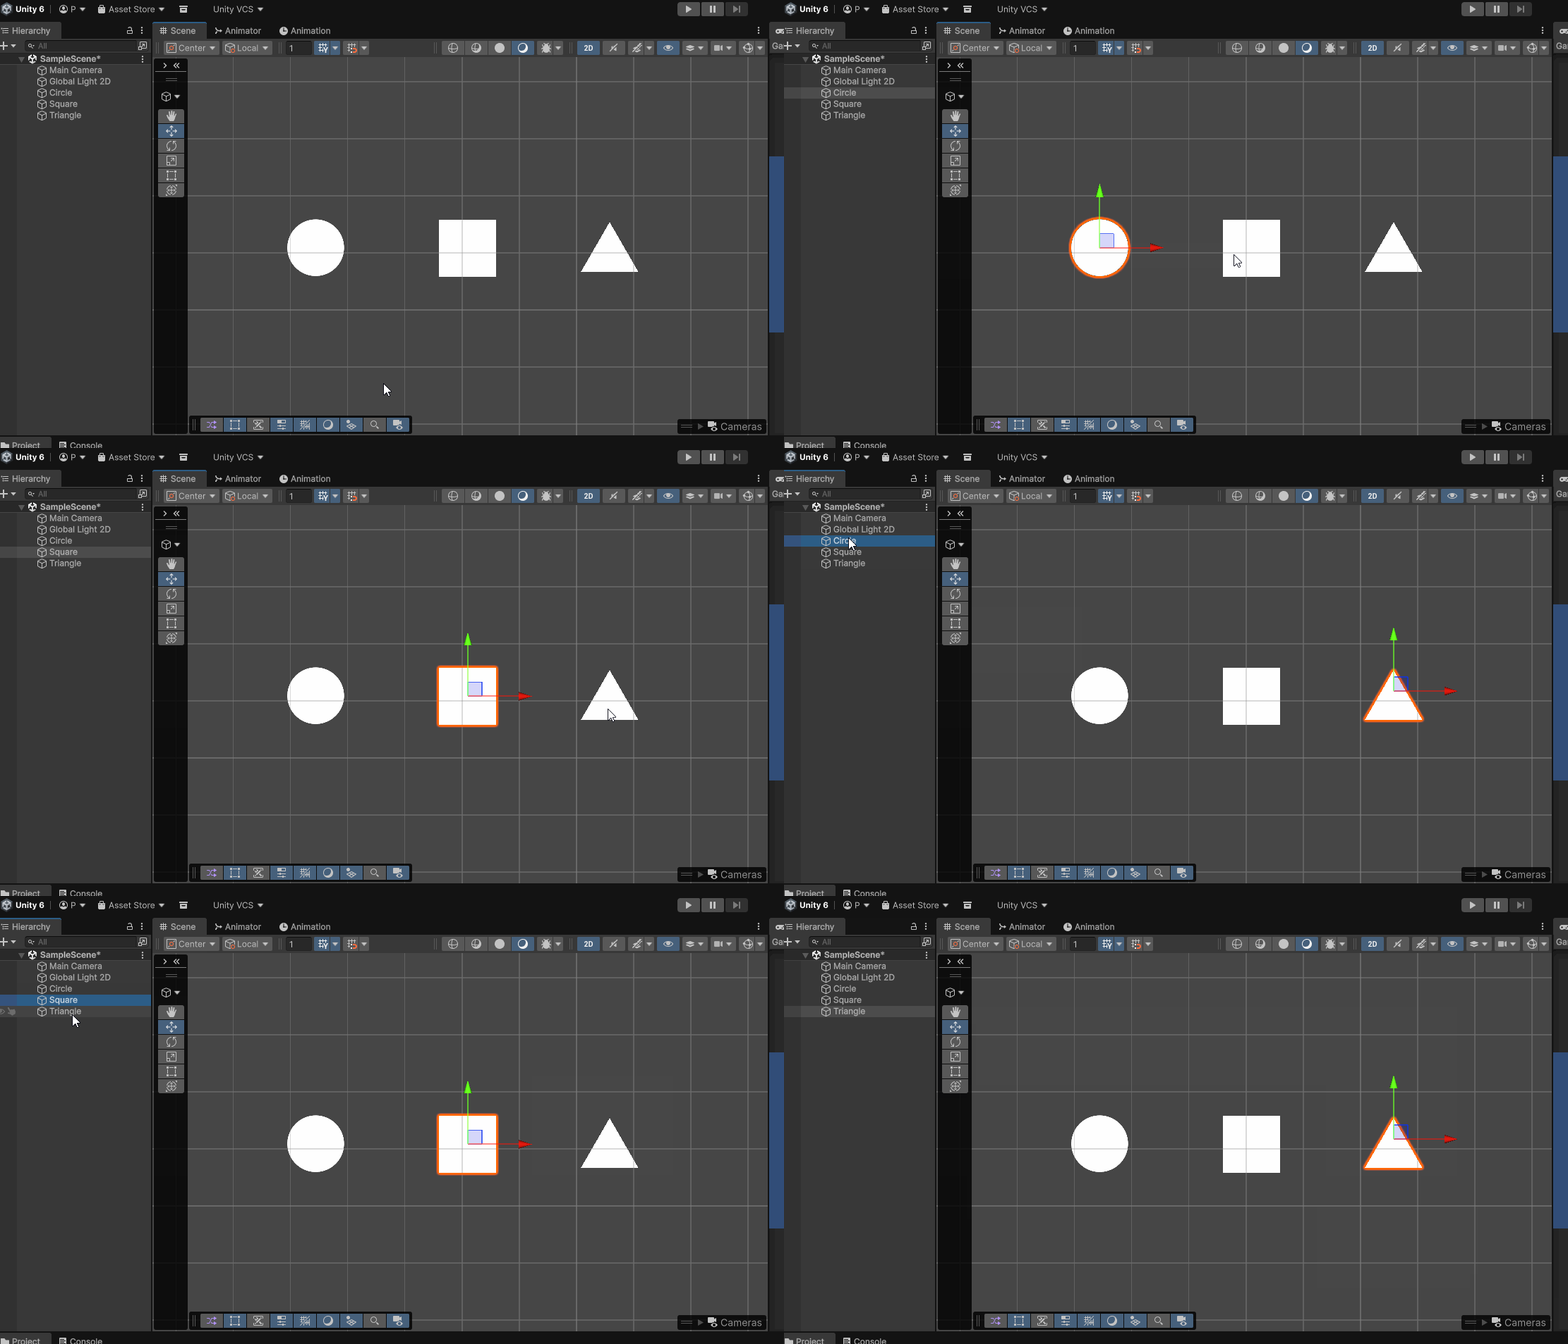
Selecting Objects
To select an object in you scene, either use the left mouse button to click on the object in the Scene window or click on the object’s name in the Hierarchy window:
Move Tool
To move objects, select and object and press the W key to activate the Move Tool. Either click and drag on the X or Y axis, or use the center square to drag on both axes.
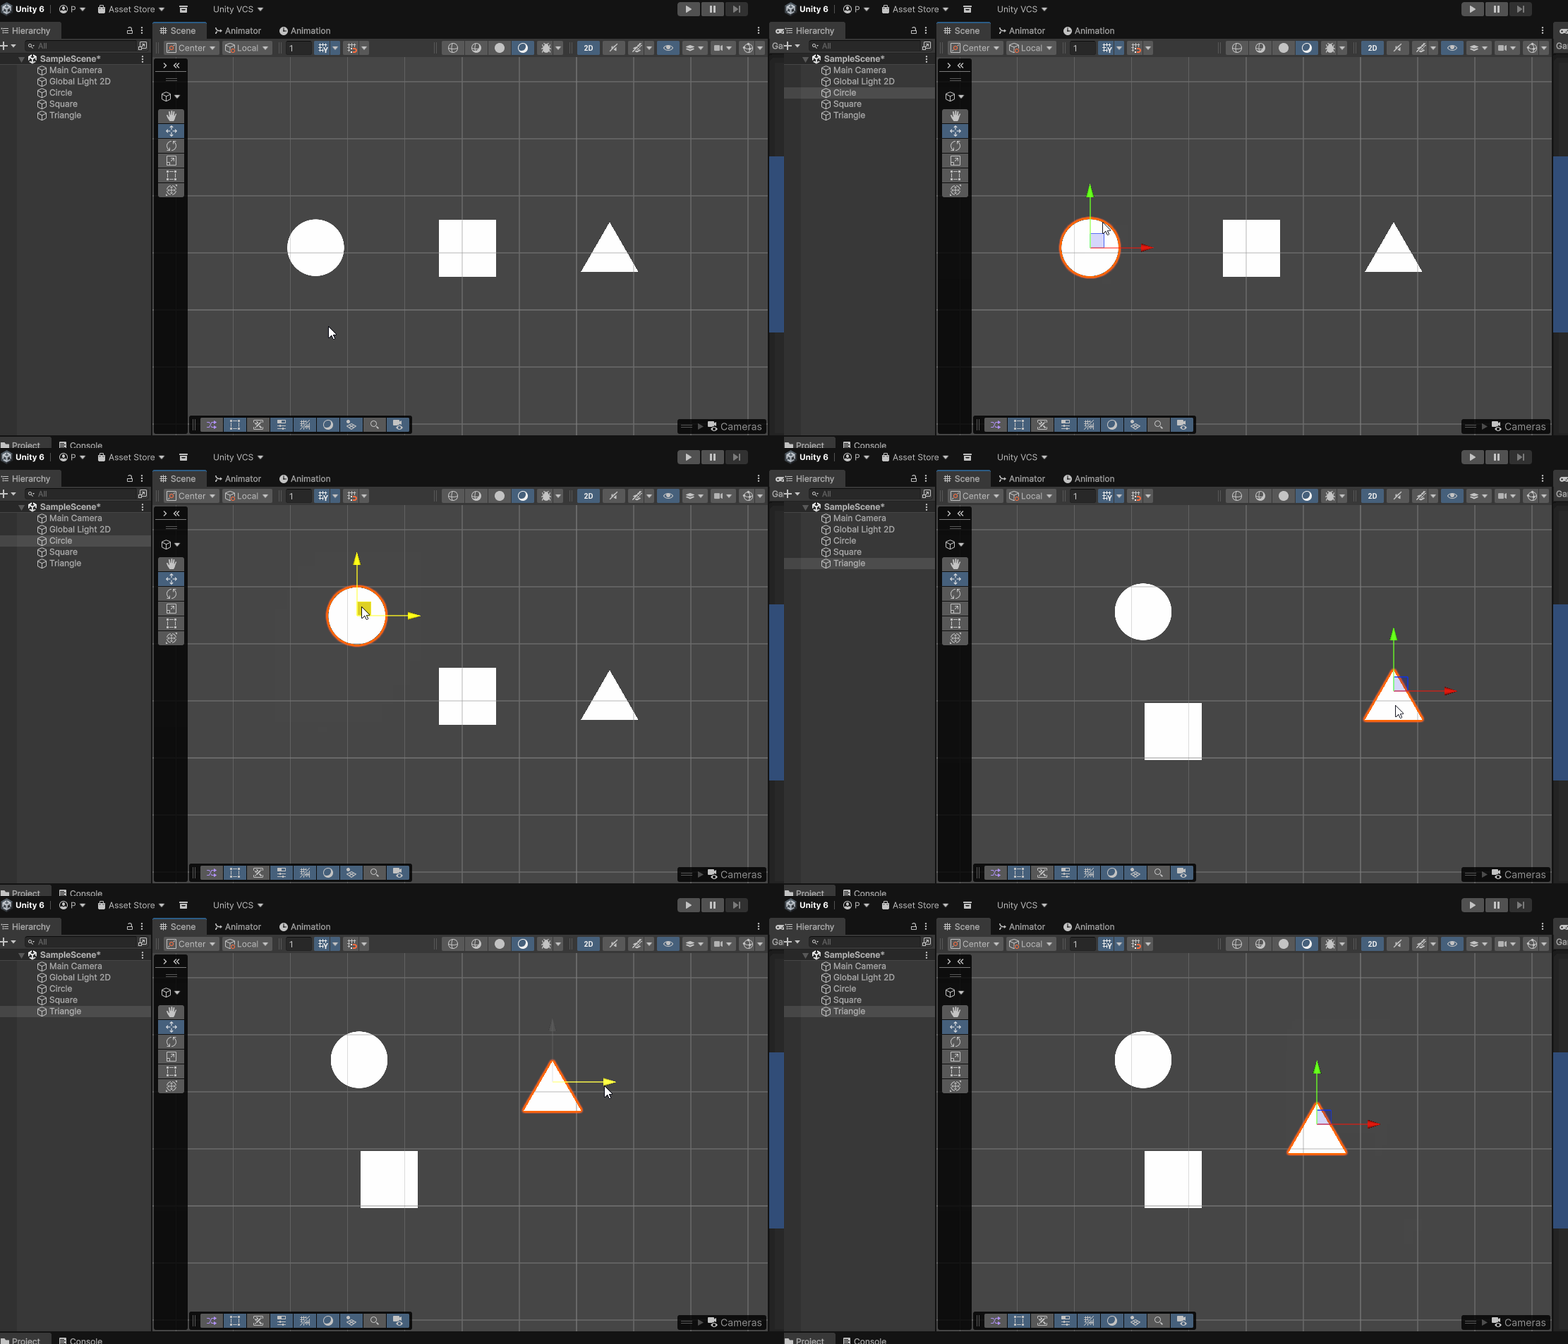
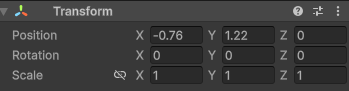
Notice that when an object is moved, its position values change within the Transform component in the Inspector.
Rotate Tool
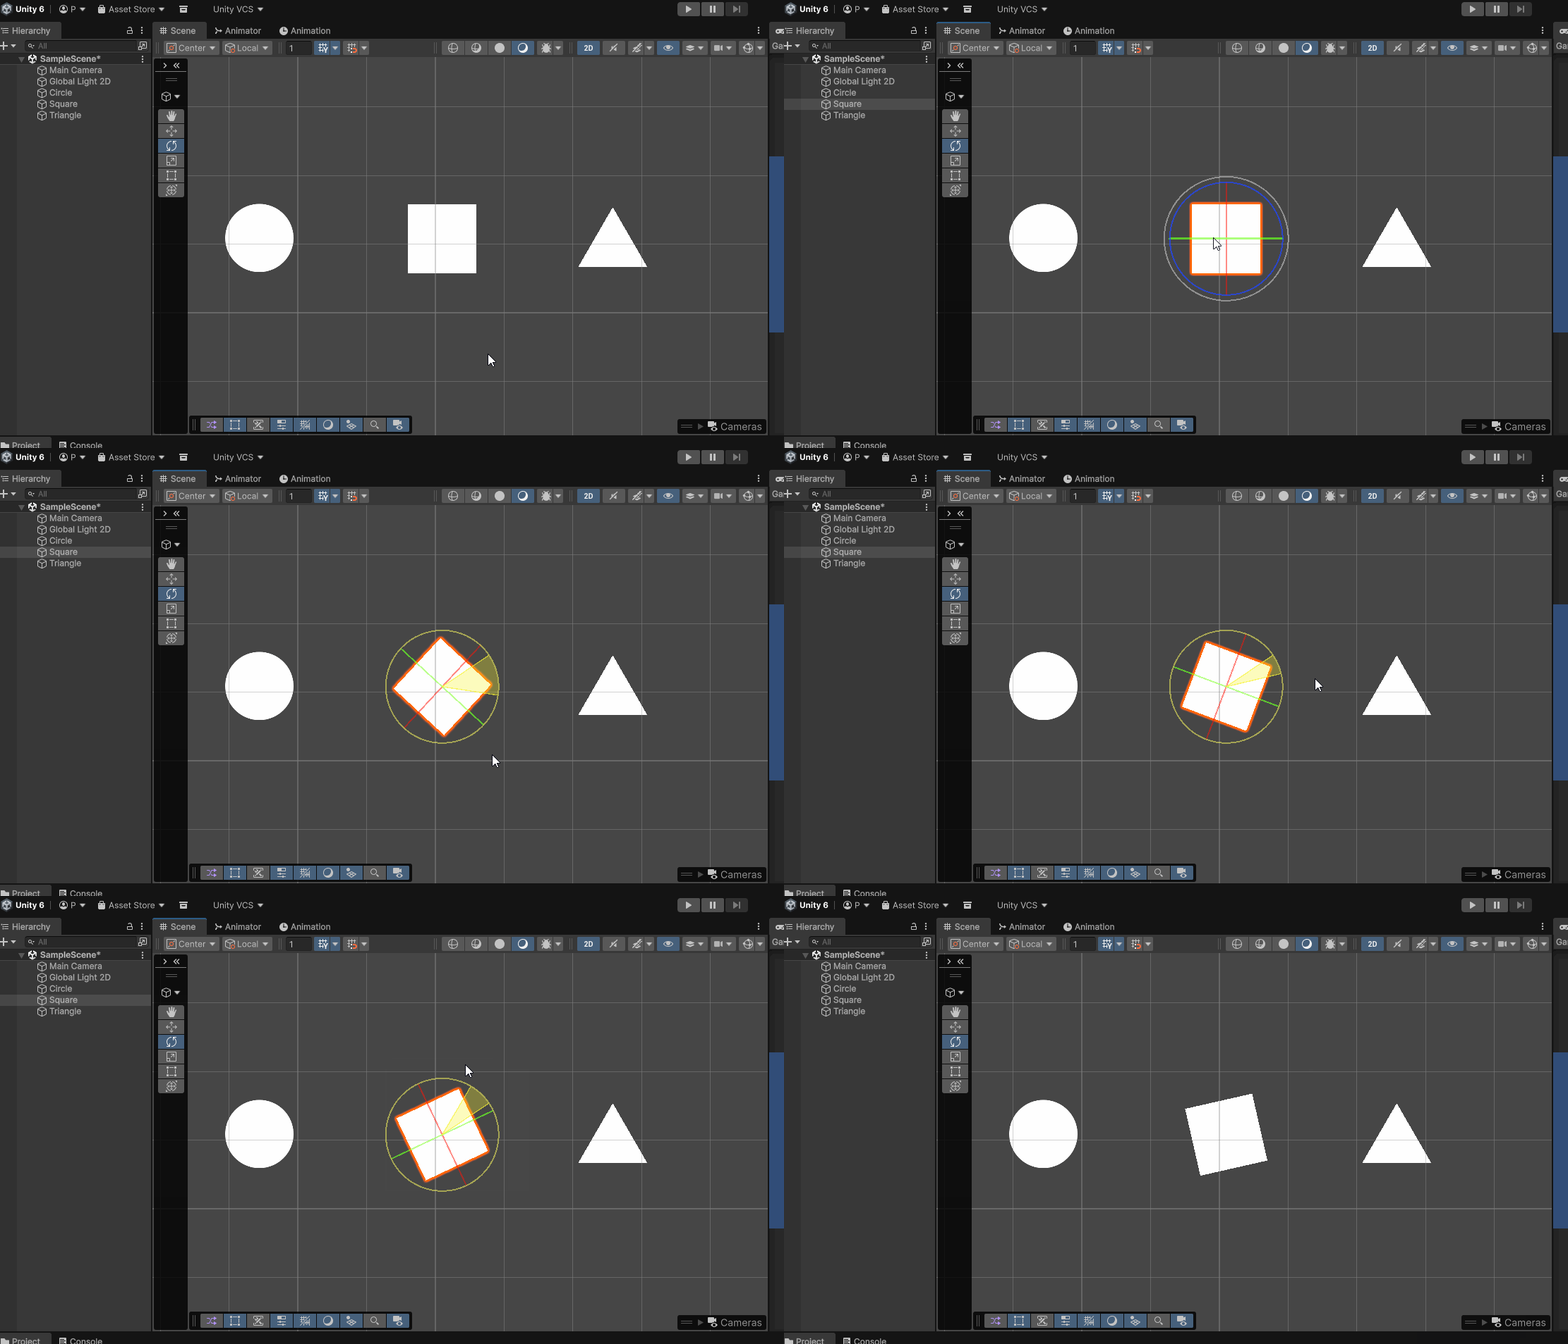
To rotate objects, select and object and press the E key to activate the Rotate Tool. When in 2D mode, you will mostly be rotating an object around its Z Axis. This is represented by the blue circle.
Scale Tool
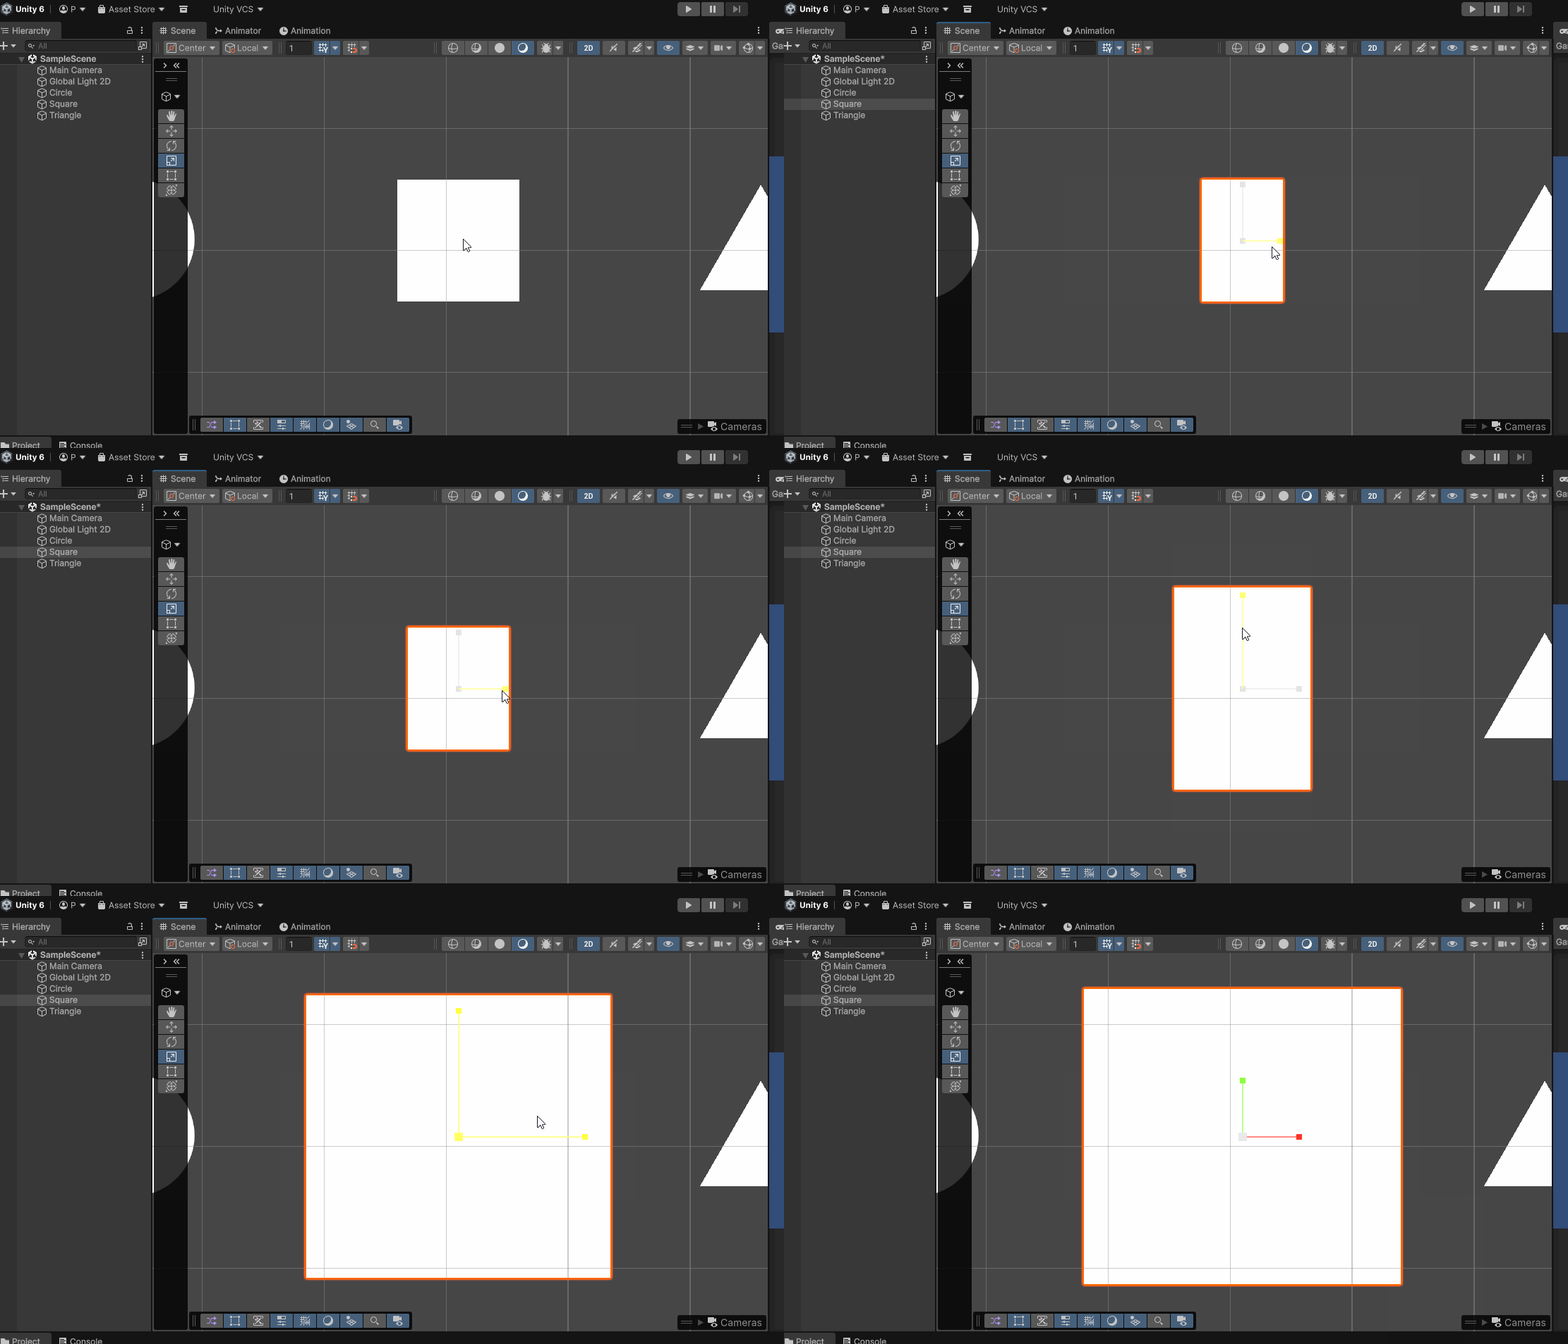
To scale objects, select and object and press the R key to activate the Scale Tool.
Rect Tool
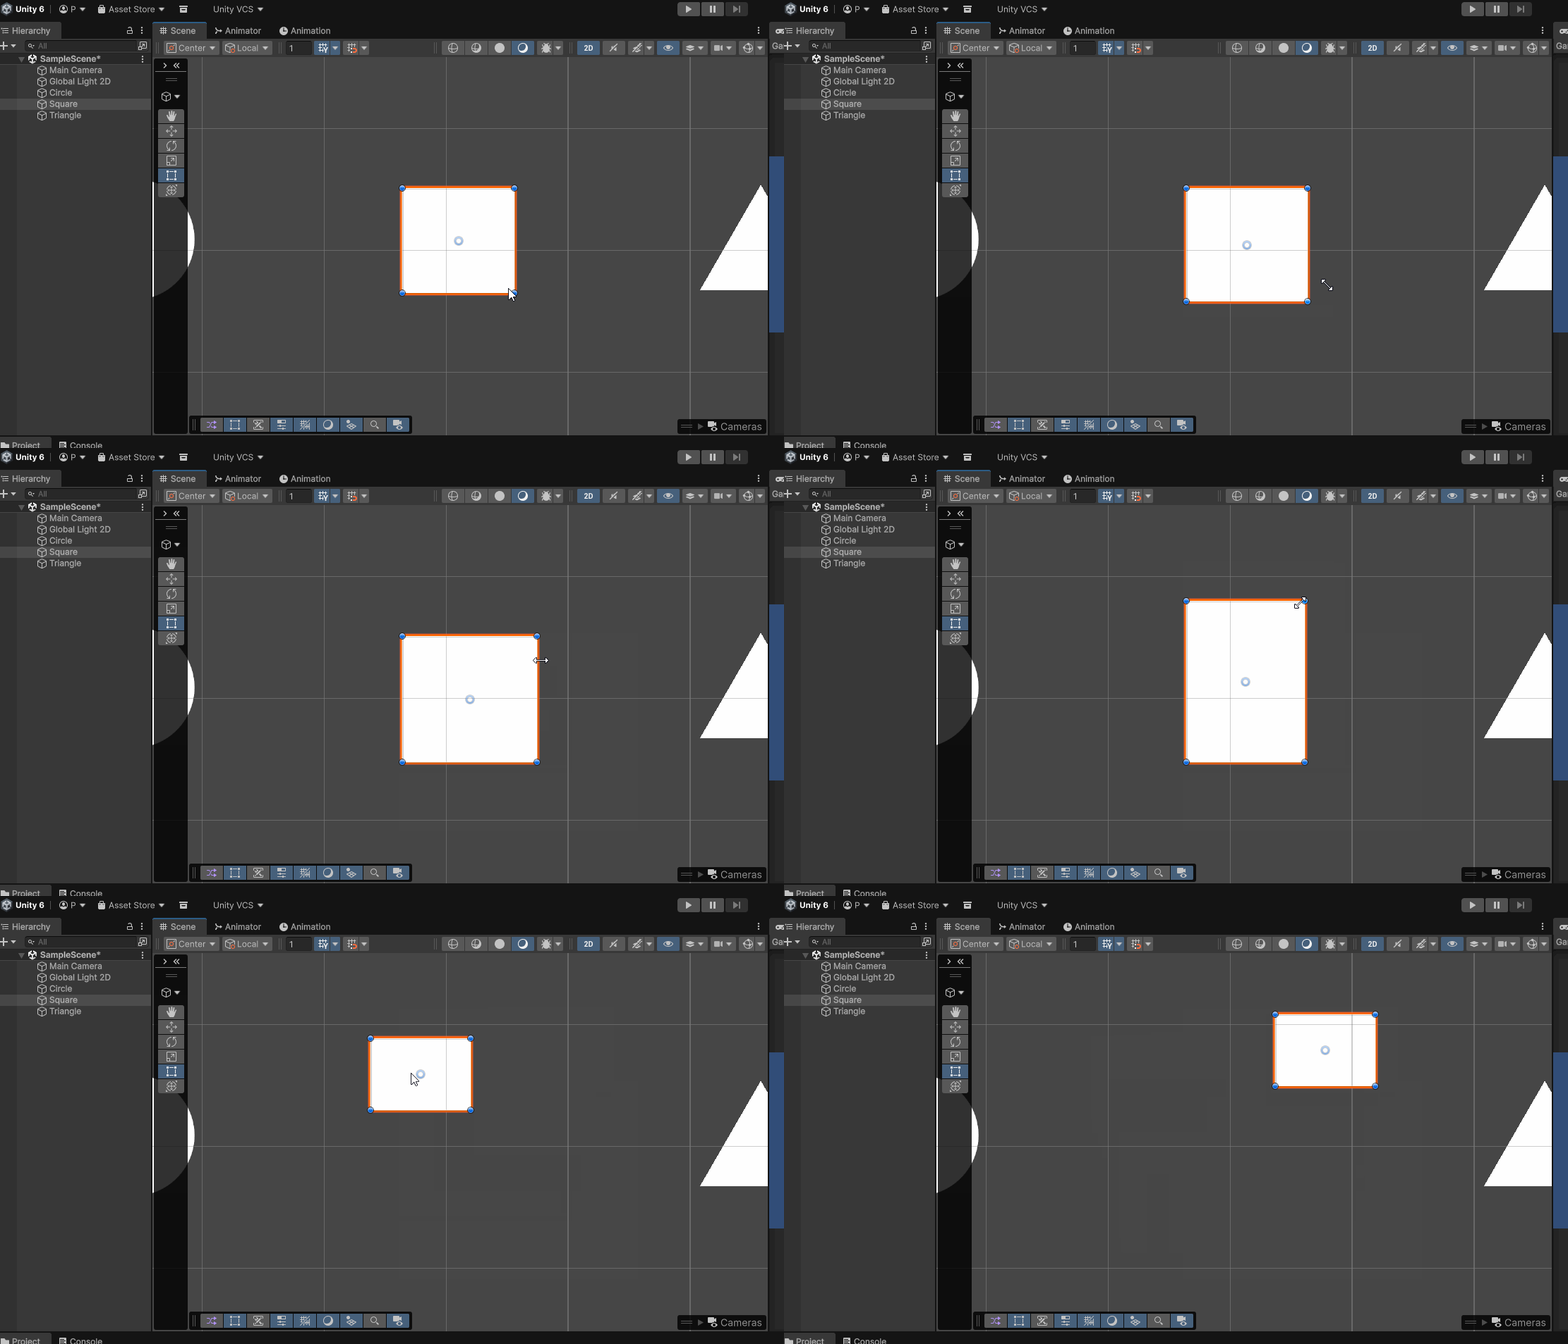
The Rect Tool allows you to move and scale objects based on a bounding rectangle. Hold shift while manipulating a corner to scale uniformly. You can activate the Rect Tool by pressing the T key.
Playing, Pausing and Stopping
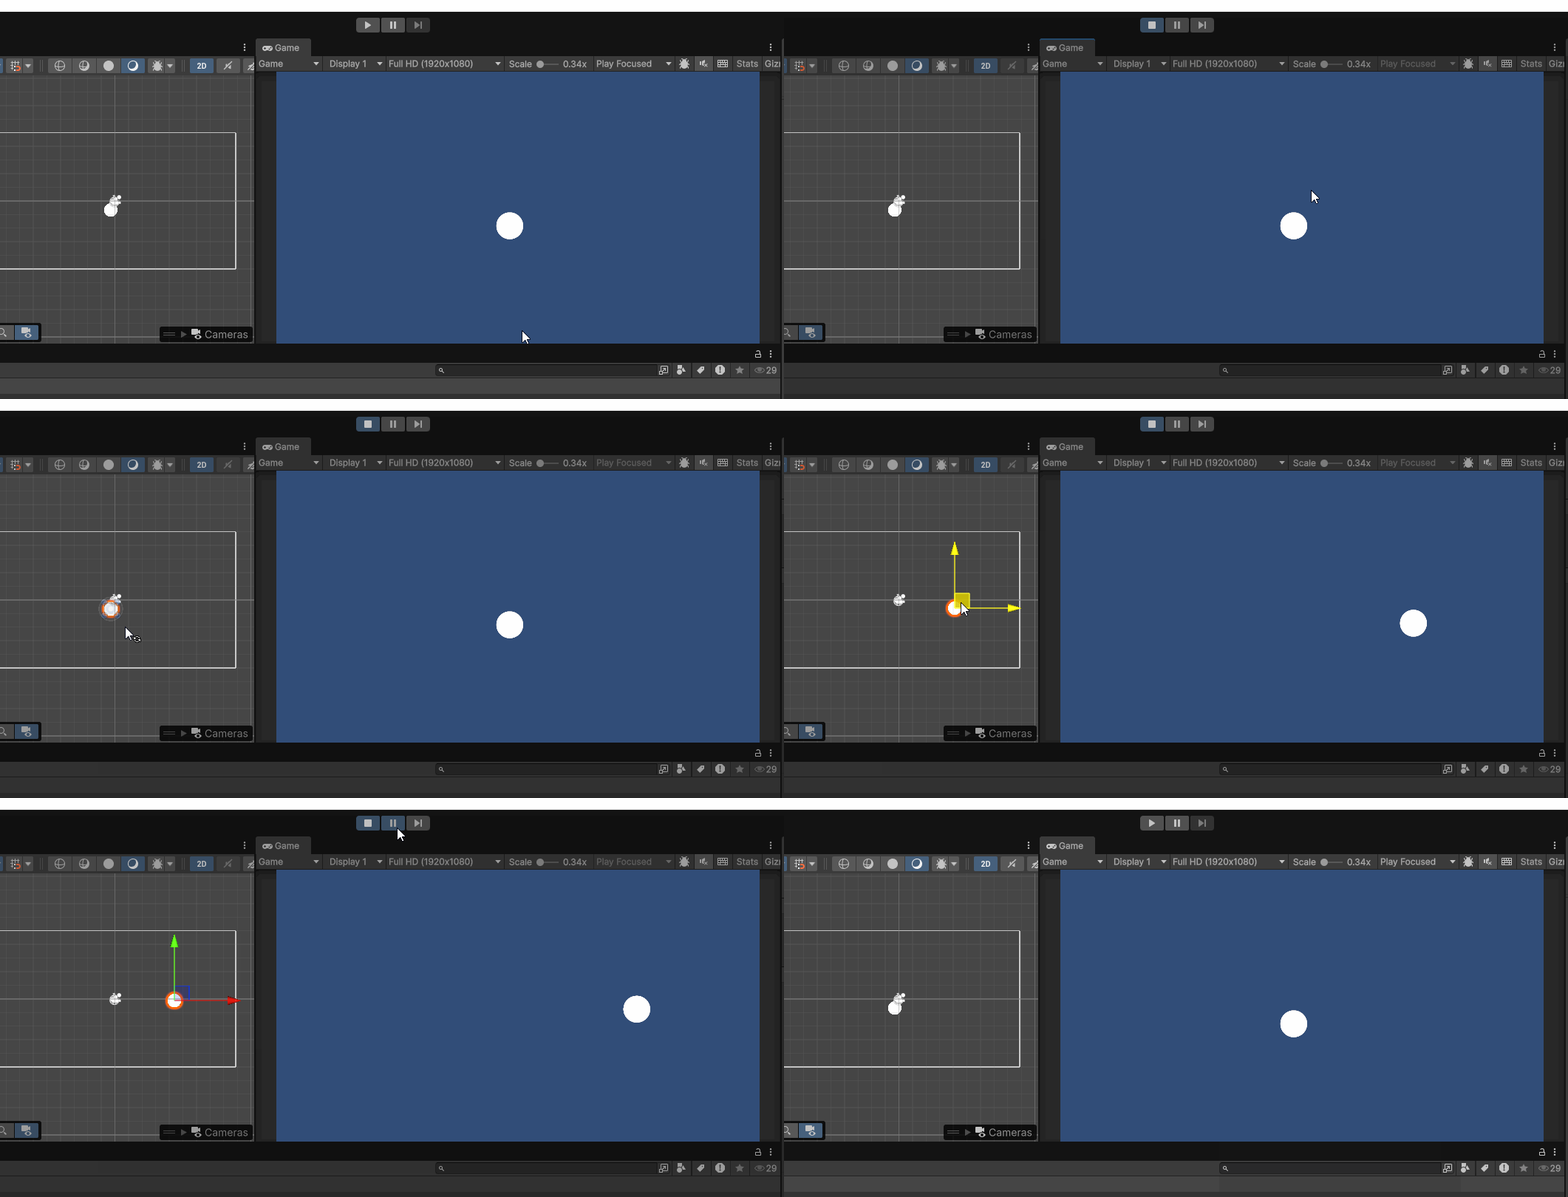
During the develop process of making a work within Unity, we will often need to play our work to test both our game and look for any bugs. In order to begin playing your game within the Unity Editor, you can press the play button at the top center of the UI. To pause the game, you can use the pause button. To stop the game, press the stop button.
ANY CHANGES MADE IN PLAY MODE WILL NOT SAVE