Interfaces
Let’s begin this tutorial with a description of the current status of our Interactor script. Currently, our interactor script is able to find objects with 2D colliders within our scene, and, separately, is able to call an OnInteract method that currently does nothing. We are also able to store the current interactable we are hovering over.
The question then for our program is how do we write our code in such a way that we can interact with our current interactable. Given what we have learned so far, we know we could call a script on the current interactable we have selected, but what would we call? If our object were a pick up, we might write some code to destroy our object and add it to our inventory. If our object was a teleporter, we might write some code to teleport us to another scene.
How would we handle these different cases? One option is we could have a different interactor for every type of item. We could have an interactor that only handles pickups, or we could have an interactor that only handles teleporters. Or, oppositely, we could have a conditional statement within our code that looks at what type of interactable we have and might say something like if this is a pickup do this thing, or if this is a teleporter do this thing.
Both options might be viable, but what if we wanted to add a interactable we talk to, or an interactable that gives us coins every time we bring it something. We could write more interactor classes, or expand the if statement within our Interactor script, however, we have a better set of tools at our disposal.
One thing we can consider here is that all of these interactable objects are doing the same thing: when we click on the interactable, something happens. Our interactor doesn’t really need to know what happens or how it happens, it really only needs to tell our interactable objects to do something when you are clicked.
Essentially, what we need is some kind of generic code for all interactable objects that with which our interactor can interact in a generic way. While there a few ways to address this problem, this tutorial will focus on using Interfaces.
Creating an Interface
Unlike a Class, an interface cannot be instantiated. It exists only within C# as a kind of contract that defines what must be in the classes that inherit from it. Interfaces are quite abstract at first, but become easier to understand the more that you use them. Considering the example we outlined above, we can make an interface for our interactable objects. If we make sure that all of our interactable objects inherit from this interface, we can ensure that our interactor will be able to interact with all of the objects in the same way.
To begin, let’s actually create the Interface. You can begin by creating a script and naming it IInteractable. It is common to start the name of an interface with I.
Once we open this script, let’s begin by deleting our Start and Update methods. We also don’t need our MonoBehavior inheritance or our Unity namespace:
public class IInteractable
{

}
Next, this type is not a Class but an Interface, so let’s change class to interface:
public interface IInteractable
{

}
Now we need to consider what we want this interface contract to be. We know we want to interact with all of our IInteractable objects, so let’s create a line to hold this method to make it part of the contract:
public interface IInteractable
{
    void Interact();
}
We also have our interact box, so we can also make a method to have each interactable return the name of an object and a verb such as “Open” + “Door”. Let’s name this method InteractText and have it return a string:
public interface IInteractable
{
    void Interact();

    string InteractText();
}
And that is all we need to make an interface. What this now allows us to do is to have a contract that our Interactor can call on so that it can gain access to the Interact and InteractText method on every interactable object.
Making and IInteractable
To make this contract more concrete, let’s begin making a new object that inherits the IInteractable interface.
Let’s begin by making a new script called DestructibleInteractable.
We can make sure this class inherits our IInteractable interface by adding the IInteractable interface name after our inherited MonoBehaviour class, separated by a comma:
using UnityEngine;

public class DestructibleInteractable : MonoBehaviour, IInteractable
{

    void Start()
    {

    }


    void Update()
    {

    }
}
We will notice that the IInteractable is currently throwing an error. Most likely this error will say that DestructibleInteractable does not implement an interface member. Essentially, what this is saying is that our class does not respect the contract we created. As per our interface, every class that inherits from the IInteractable must implement an Interact and InteractText method. Let’s add those methods to our script:
using UnityEngine;

public class DestructibleInteractable : MonoBehaviour, IInteractable
{
    public void Interact()
    {

    }

    public string InteractText()
    {
        return "";
    }
    void Start()
    {

    }

    void Update()
    {

    }
}
Now, we can edit these methods. Let’s have our Interact method destroy our game object, and let’s have the InteractText method return the word “Destroy” plus the name of our interactable game object:
using UnityEngine;

public class DestructibleInteractable : MonoBehaviour, IInteractable
{
    public void Interact()
    {
        Destroy(gameObject);
    }

    public string InteractText()
    {
        return "Destroy " + gameObject.name;
    }

    void Start()
    {

    }

    void Update()
    {

    }
}
Updating Interactor
Now that we have a new IInteractable interface, we can instead make our currentInteractable within our Interactor an IInteractable:
public class Interactor : MonoBehaviour
{
    PActions inputActions;
    IInteractable currentInteractable;
    public GameObject interactPanel;
    public TextMeshProUGUI interactTextMesh;
Next, within our Update method, instead of assigning our current interactable to our topHit game object, let’s instead check if our topHit game object contains an IInteractable. If it does, we can then assign that IInteractable to our currentInteractable.
To do this, we can use the method TryGetComponent(). This method will try to get a component on our game object. If it succeeds, the method will return true, and we are able to get the value of the component using the out keyword. We can write the following code:
if(topHit.transform.gameObject.TryGetComponent<IInteractable>(out IInteractable interactable))
{
    currentInteractable = interactable;
}
else
{
    currentInteractable = null;
}
This code can be added to our Update method:
void Update()
{
    Vector2 mousePostion = Camera.main.ScreenToWorldPoint(Mouse.current.position.ReadValue());
    RaycastHit2D[] hits = Physics2D.RaycastAll(mousePostion, Vector2.zero);

    if (hits.Length > 0)
    {
        RaycastHit2D topHit = hits[0];
        for(int i = 0; i<hits.Length; i++)
        {
            if (hits[i].transform.position.y > topHit.transform.position.y)
            {
                topHit = hits[i];
            }

            if(topHit.transform.gameObject.TryGetComponent<IInteractable>(out IInteractable interactable))
            {
                currentInteractable = interactable;
            }
            else
            {
                currentInteractable = null;
            }
        }
    }
    else
    {
        currentInteractable = null;
    }
Next, let’s update where we assign our text. Instead of assigning our text the value of currentInteractable.name, let’s assign our text the value of our InteractText() method on our currentInteractable:
if (currentInteractable != null)
{
    interactTextMesh.text = currentInteractable.InteractText();
    interactPanel.SetActive(true);
}
else
{
    interactTextMesh.text = "";
    interactPanel.SetActive(false);
}
Lastly, let’s modify our OnInteract method so that when the player presses the interact button, we check whether or not our currentInteractable has a value, and if it does, we can call the Interact method on the currentInteractable:
void OnInteract(InputAction.CallbackContext context)
{
    if (currentInteractable != null)
    {
        currentInteractable.Interact();
    }
}
Our Interact script should now look like this:
using UnityEngine;
using UnityEngine.InputSystem;
using TMPro;

public class Interactor : MonoBehaviour
{
    PActions inputActions;
    IInteractable currentInteractable;
    public GameObject interactPanel;
    public TextMeshProUGUI interactTextMesh;

    private void OnEnable()
    {
        inputActions = new PActions();
        inputActions.Enable();
        inputActions.Player.Interact.performed += OnInteract;
    }

    private void OnDisable()
    {
        inputActions.Disable();
        inputActions.Player.Interact.performed -= OnInteract;
    }

    void OnInteract(InputAction.CallbackContext context)
    {
        if (currentInteractable != null)
        {
            currentInteractable.Interact();
        }
    }
    void Start()
    {
        interactPanel.SetActive(false);
    }
    void Update()
    {
        Vector2 mousePostion = Camera.main.ScreenToWorldPoint(Mouse.current.position.ReadValue());
        RaycastHit2D[] hits = Physics2D.RaycastAll(mousePostion, Vector2.zero);

        if (hits.Length > 0)
        {
            RaycastHit2D topHit = hits[0];
            for (int i = 0; i < hits.Length; i++)
            {
                if (hits[i].transform.position.y > topHit.transform.position.y)
                {
                    topHit = hits[i];
                }

                if (topHit.transform.gameObject.TryGetComponent<IInteractable>(out IInteractable interactable))
                {
                    currentInteractable = interactable;
                }
                else
                {
                    currentInteractable = null;
                }
            }
        }
        else
        {
            currentInteractable = null;
        }

        if (currentInteractable != null)
        {
            interactTextMesh.text = currentInteractable.InteractText();
            interactPanel.SetActive(true);
        }
        else
        {
            interactTextMesh.text = "";
            interactPanel.SetActive(false);
        }
    }
}
Updating our Scene
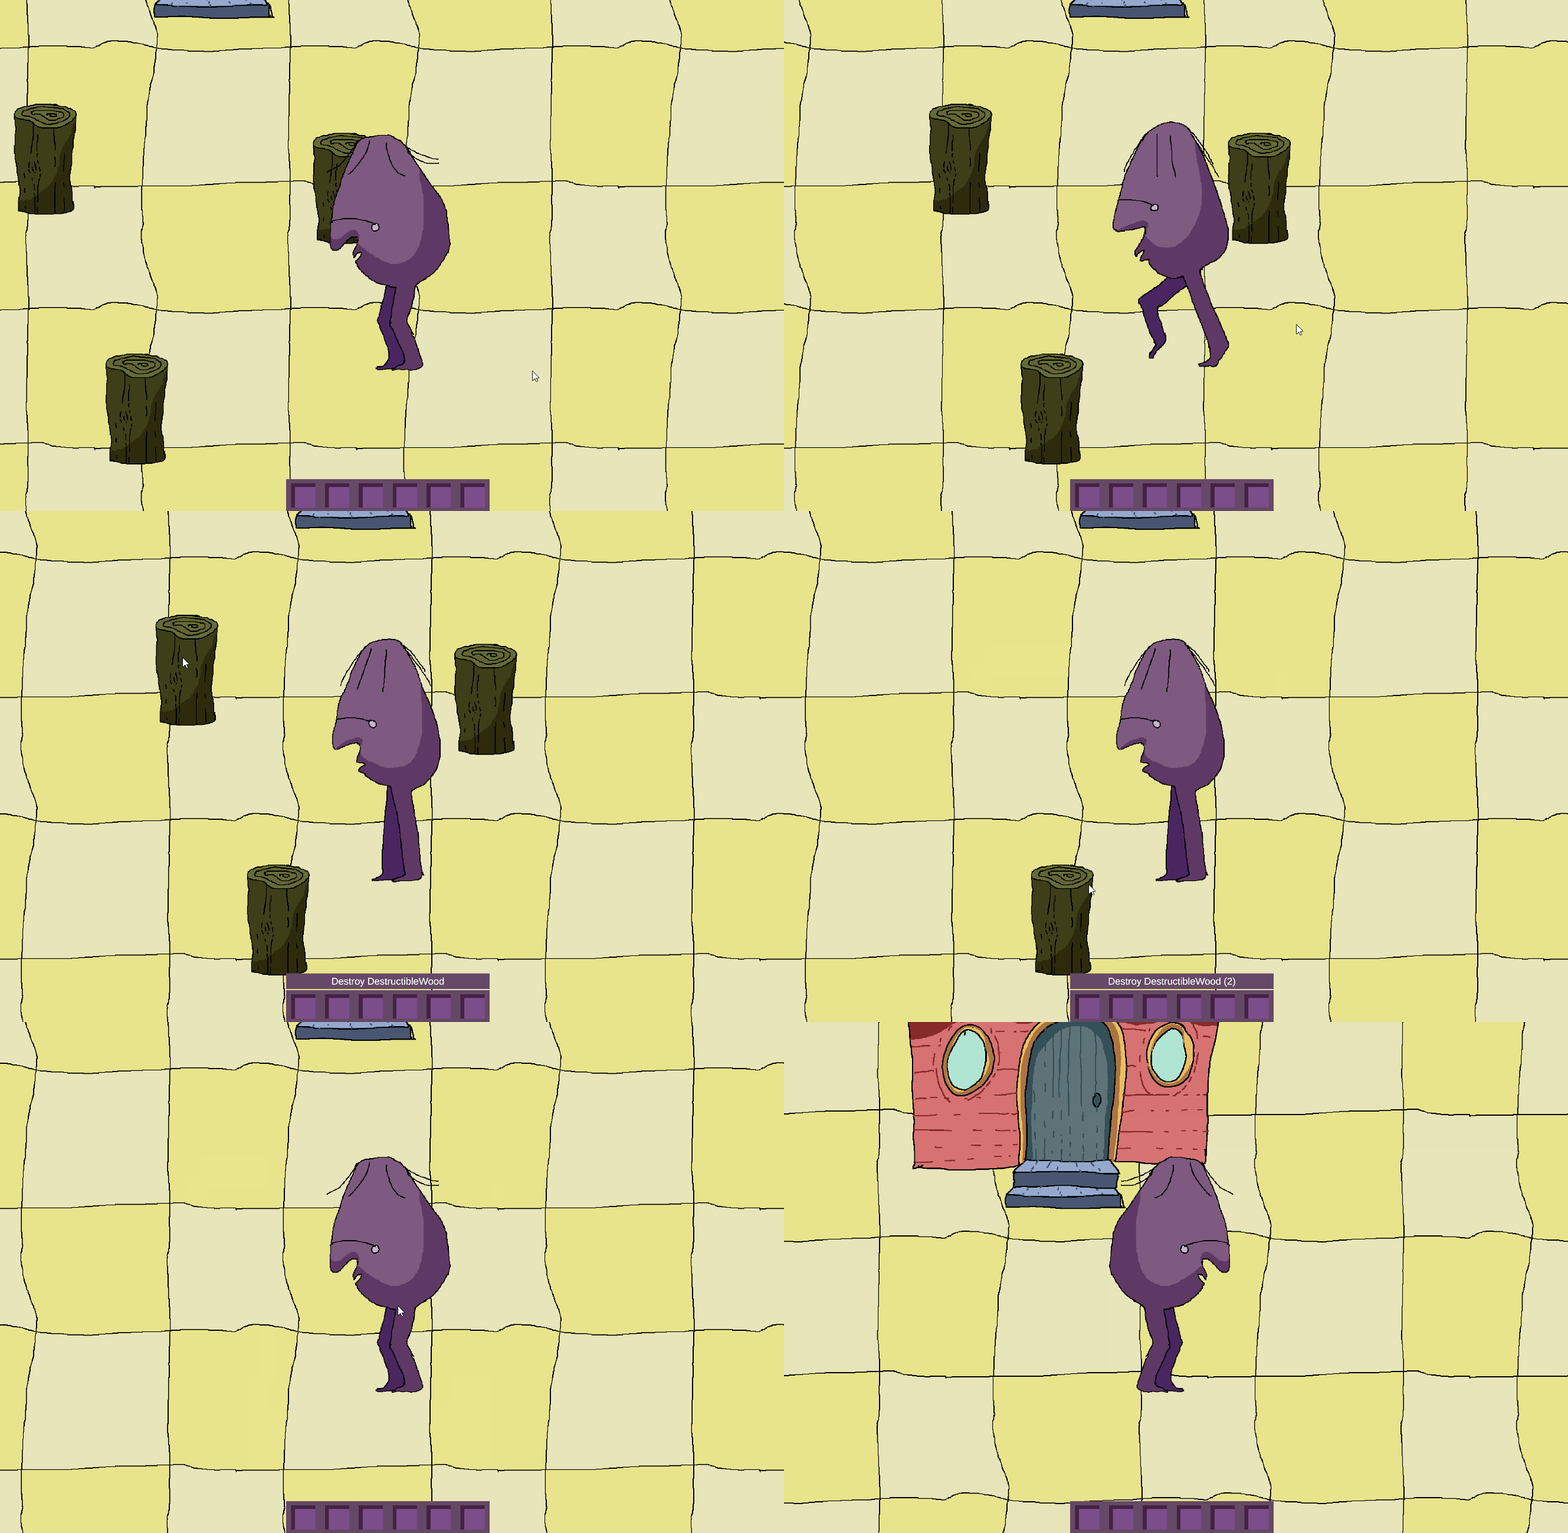
Within our scene, let’s add the DestructibleInteractable script to our DestructibleWood prefab. We can then test our scene. We should see that each wood causes our interactable text to display the word “Destroy” plus the name of our game object. We will also see that the game objects are destroyed when clicked on:
Scene Interactable
The power of interfaces really shows itself when we have multiple objects that inherit from the interface. Let’s make another form of IInteractable that loads us into a new scene. We can call this script SceneChangeInteractable.
Within this script, lets implement our IInteractable interface as well as ensure our Interact method loads a new scene, and our InteractText describes the scene we are about to enter:
using UnityEngine;
using UnityEngine.SceneManagement;

public class SceneChangeInteractable : MonoBehaviour, IInteractable
{
    public string nameOfPlaceToEnter;
    public string sceneToLoad;

    public string InteractText()
    {
        return "Enter " + nameOfPlaceToEnter;
    }

    public void Interact()
    {
        SceneManager.LoadScene(sceneToLoad);
    }

    void Start()
    {

    }

    void Update()
    {

    }
}
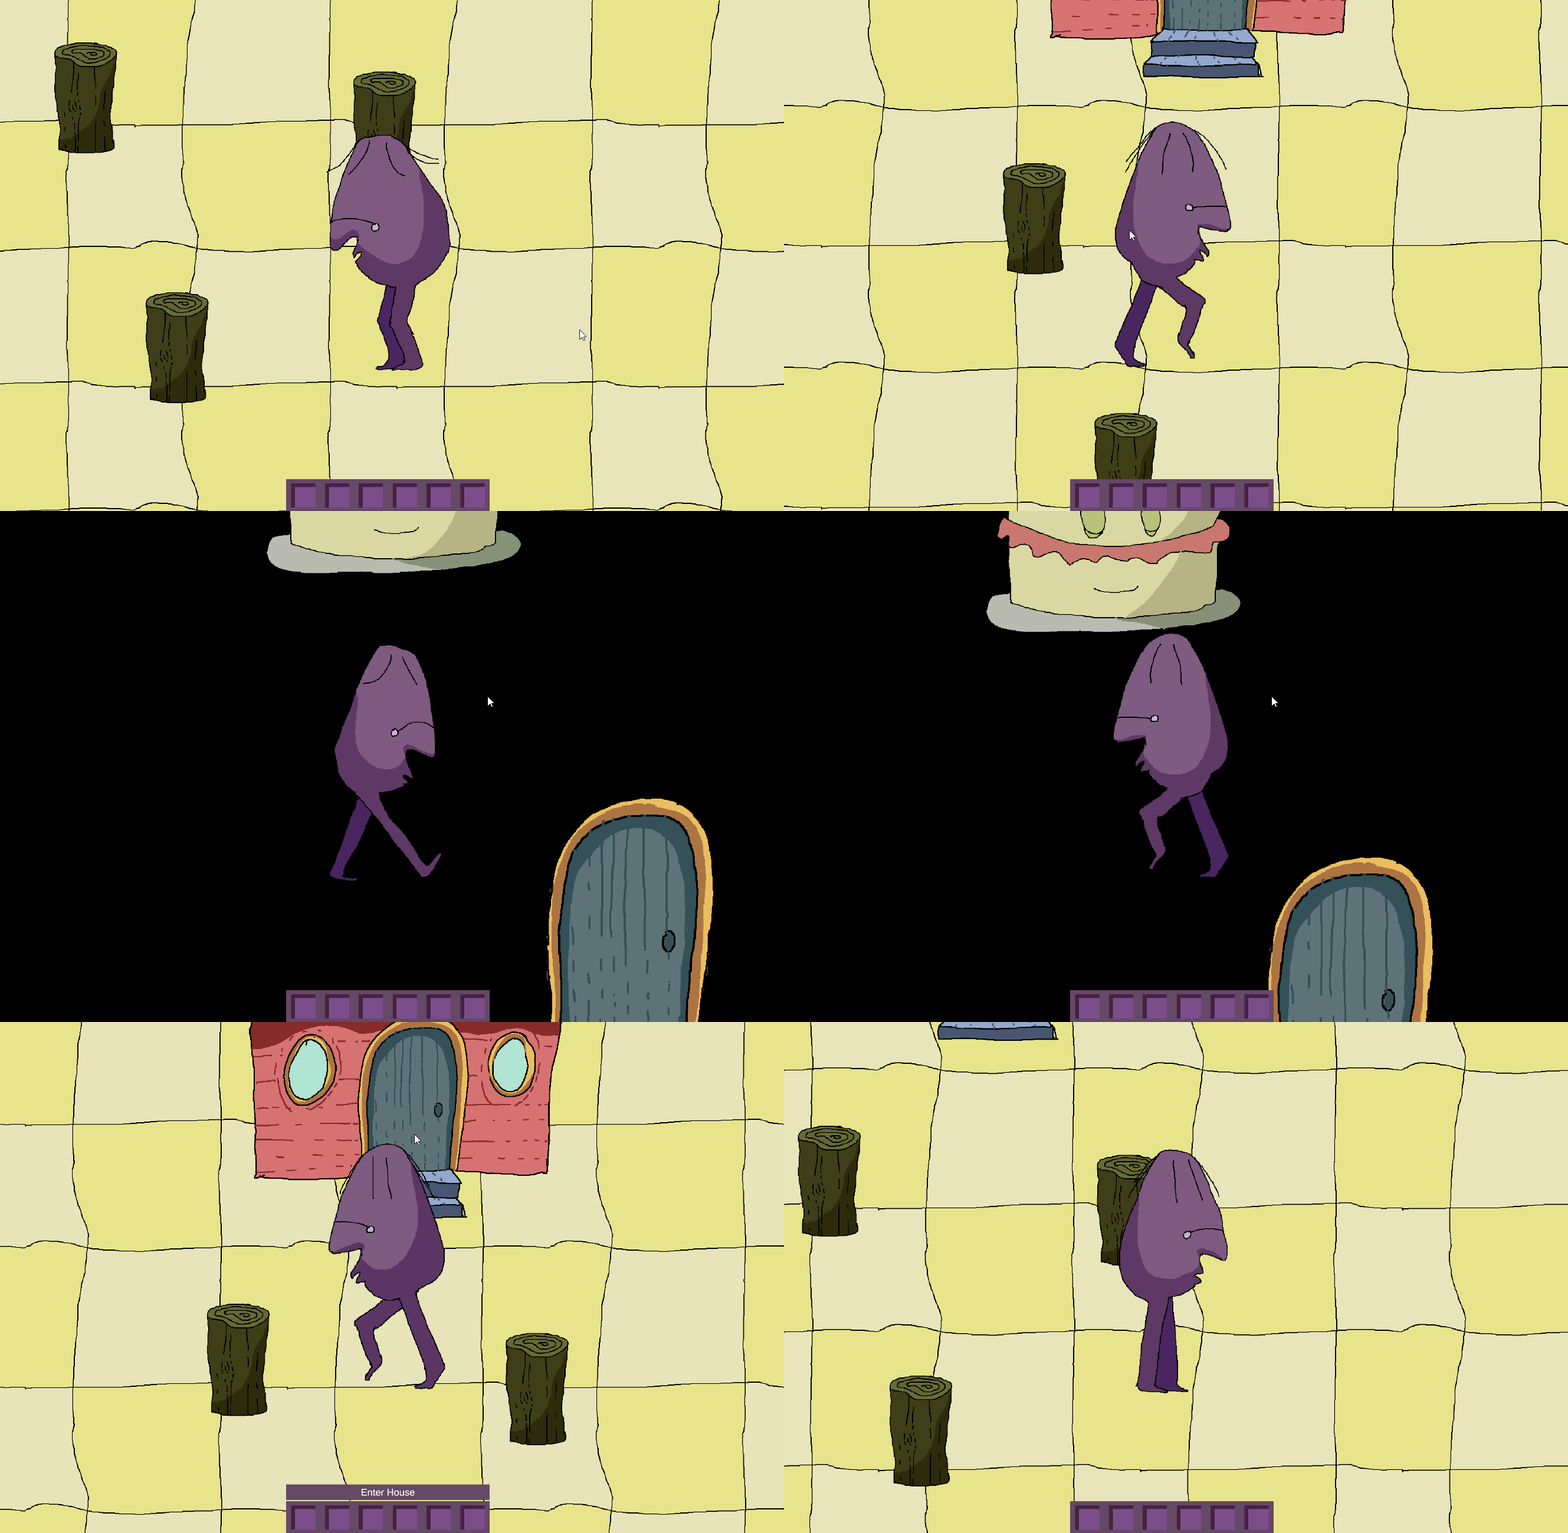
As a final step, we can add this scene to our House object in our scene and set it to load the scene “InteriorScene”:

We should then be able to enter the house and load the interior scene. Note that since our GameManager script is set to don’t destroy, it plus all of its children (including our player and UI) will load into the next scene. We can also optionally set up our door with our InteriorScene to load us back our to the plaza: