Physics Motion
Physics versus Transform
So far within our project we have been moving our object using the Transform component. While this method of moving objects is helpful for precise locations, it can be difficult to work with collisions and object interactions. There are many methods for handling object collisions within Unity, however, the built in physics engine is the most approachable and contains all the code we need for manipulating objects based on a shared physics system.
Since many of the interactions within Asteroids involves objects colliding with each other, it is a good idea to shift the movement of our asteroids to use the physics system.
RigidBody2D
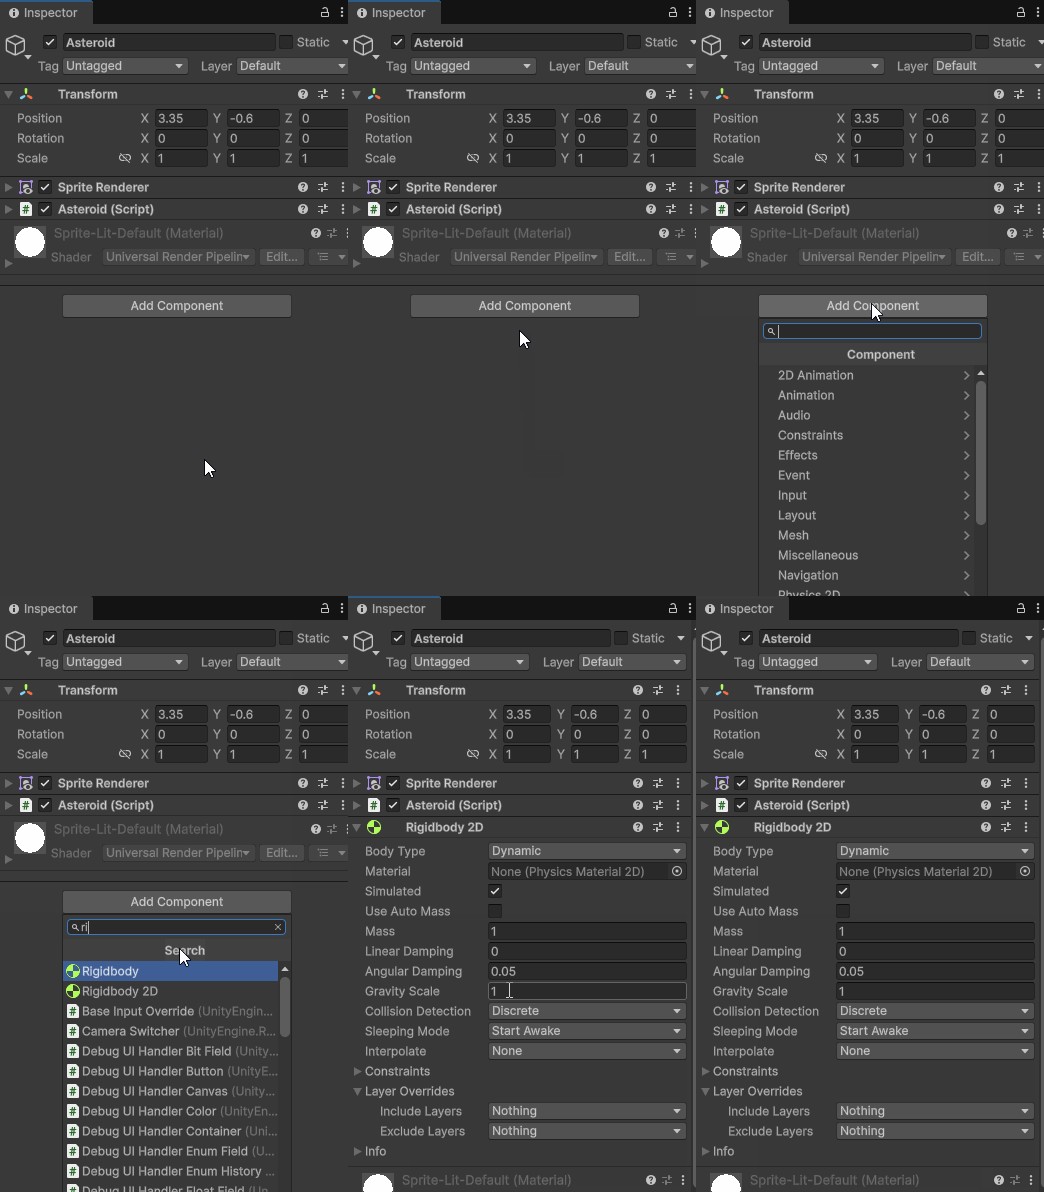
To tell Unity we want an object to be affected by the physics system, we must make that object a rigid body. A rigid body is a solid, non-deformable object that can be simulated with various forces such as gravity. To make objects rigid bodies with 2D Unity, we need to add a Rigidbody2D component to our game object.
Let’s begin by adding a rigid body to our one remaining asteroid. We can do this by selecting our Asteroid game object and choosing Rigidbody2D after pressing the Add Component button.
Next lets edit our Asteroid code and remove our movement code. Your code should look like this to start:
using UnityEngine;

public class Asteroid : MonoBehaviour
{
    public float speed = 1f;

    void Start()
    {

    }

    void Update()
    {

    }
}
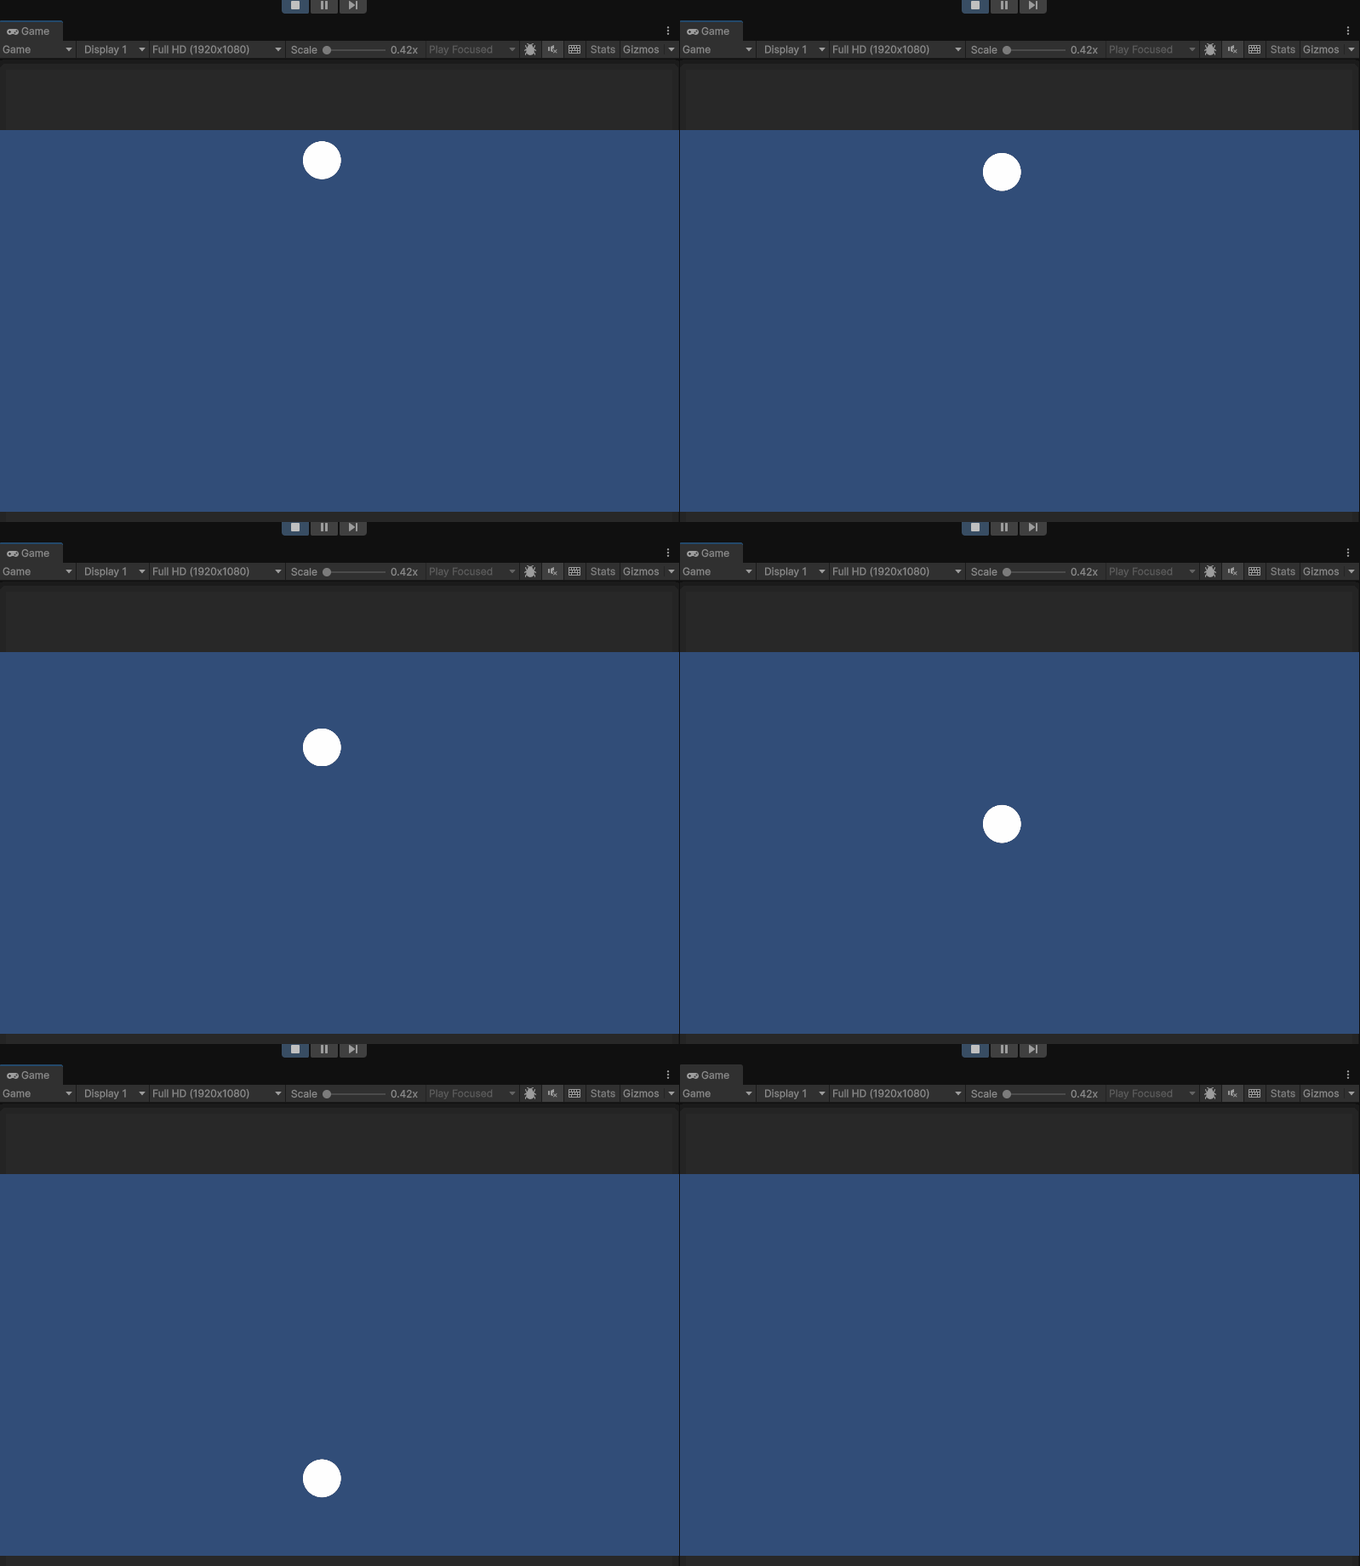
You’ll notice that when we play our scene, our asteroid falls as though affected by gravity.
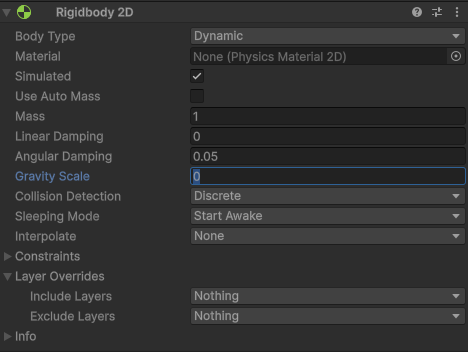
By default, Unity simulates gravity along the Y axis. Since Asteroids is from a top down perspective, we can turn off gravity on our rigid body by setting our Gravity Scale property to 0.
Moving Physics Objects
Now that we have converted our asteroid into a physics object, we need to be able to move our object around the screen. There are many ways to move rigid body objects using the Unity physics system. Two such examples are the AddForce() and MovePosition() methods. To move our asteroid rigid body, we are going to use the MovePosition() method which moves our object by approximating the linear velocity required to move the rigid body to the new position.
To move our asteroid we will need the following information:
- The asteroid’s Rigidbody2D
- The direction we want to move the asteroid
- The speed we want the asteroid to move
We already have a variable for speed, so we will need to create two variables to hold the asteroid’s Rigidbody2D and direction. Just like with our Transform component, we can create a Rigidbody2D variable to get and store our component.
public class Asteroid : MonoBehaviour
{
    Rigidbody2D rbody;
    public float speed = 1f;
...
Next, we can make sure to get our Rigidbody2D component in our Start() function.
private void Start()
{
    rbody = GetComponent<Rigidbody2D>();
}
Next, we’ll need to create a variable for the direction we want our asteroid to move. Unlike the Translate() method, when using MovePosition() with a Rigidbody2D, we move our object using a Vector2 variable. Let’s also assign our variable a default starting direction of right by setting direction equal to Vector2.right.
public class Asteroid : MonoBehaviour
{
    Rigidbody2D rbody;
    Vector2 direction = Vector2.right; //equals (1,0);
    public float speed = 1f;
...
Now that we have a variable for direction and access to our Rigidbody2D, we can begin to move our asteroid.
FixedUpdate and Execution Order
Unlike Translate() which runs every frame of our game (hence why we needed to use Time.deltaTime to slow down our asteroid) the physics system within Unity and all associated methods run at a fixed rate of 50 frames per second. This allows all motion and collisions within the physics system to stay in sync, preventing bugs such as objects phasing through each other.
When adding physics forces to objects, we need to make sure that we are only providing updates to those objects every 50 frames. To do this, we use the method FixedUpdate(). FixedUpdate() runs at 50 frames per second and is designed to work with Unity’s physics system. In the below flowchart, we can see the order of the different methods that run within a MonoBehavior script. So far we have only talked about Start() and Update(), however, there is wide range of other methods we can access to run code at different times in a MonoBehavior’s lifecycle. As we can see from the flowchart, FixedUpdate() runs right after Start() and a few steps before Update(). This allows Unity to first assign the RigidBody2D variable within our script, then run all of our physics calculations before updating the rest of our scene.
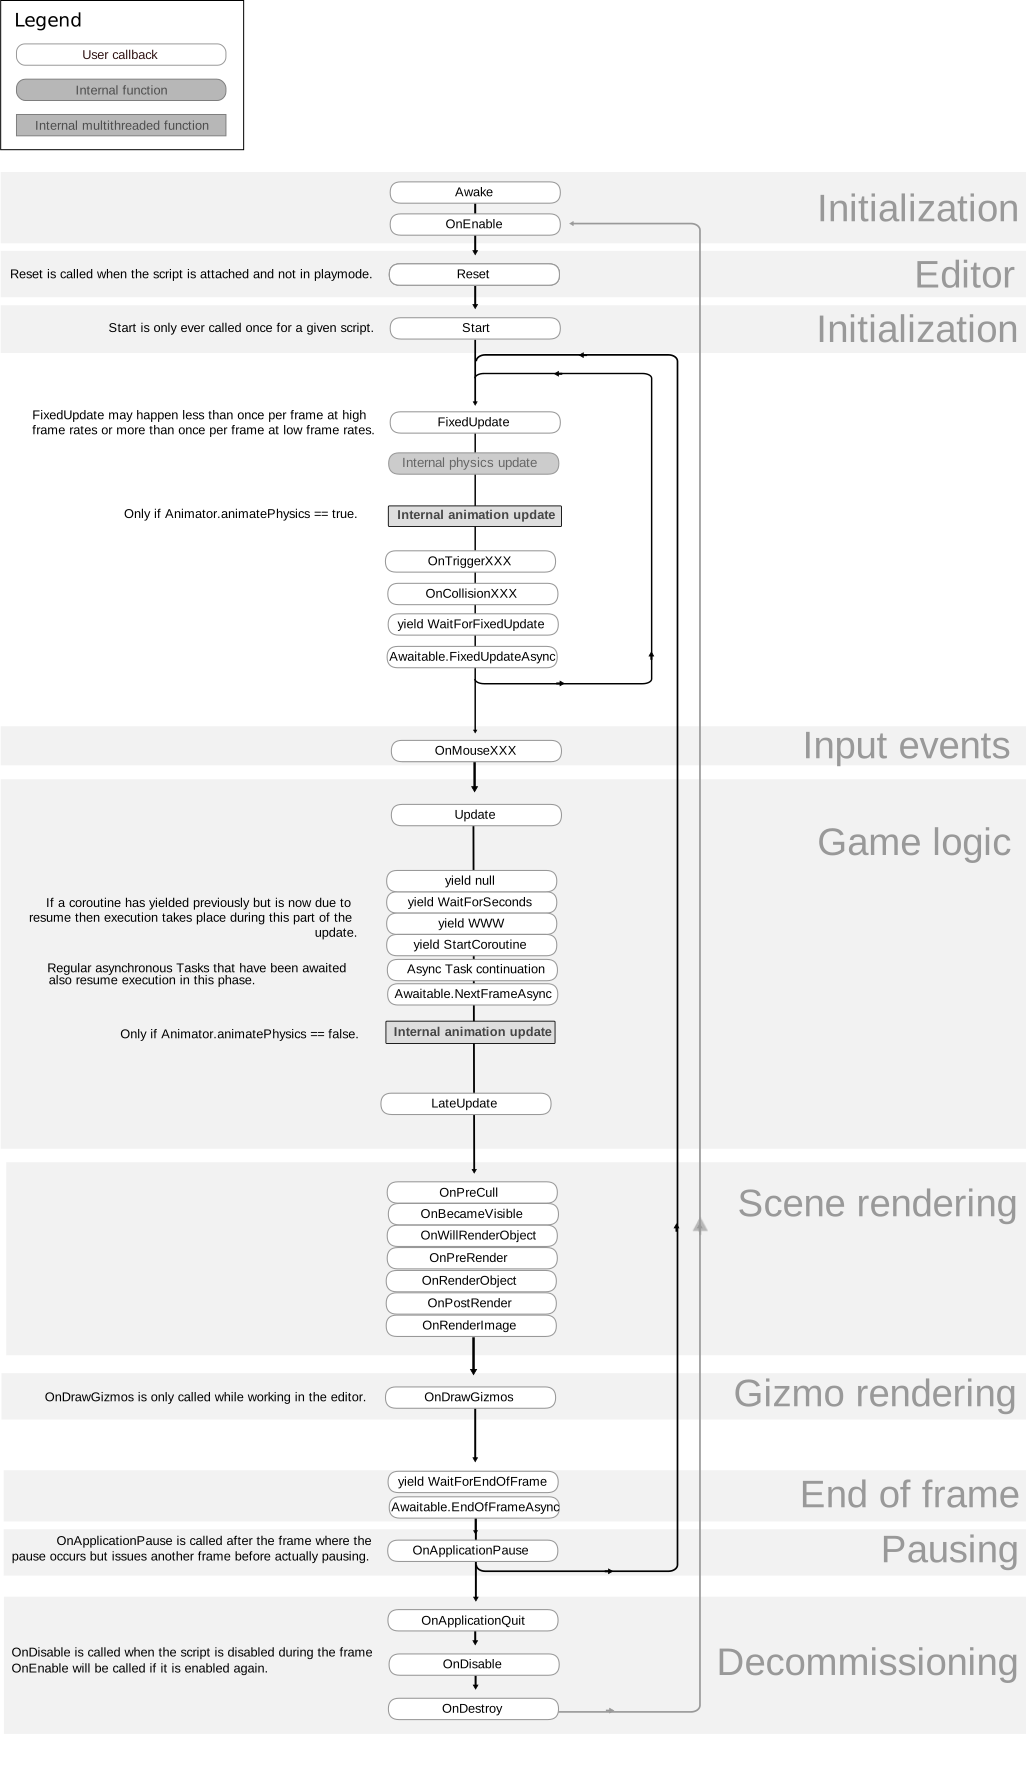 Order of execution for event functions during the lifecycle of a MonoBehaviour script. Unity Reference
To continue with moving our asteroid, let’s begin by making a FixedUpdate() method in our asteroid script.
void FixedUpdate()
{

}
Our full Asteroid.cs file should look like this:
using UnityEngine;

public class Asteroid : MonoBehaviour
{
    Rigidbody2D rbody;
    Vector2 direction = Vector2.right; //equals (1,0);
    public float speed = 1f;

    void Start()
    {
        rbody = GetComponent<Rigidbody2D>();
    }

    void FixedUpdate()
    {

    }

    void Update()
    {

    }
}
MovePosition
To move our asteroid within FixedUpdate() we need to know the new position we want to move our asteroid during the next physics update.
This will be:
New Position = Current position + the normalized direction to move * time since last fixed update * speed
- Current position can be accessed by looking at the position of rigid body with
.position, which returns aVector2(Unity Reference) - We can get our direction to move using our
directionvariable and calling.normalized. - Like
Time.deltaTime, we can usedTime.fixedDeltaTimeto get the time between physics updates - Lastly, our speed will be equal to our
speedvariable
In our FixedUpdate() function, we can create a new Vector2 variable to hold our new position and set it equal to the above equation.
void FixedUpdate()
{
    Vector2 newPosition = rbody.position+direction.normalized.*Time.fixedDeltaTime*speed;
}
With our new position calculated, we can move our rigid body to the new position using the MovePosition() function
void FixedUpdate()
{
    Vector2 newPosition = rbody.position+direction.normalized*Time.fixedDeltaTime*speed;
    rbody.MovePosition(newPosition);
}
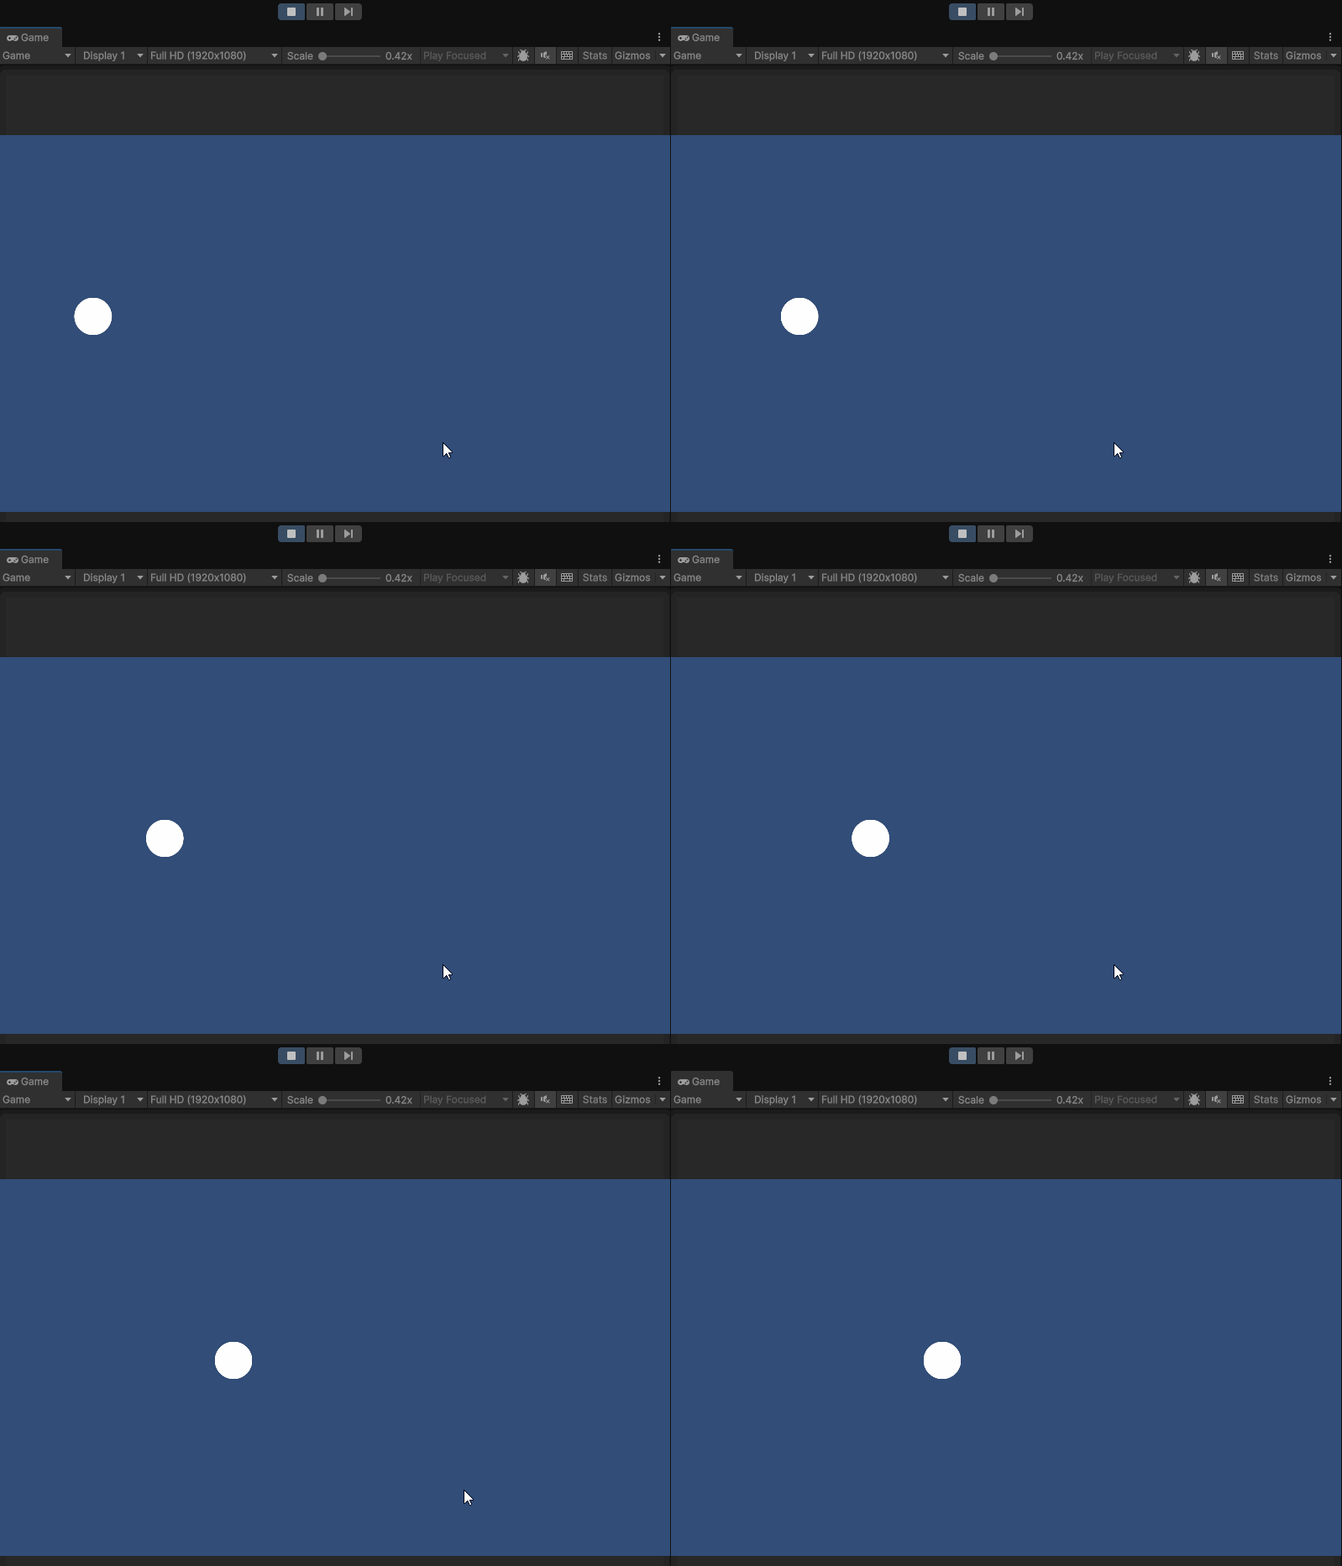
Our final script should look like this:
using UnityEngine;

public class Asteroid : MonoBehaviour
{
    Rigidbody2D rbody;
    Vector2 direction = Vector2.right; //equals (1,0);
    public float speed = 1f;

    void Start()
    {
        rbody = GetComponent<Rigidbody2D>();
    }

    void FixedUpdate()
    {
        Vector2 newPosition = rbody.position + direction.normalized * Time.fixedDeltaTime * speed;
        rbody.MovePosition(newPosition);
    }

    void Update()
    {

    }
}
Duplication and Editing Custom Properties
Our asteroid currently moves to the right, as a result of the default value of our direction variable. Let’s add some variety to our scene by duplicating our initial asteroid and assigning different values to our speed and direction variables.
We can duplicate a game object by either selecting it from the Scene or Hierarchy window and pressing Right click > Duplicate.
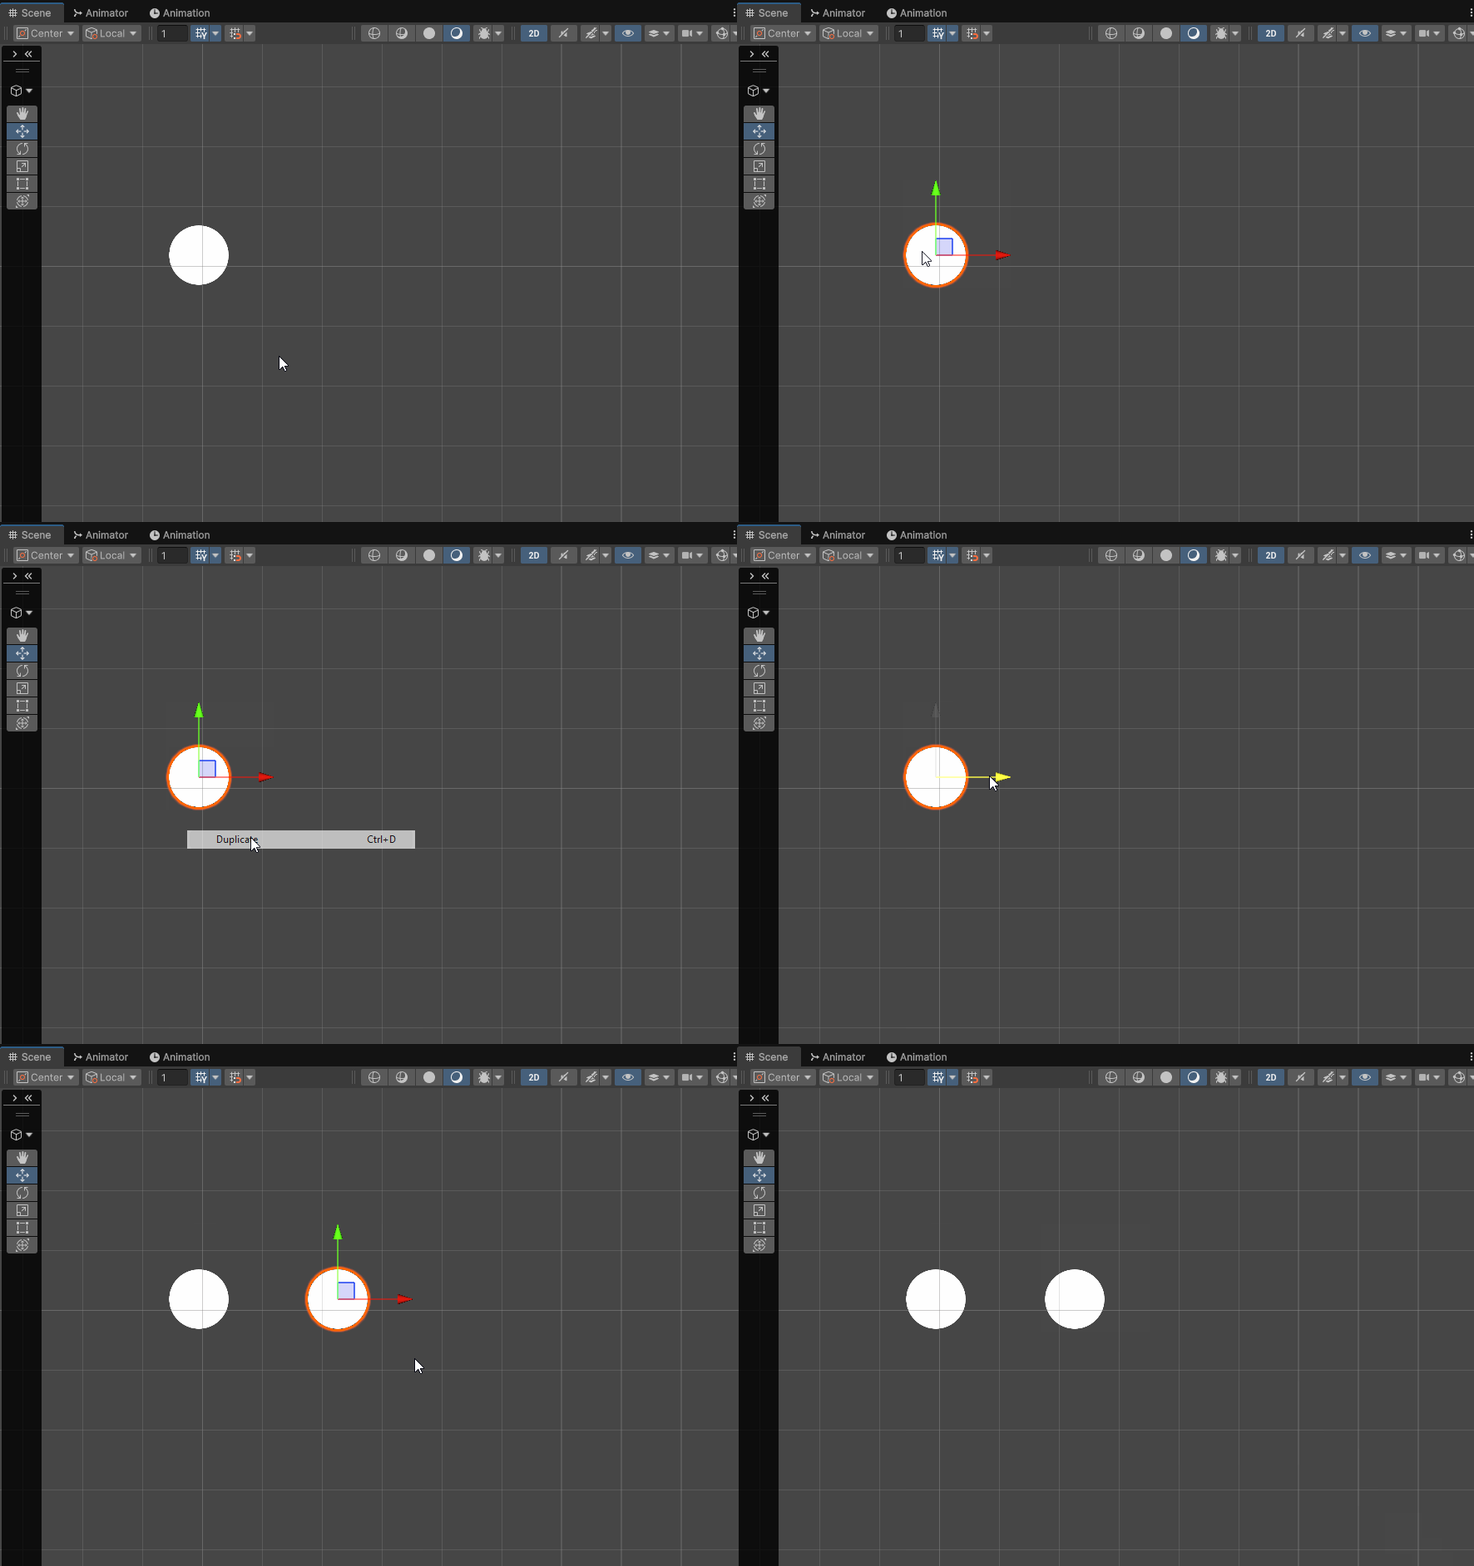
After creating around 5 asteroids, let’s make sure the direction and speed variable within our Asteroids.cs script are public.
public Vector2 direction = Vector2.right; //equals (1,0);
public float speed = 1f;
From there, we can edit the value of the speed and direction for each individual asteroid game object.

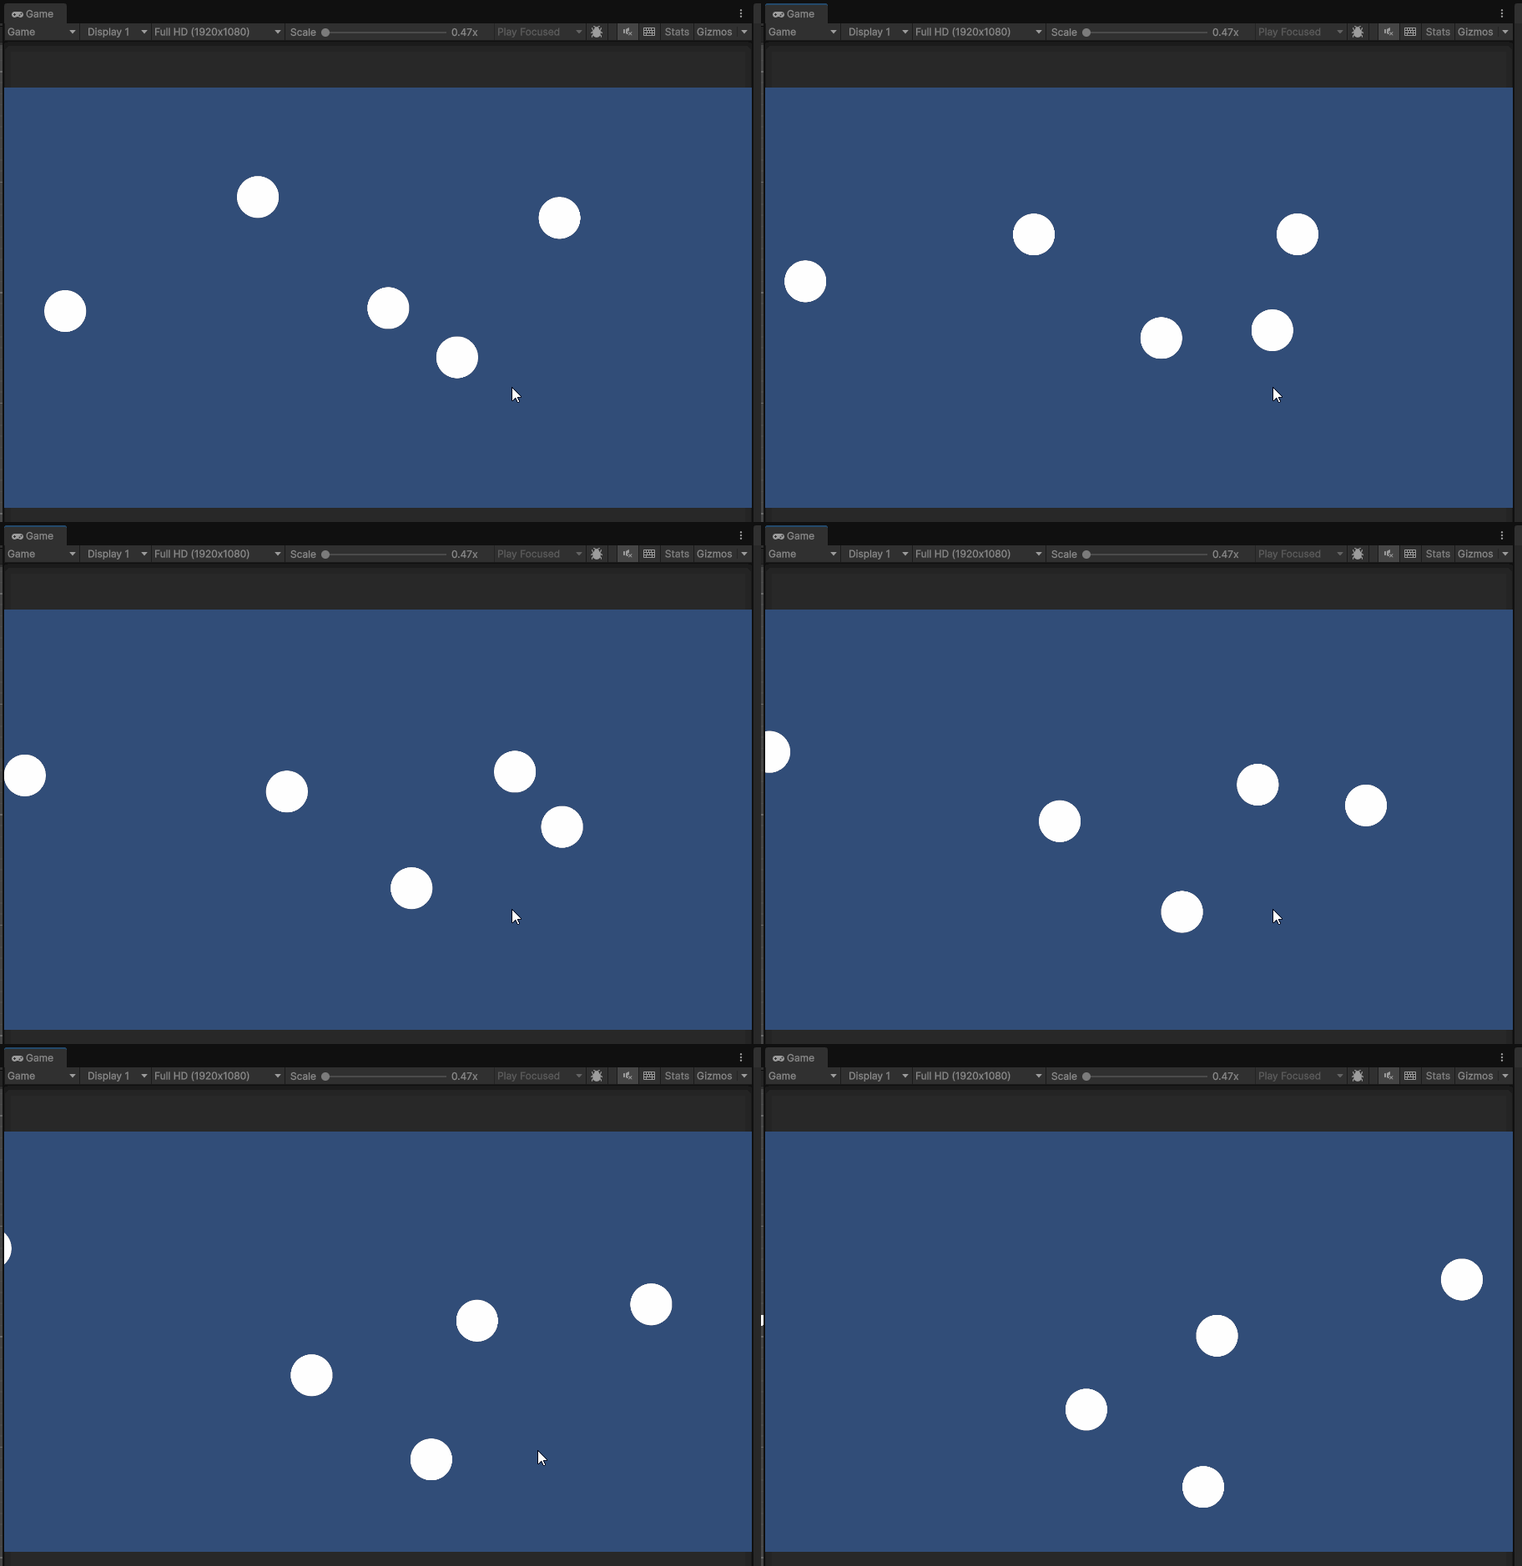
Below is the result of giving each asteroid a different speed and different direction. The direction range is a value of -1 to 1 for both the x and y axis.