Colliders, Triggers, and Tags
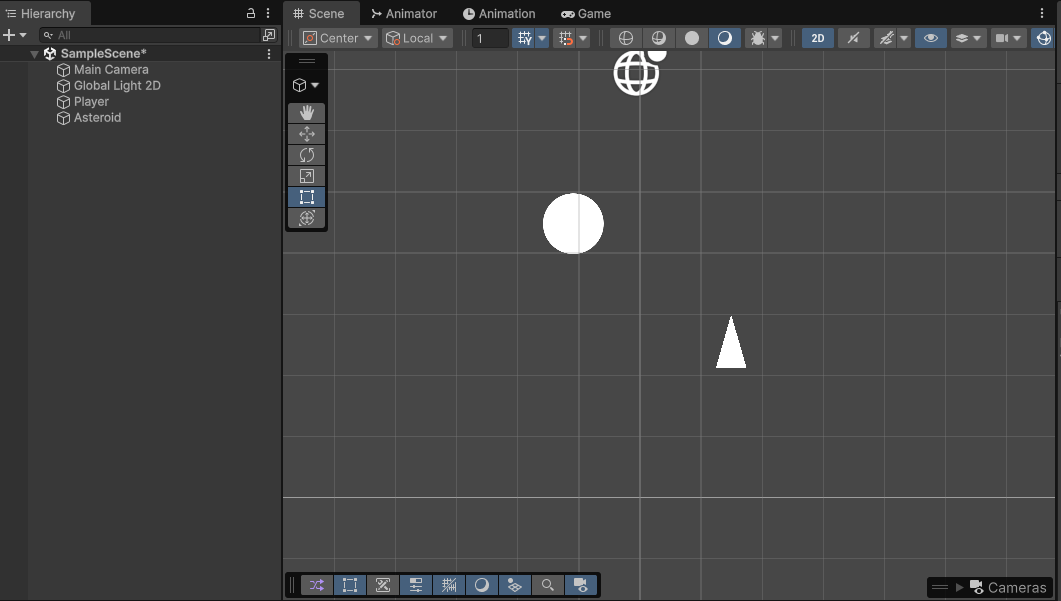
Now that our spacecraft has the ability to launch projectiles, let’s rework our scene so that our projectiles can interact with our asteroids. We can begin by simplifying our scene. Keep your Player game object in your scene and delete your Asteroid game objects so that you only have one Asteroid remaining. Your scene should look like this:
Colliders
Colliders are components we can attach to game objects that define the collision bounds of that object. Within Unity, there are both 2D and 3D colliders. Since we are making a 2D project, we will focus on 2D colliders in this tutorial. Colliders are sometimes referred to as hitboxes, particularly when referencing action or fighting games. Colliders or hitboxes use simplified shapes to allow for smoother and faster detection of collisions.

Image showing example of two hitbox configurations. Courtesy of Wikipedia
Within our project, we can begin by adding colliders to our asteroid and projectile game objects.
Adding Capsule Circle 2D to Asteroid
Within the 2D physics systems, there are a variety of 2D collider shapes we can add to our game objects. Some of the most common shapes include square, circle and capsule. Since our asteroids are mainly defined by their circular shape, we can use a Circle Collider 2D Component.
To add a Circle Collider 2D Component:
- Select your Asteroid game object
- Press Add Component
- Search for Circle Collider 2D
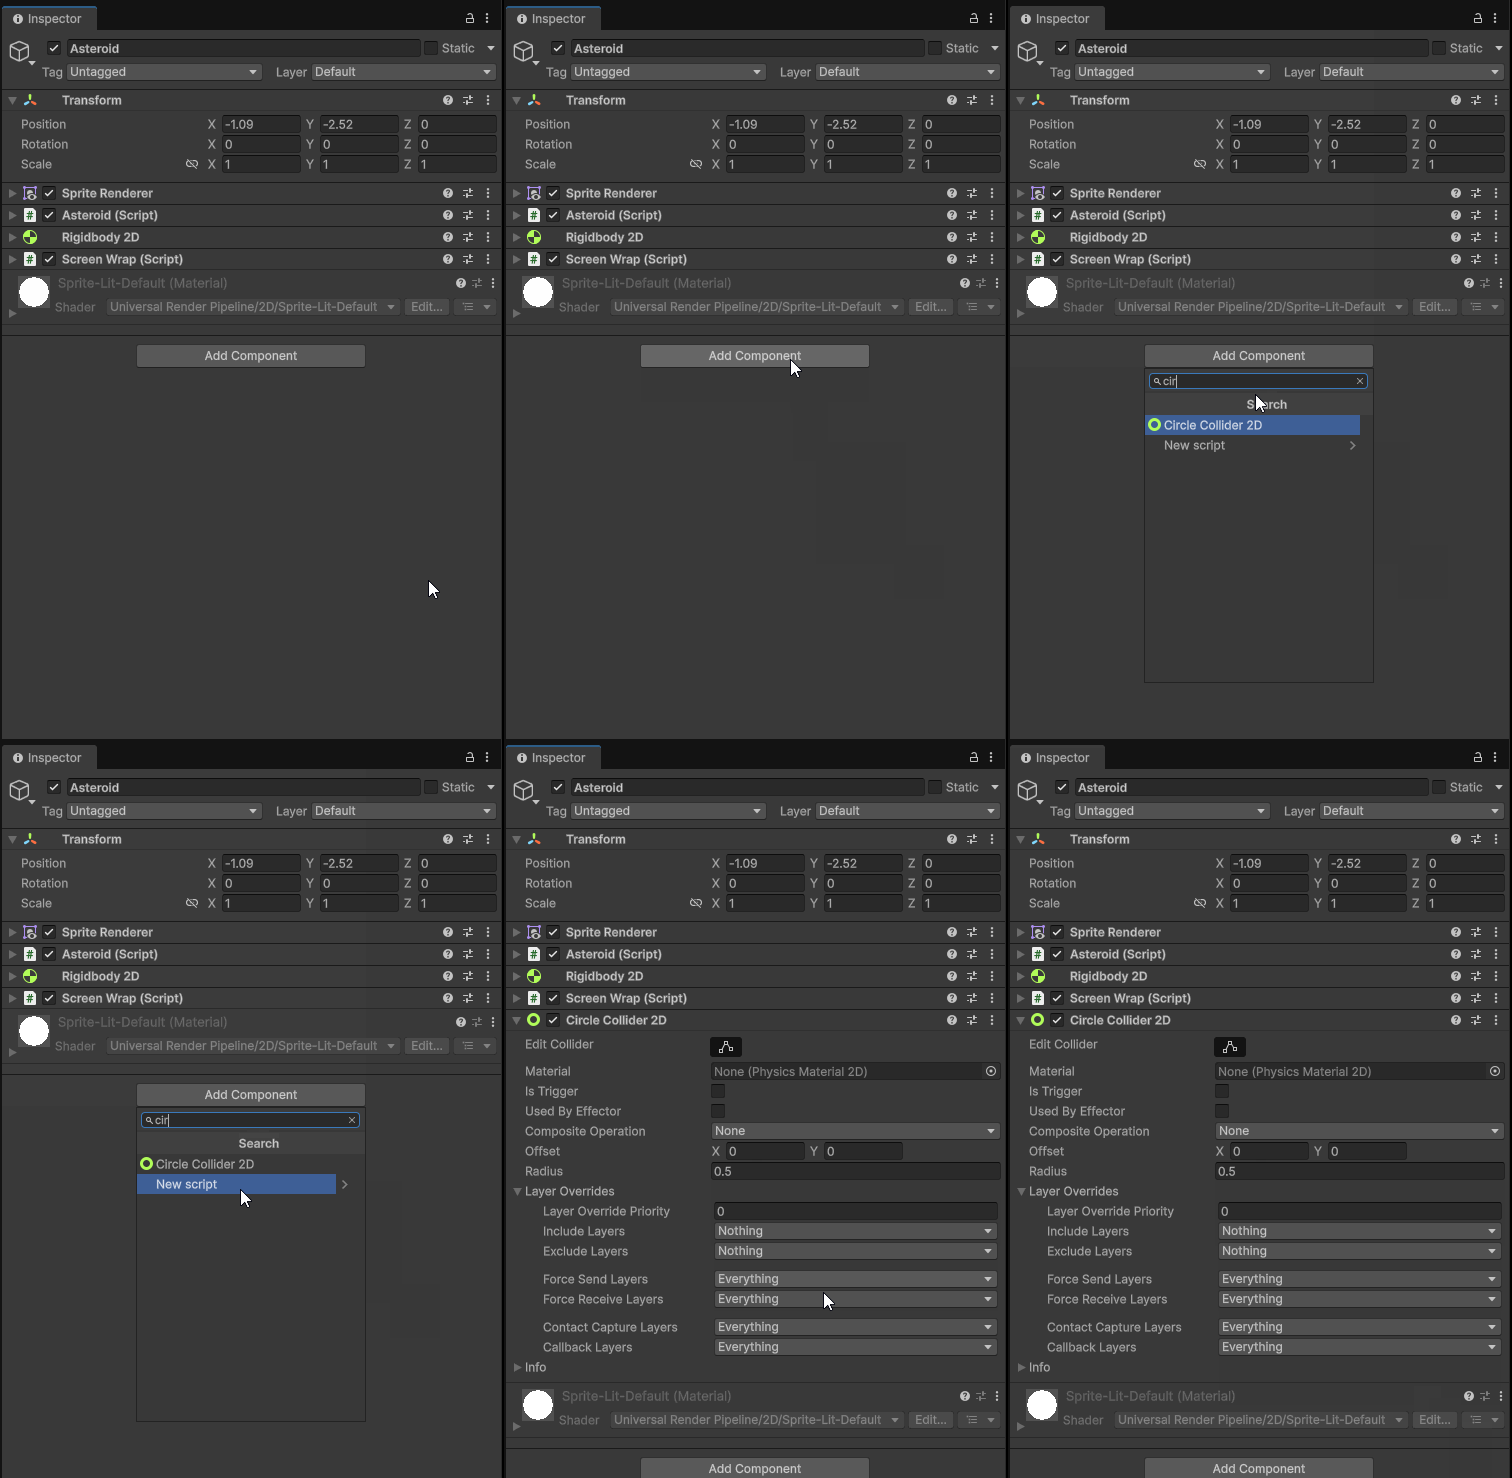
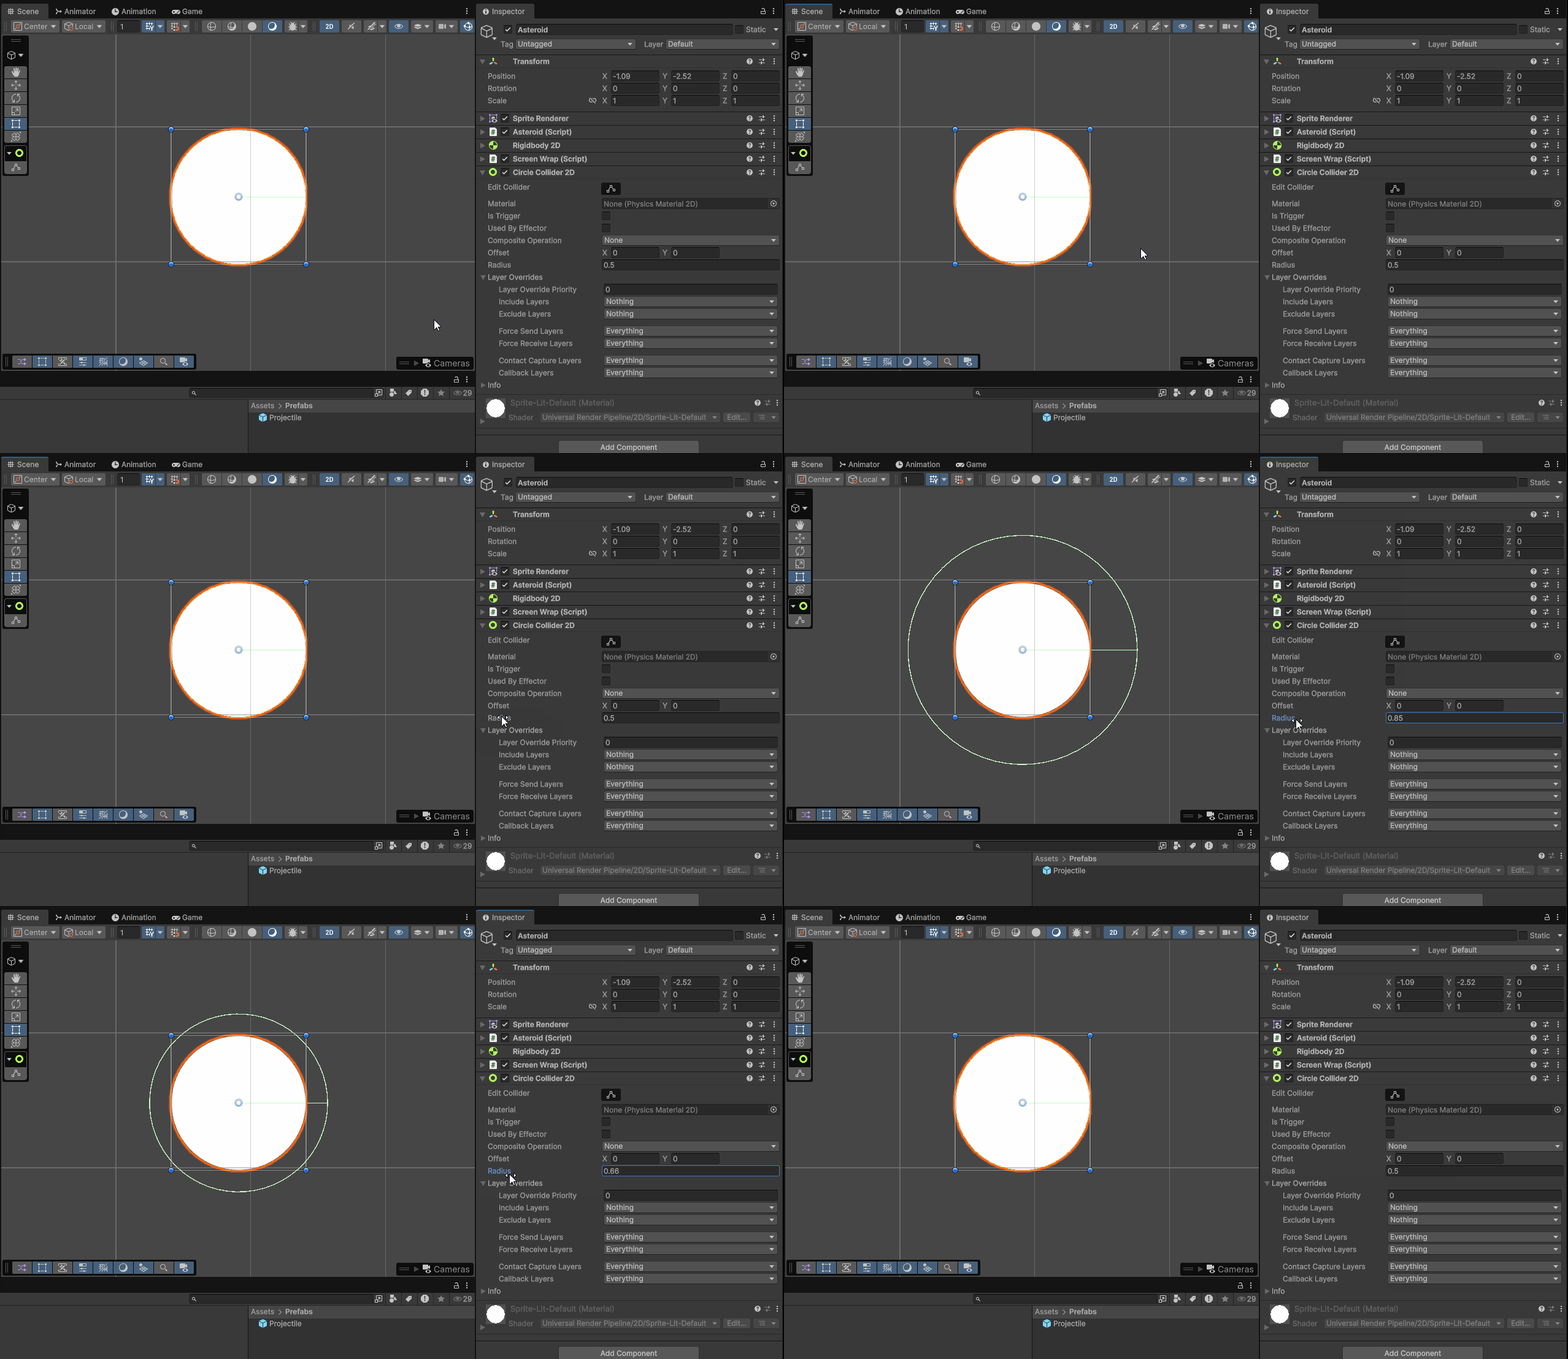
Note that since both our sprite and collider our circles, the collider will be difficult to see. Within Unity, colliders are visualized as light green outlines. We can view our collider by scrolling through the Radius property of the collider.
Adding Box Collider 2D to Projectile
Now that we have a collider on our asteroid, we need to add a collider to our projectile so that the two objects can collide with each other. Since our Projectile is a prefab, we should edit our prefab object directly. To edit a prefab, you can double click the prefab from the the Project window. You will know you are in prefab editing mode when you see a blue background in your scene view:
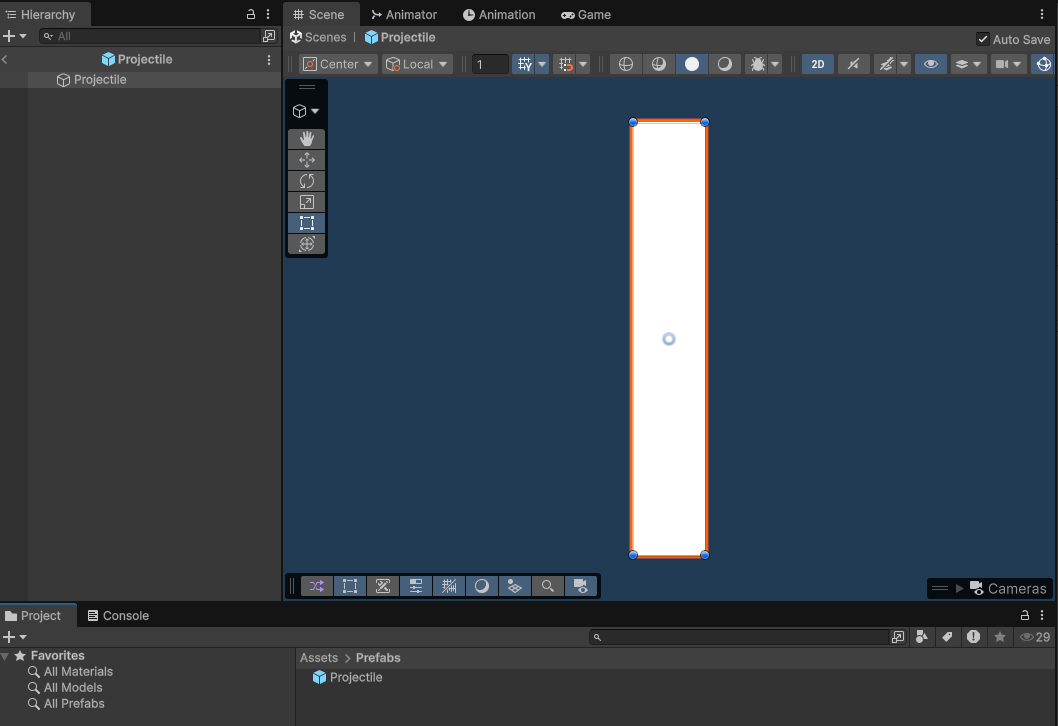
To add a Box Collider 2D Component:
- Select your Projectile game object in prefab mode
- Press Add Component
- Search for Box Collider 2D
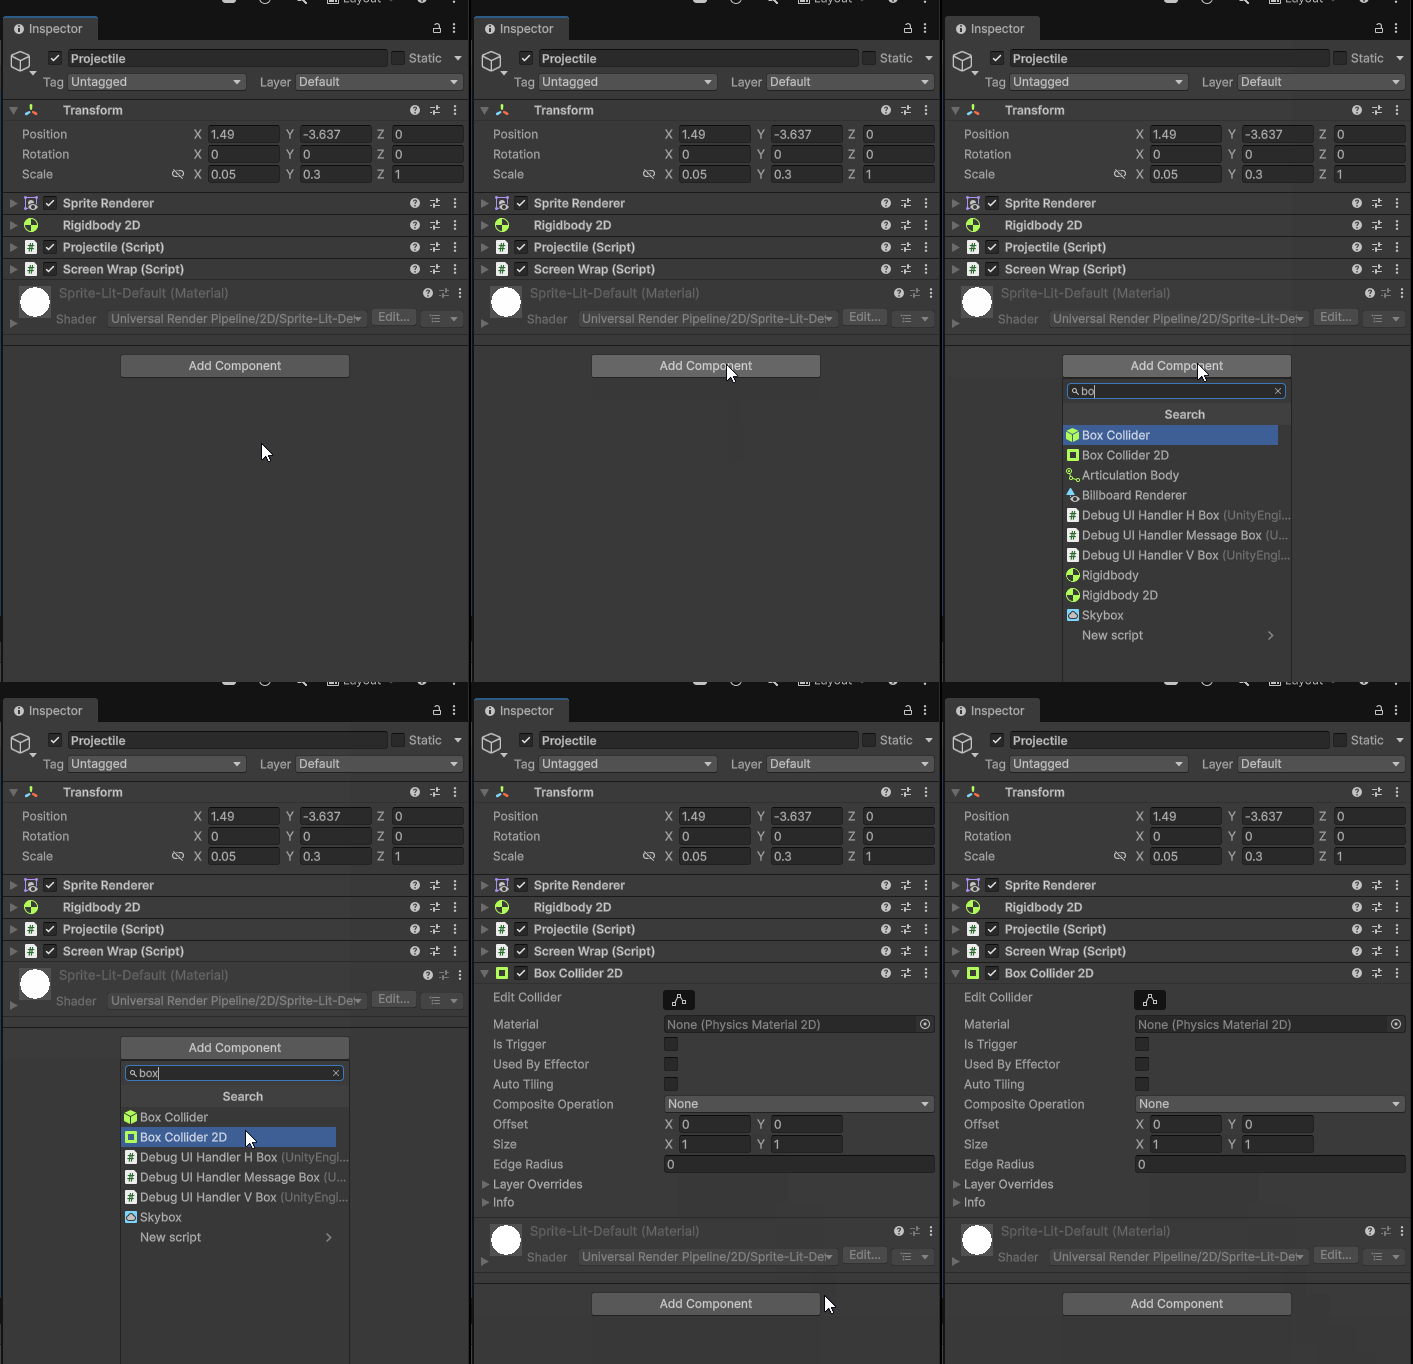
While we have a collider on both our asteroid and projectile prefabs, we will notice that if we play our project, there is no interaction between our game objects. In the next part of this tutorial, we will edit our Asteroid.cs and Projectile.cs files to add in the collision logic.
Triggers
As for the logic of our project, we want both our asteroids and projectiles to be destroyed when they collide with each other. While we can directly detect when these object collide and use this moment to write our destruction logic, we will instead use the trigger system within Unity. With our colliders, we can turn colliders into triggers. Triggers are a special type of collider that can phase through other colliders and trigger code on both themselves and the objects they interact with.
In our case, we will turn our projectile into a trigger. We will then use the method OnTriggerEnter2D() to look at when our projectile collide with our asteroid.
Making a Collider a Trigger
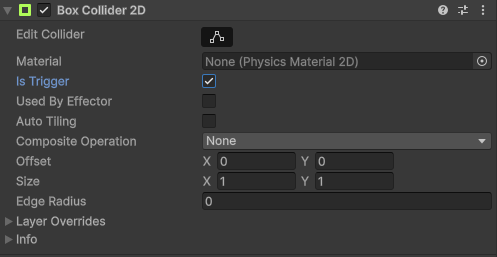
To make a collider a trigger, we need to check the Is Trigger property. Let’s edit our Projectile prefab by checking Is Trigger on our Box Collider 2D component.
OnTriggerEnter2D()
Destroying Asteroid
To destroy our Asteroid, we can use the method OnTriggerEnter2D(). Like Update() or Start(), this method is inherited from MonoBehaviour. This method is called when a trigger enters a collider when at least one of the colliding objects has a RigidBody2D component.
Within our Asteroid.cs file, we can add the method:
private void OnTriggerEnter2D(Collider2D collision)
{

}
Notice that this method takes in a specific parameter of type Collider2D. This parameter is required when making this method. The collision variable can be used to get information on the object collider with the object to which the OnTriggerEnter2D() method is attached.
Within this method we can use Destroy():
private void OnTriggerEnter2D(Collider2D collision)
{
    Destroy(gameObject);
}
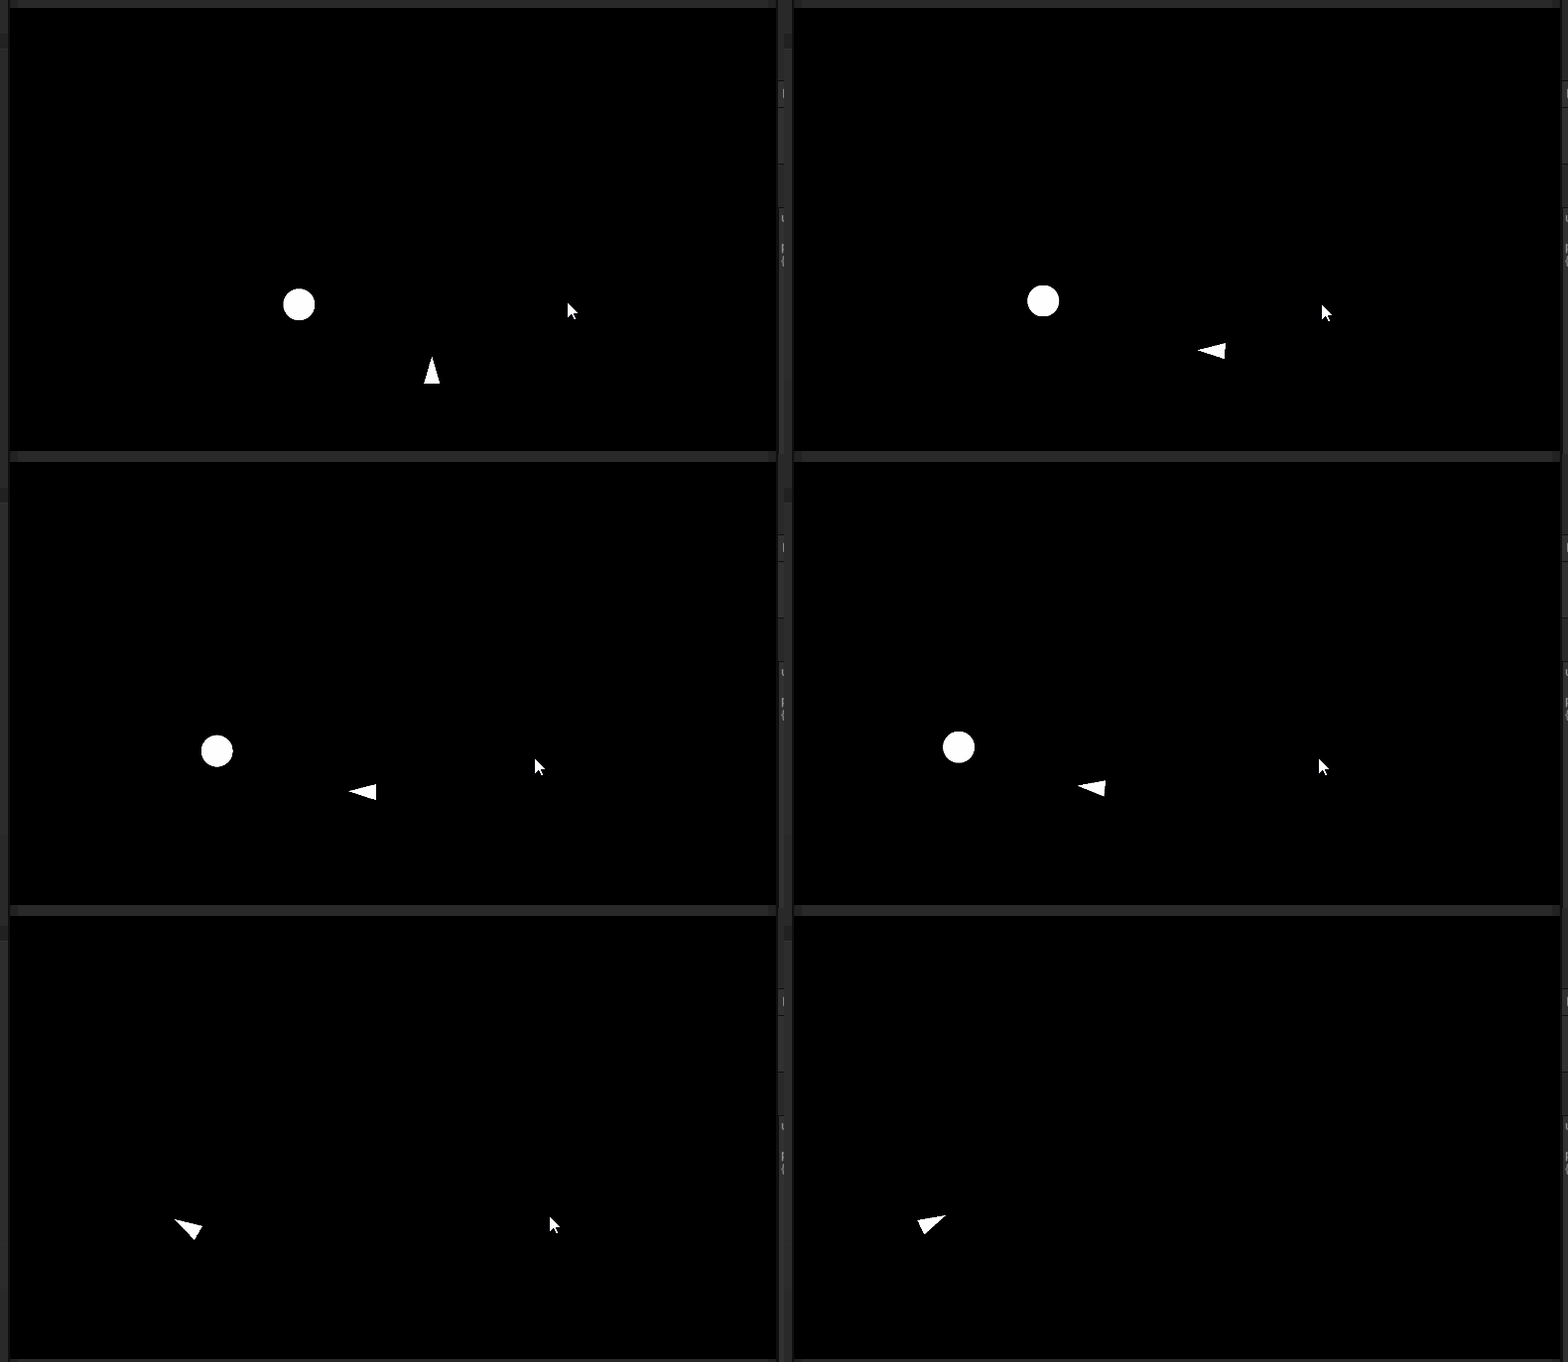
Now, when we play our project, our projectile will destroy our asteroid game object:
Destroying Projectile
As a last step, our projectile continues its journey after destroying our asteroid. Let’s add the same trigger and destruction code to our Projectile.cs file. This will destroy our projectile when it comes into contact with any game object.
private void OnTriggerEnter2D(Collider2D collision)
{
    Destroy(gameObject);
}
Tags
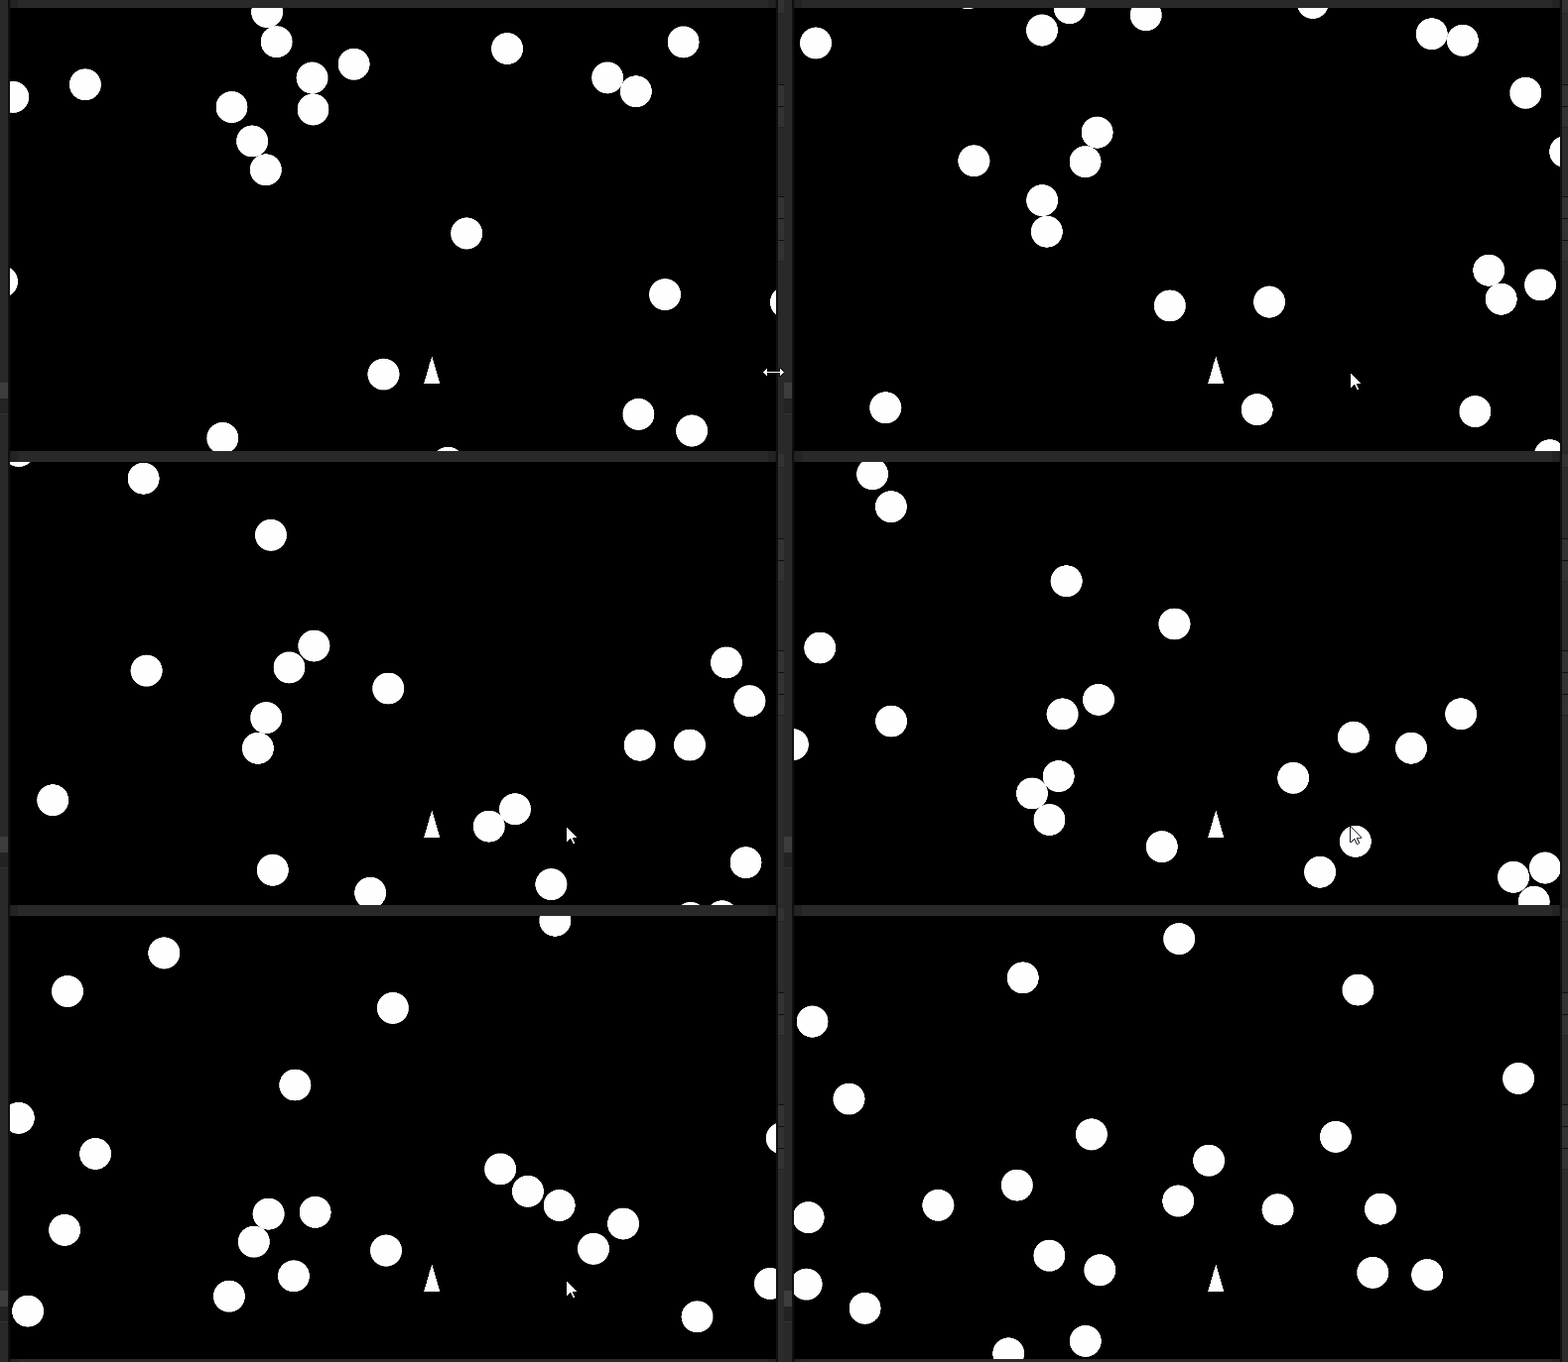
If we duplicate many asteroids within our scene, we can notice that unlike the original Asteroid game, our asteroids collide with each other, effecting each others paths:
In order to correct this we need to make the Circle Collider 2D component on our asteroid a Trigger:
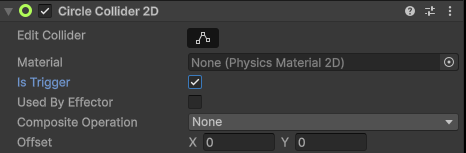
This will allow our game objects to phase through each other, however, as result of the logic within our Asteroid.cs file, this will also cause our asteroids to destroy each other:
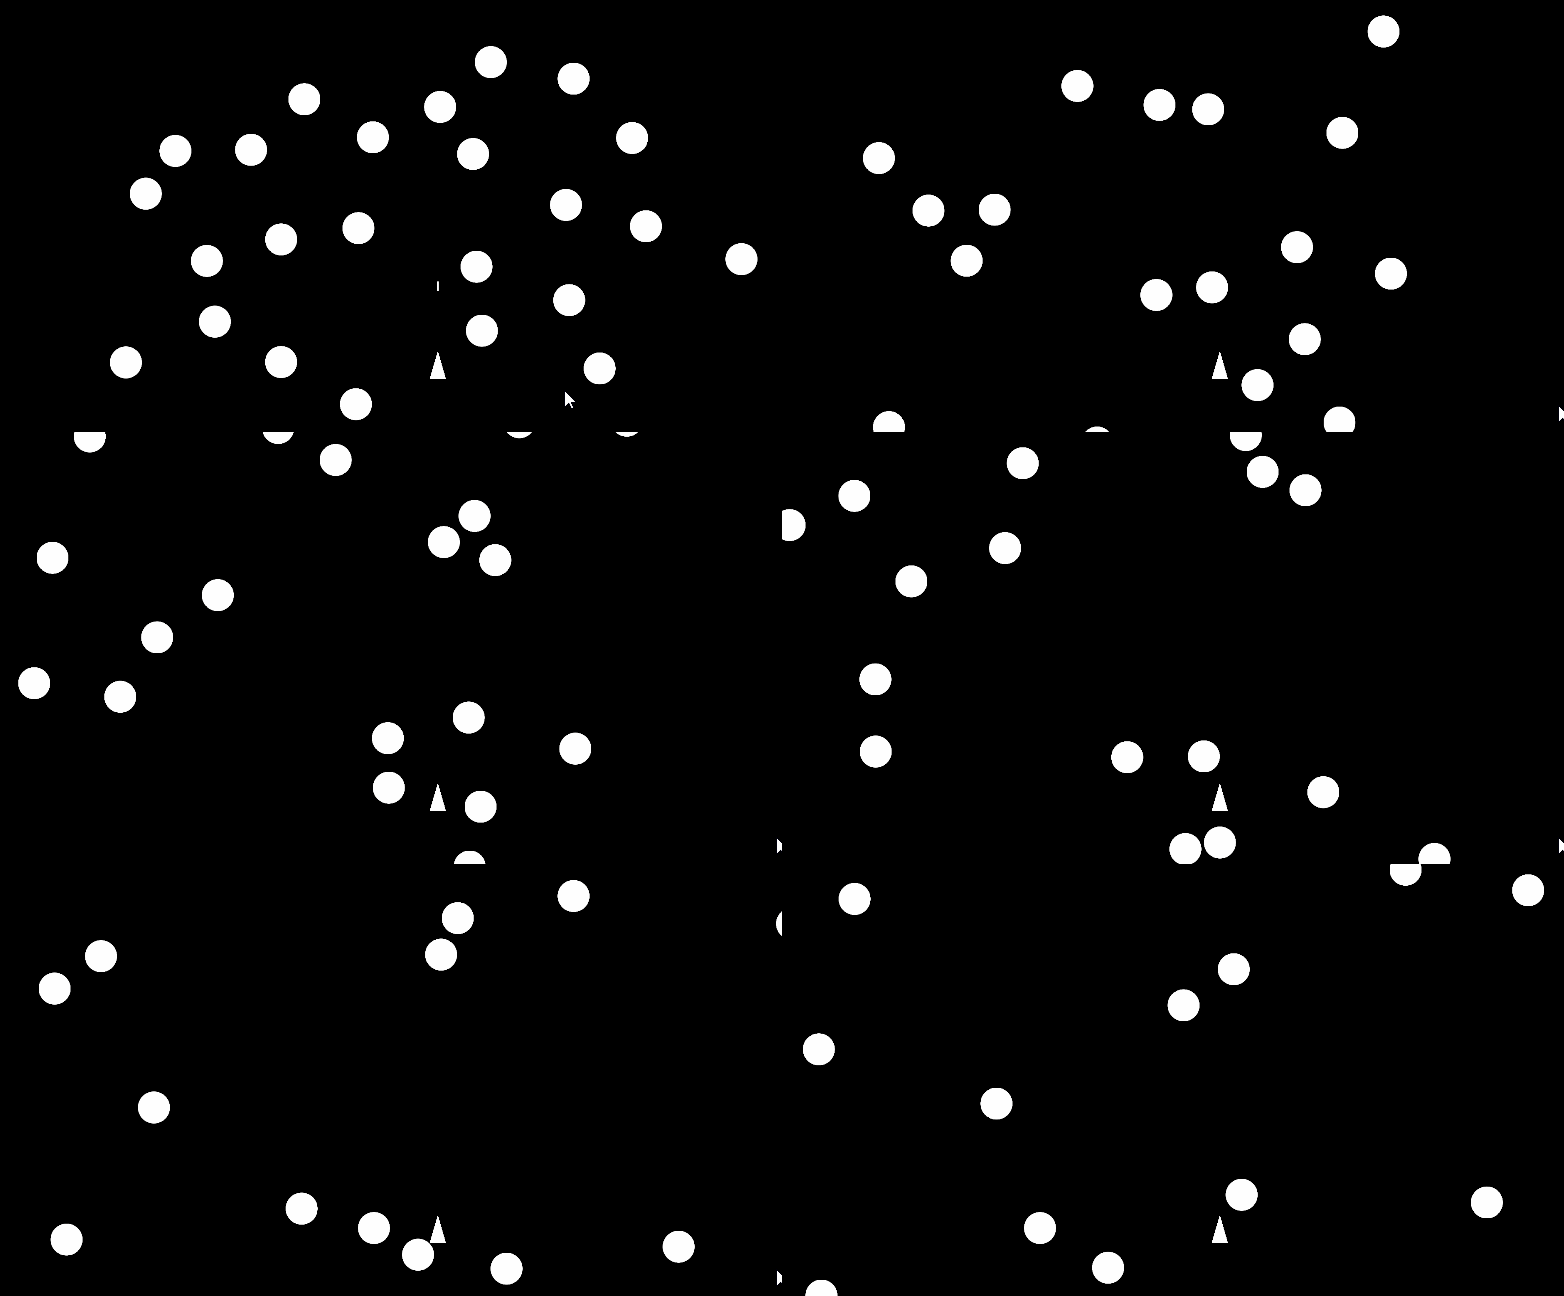
To fix this, we can use Tags. The Tag system within Unity allows us to provide game objects with specified tags or labels, and to access these tags within our script. To fix our problem, we can give our projectile a Tag and, within our Asteroid.cs file, make the asteroid only destroy itself when it collides with a game object with a projectile tag.
Creating New Tags
To create a new Tag on our asteroid prefab, first double click your projectile prefab in your Project window.
Within the Tag drop down, select Add Tag:
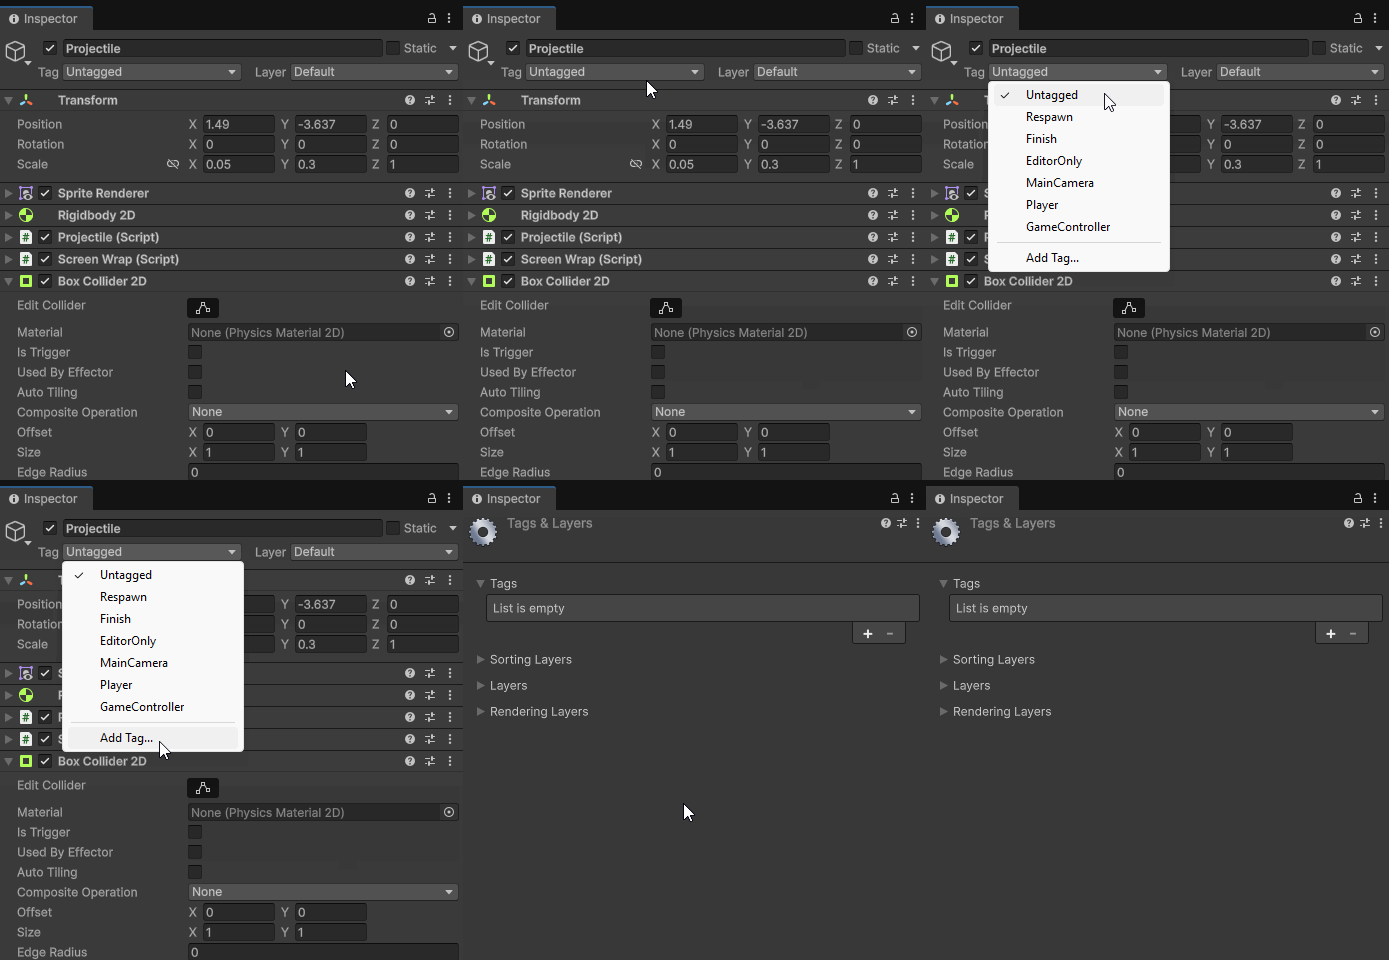
We can then create a new tag by pressing the + button in the Tags list and typing the word Projectile. Note that tags are of type string, meaning that capitalization and spelling need to match whatever we plan on using in our code:
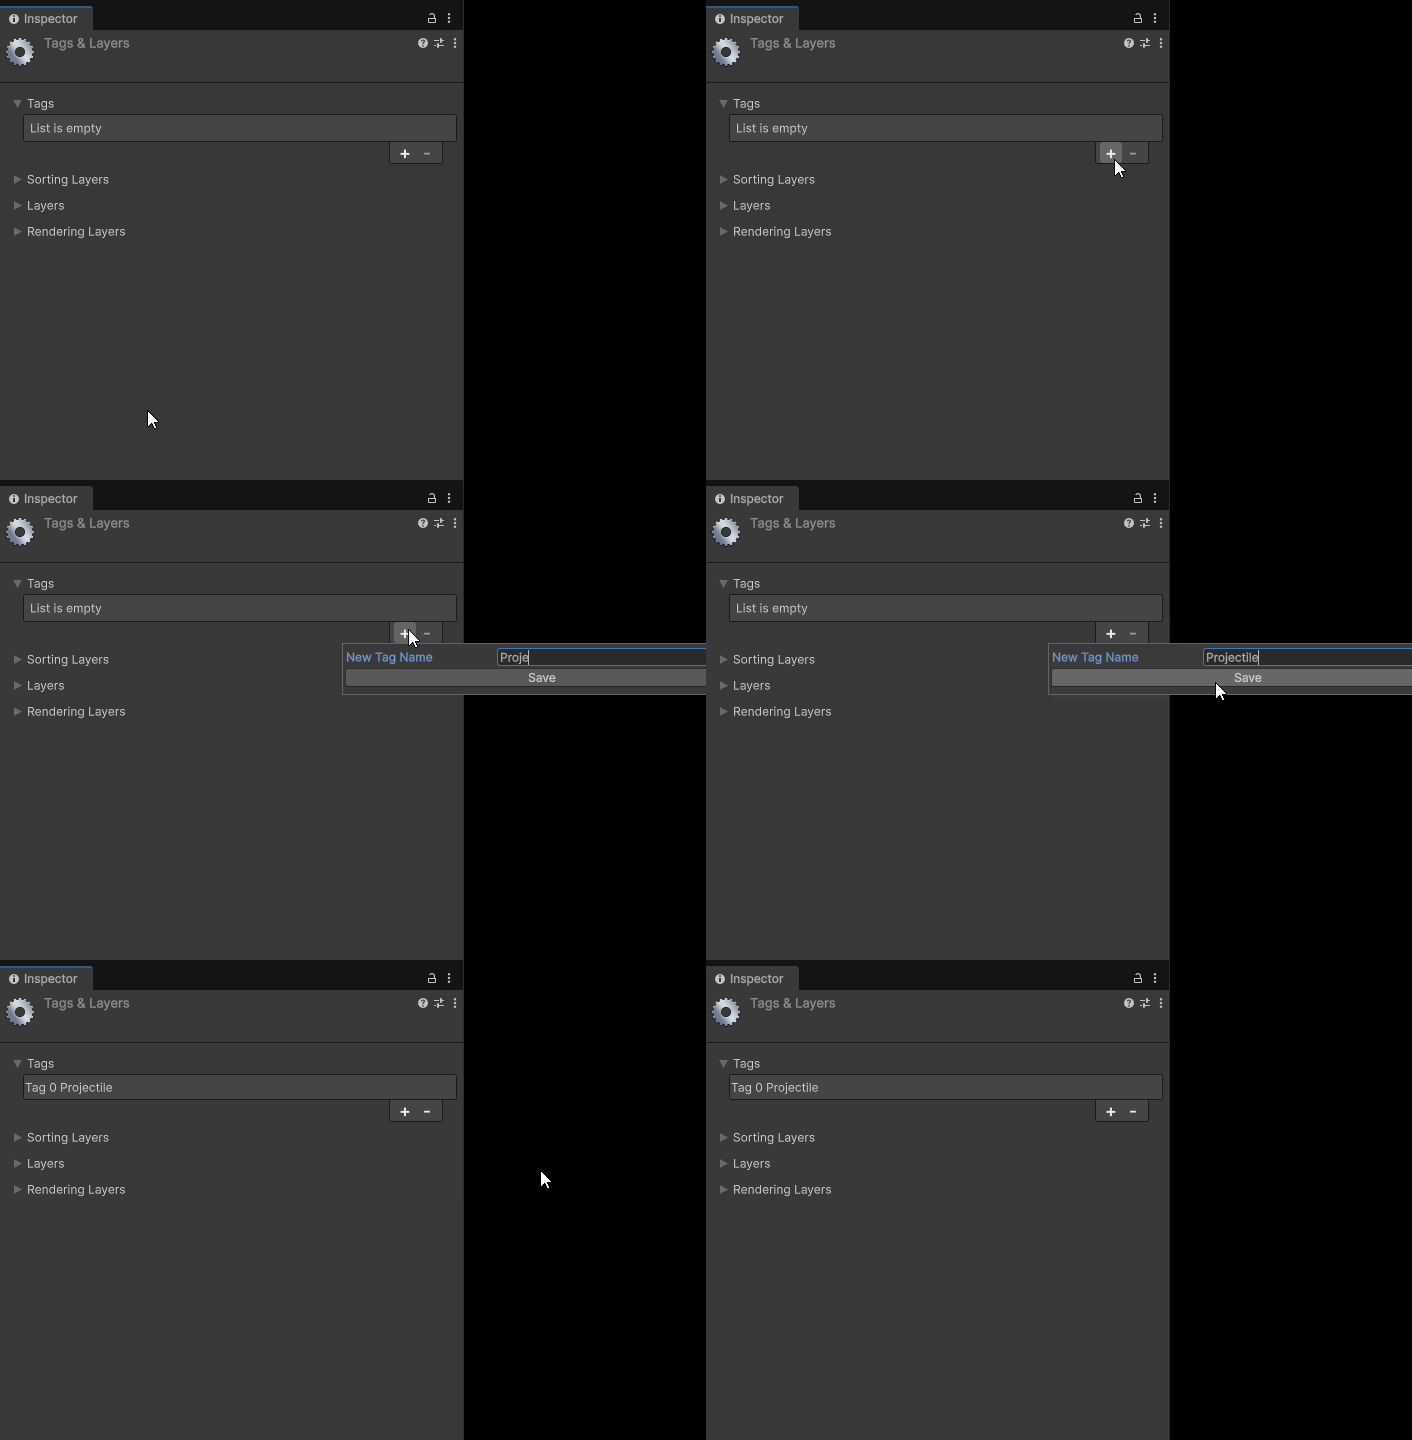
Lastly, we can add the Projectile Tag to our Projectile prefab:
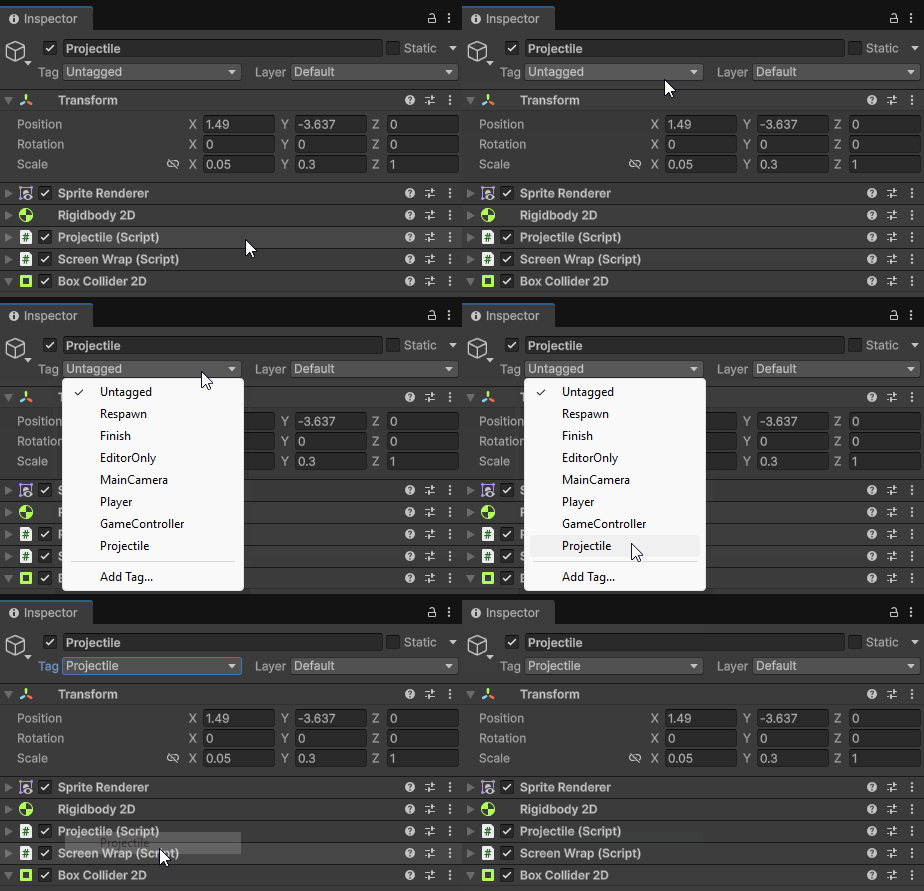
CompareTag()
Now that we have a Tag, we can edit the Asteroid.cs file to only destroy our asteroid if the colliding object has the tag Projectile. To do this, we can use the method CompareTag() on the collision variable of the OnTriggerEnter2D() method. Note that the CompareTag() method takes in a string variable. Therefore, we can provide the method with the value: "Projectile". To only destroy our asteroid when we are colliding with a projectile, we can use an if statement:
private void OnTriggerEnter2D(Collider2D collision)
{
    if (collision.CompareTag("Projectile"))
    {
        Destroy(gameObject);
    }
}
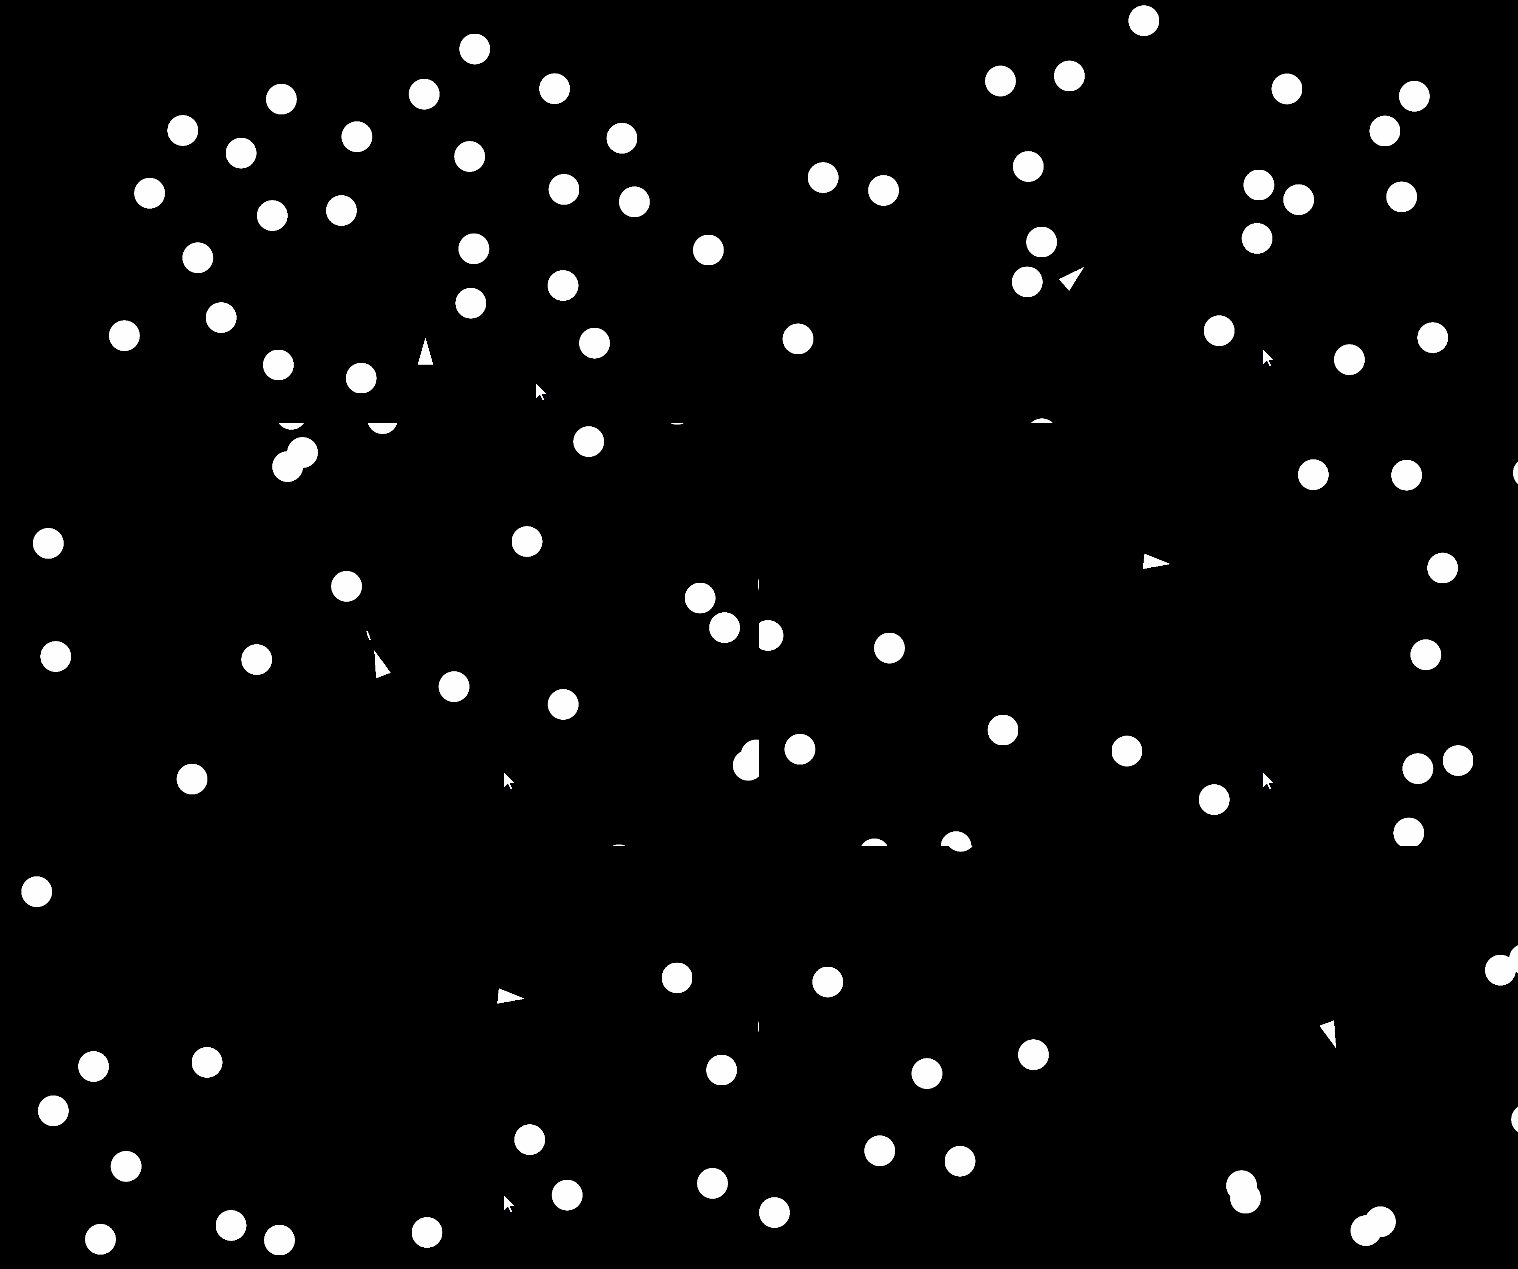
As a result, our asteroids will only be destroyed by our projectile:
At the end of this tutorial your Asteroid.cs and Projectile.cs file should look like this:
using UnityEngine;

public class Asteroid : MonoBehaviour
{
    Rigidbody2D rbody;
    public Vector2 direction;
    public float speed;

    void Start()
    {
        rbody = GetComponent<Rigidbody2D>();
        speed = Random.Range(.75f, 1.25f);
        direction = Random.insideUnitCircle;
    }

    void FixedUpdate()
    {
        Vector2 newPosition = rbody.position + direction.normalized * Time.fixedDeltaTime * speed;
        rbody.MovePosition(newPosition);
    }

    private void OnTriggerEnter2D(Collider2D collision)
    {
        if (collision.CompareTag("Projectile"))
        {
            Destroy(gameObject);
        }
    }

}
using UnityEngine;

public class Projectile : MonoBehaviour
{
    Rigidbody2D rBody;
    public float speed = 15f;
    bool forcedAdded = false;
    public float lifetime = .5f;

    void Start()
    {
        rBody = GetComponent<Rigidbody2D>();
    }

    void Update()
    {
        lifetime -= Time.deltaTime;

        if( lifetime <= 0)
        {
            Destroy(gameObject);
        }
    }

    void FixedUpdate()
    {
        if (forcedAdded == false)
        {
            rBody.AddForce(transform.up * speed, ForceMode2D.Impulse);
            forcedAdded = true;
        }
    }

    private void OnTriggerEnter2D(Collider2D collision)
    {
        Destroy(gameObject);
    }
}