Art
In this tutorial, we will learn how to import images into our Unity project. We will learn how to process images as sprites, and how to pass these sprites to our sprite renderer.
Importing Art Assets
To import images into our project, we can store our image data in a wide variety of formats. Most commonly, you will import images as PNGs to preserve transparency, however you are also able to import file formats such as JPEG or even PSD (Photoshop) files.
To start, you can download the below image and import it into your Unity by right clicking in your project window and navigating to Import New Asset…. This image is in PNG format and has a size of 256 by 256 pixels.
After we import our image into our scene, we will notice a variety of import options within the inspector window. To see our import options, we can select our image in our Project window.
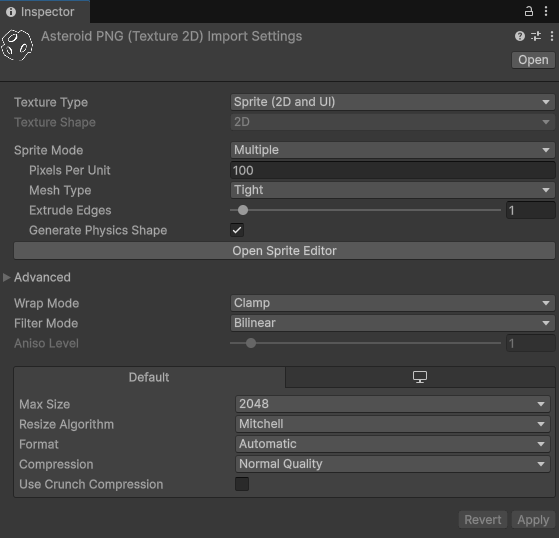
Texture Type
We should note that the Texture Type of our image in a Sprite (2D and UI). A sprite is particular type of format used within games and interactive media that is able to store single or multiple images. Currently our image file only consists of one image, an asteroid. Most imported sprite images, however, typically include a number of images within one file. These sprite sheets might include a single animation or a set a tiles that you might use within your project. For example, the below animation rendered on this site as a gif could be imported into Unity using a sprite sheet with multiple images that make up each frame of the animation.
Animation:
Sprite (4 frames of animation in single image):
We will discuss importing, creating, and managing animations in the next tutorial. For now, we can focus on the idea that a sprite is an image that can be chopped up and is able to store a variety of images.
Sprite Mode and Size
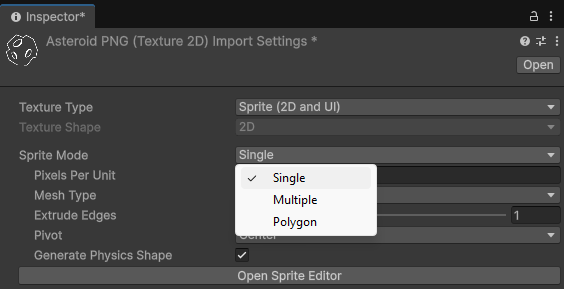
Given that our current sprite is only a single image, we need to be sure to set the Sprite Mode of our image to Single. Instead of Unity attempting to find multiple sprites within our image, setting our sprite mode to Single will turn our full image into a single sprite:
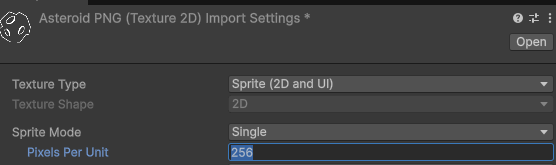
Additionally, we can notice that our Pixels Per Unit is currently set to 100. This is the default setting when importing any Sprite asset. This number refers to how large our sprite is within our scene, or, in other words, how many units large our sprite is. As an example, since our imported image is 256 by 256 pixels, and our Pixels per Unit is set to 100 pixels, our image should be around 2.5 units on both its length in height. If we were to drag our AsteroidPNG into our scene, we would see that this is the case:
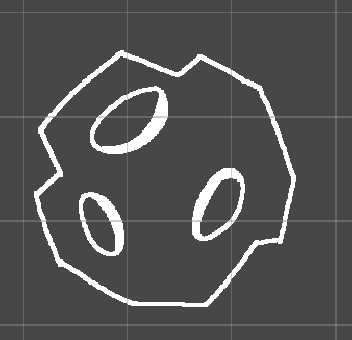
If we were to change our Pixels per Unit to 256, the size of our image:
and then press Apply near the bottom of the Inspector window:
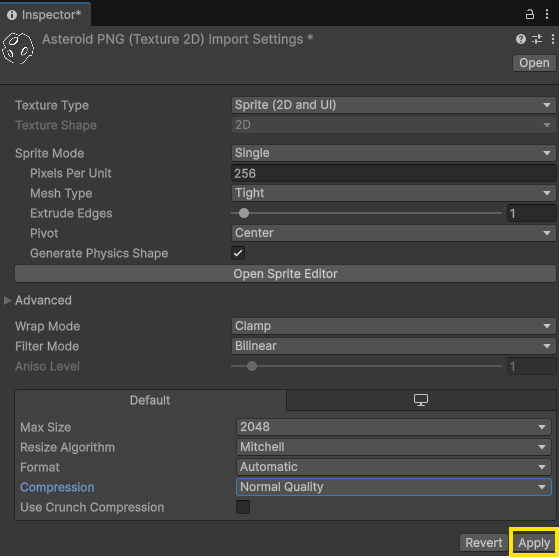
We can see that the asteroid image now only fills a single unit:
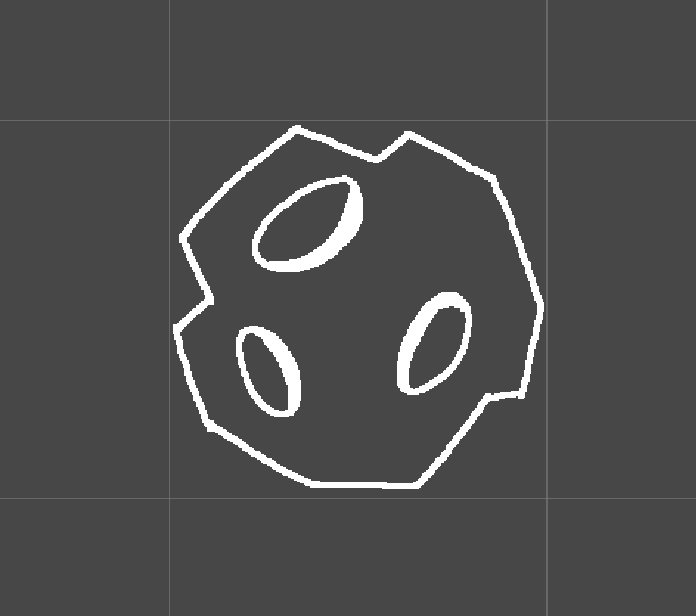
One of the main reasons we want to make sure our sprite only fills one unit is that the gray box version of our game is all based on one unit measurements. Consider our Asteroid: we developed our asteroid game object using a circle that is of a scale value of 1. This means that the circle of our asteroid prefab takes up one unit squared. By making sure our imported images are only one unit large, we can easily swap our imported sprites in.
Filtering and Compression
When importing images into Unity, filtering and compression is automatically applied to your imported images. Depending on the type of images you are importing, this filtering and compression can have a variety of results.
As a rule of thumb, when importing large images or photographs it is best to keep the Filter Mode and Compression setting set to Bilinear and Normal Quality, respectively. This will reduce sharp pixels and allow your large images to load faster:
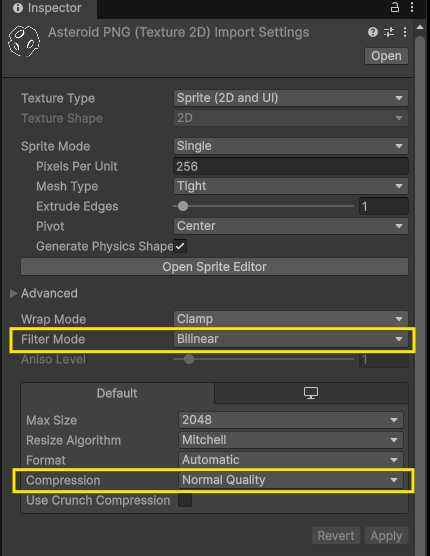
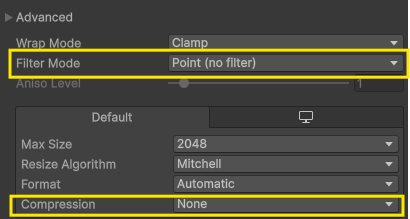
When importing pixel art, or images at low resolutions, it is best to use the following settings:
- Filter Mode: Point (no filter)
- Compression: None
This will allow for crisp pixels and for the small range of colors to not be distorted by the compression algorithm. Below is an image of the settings as well as examples of the two different types of settings with a pixel art image:
Filter Mode: Bilinear, Compression: Normal Quality:
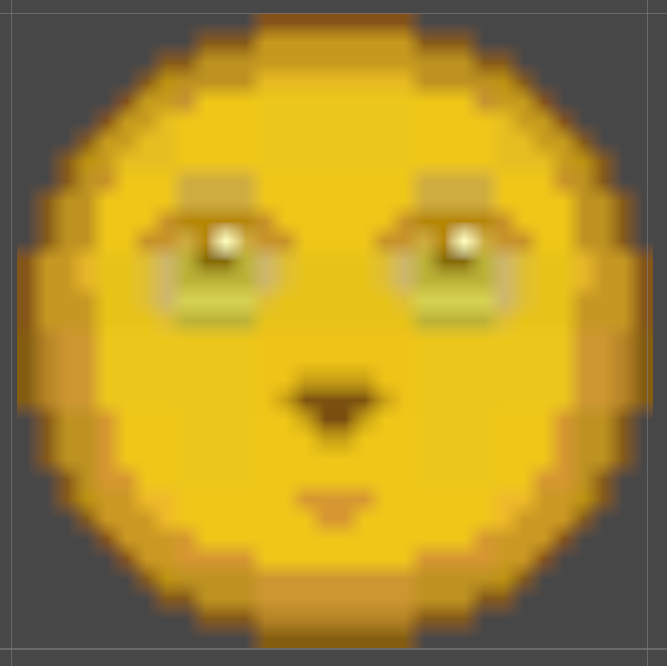
Filter Mode: Point, Compression: None:
For our asteroid, let’s make sure that we set Compression to None and Filter Mode to Point. Remember also to press Apply near the bottom of the inspector window.
Using Sprites
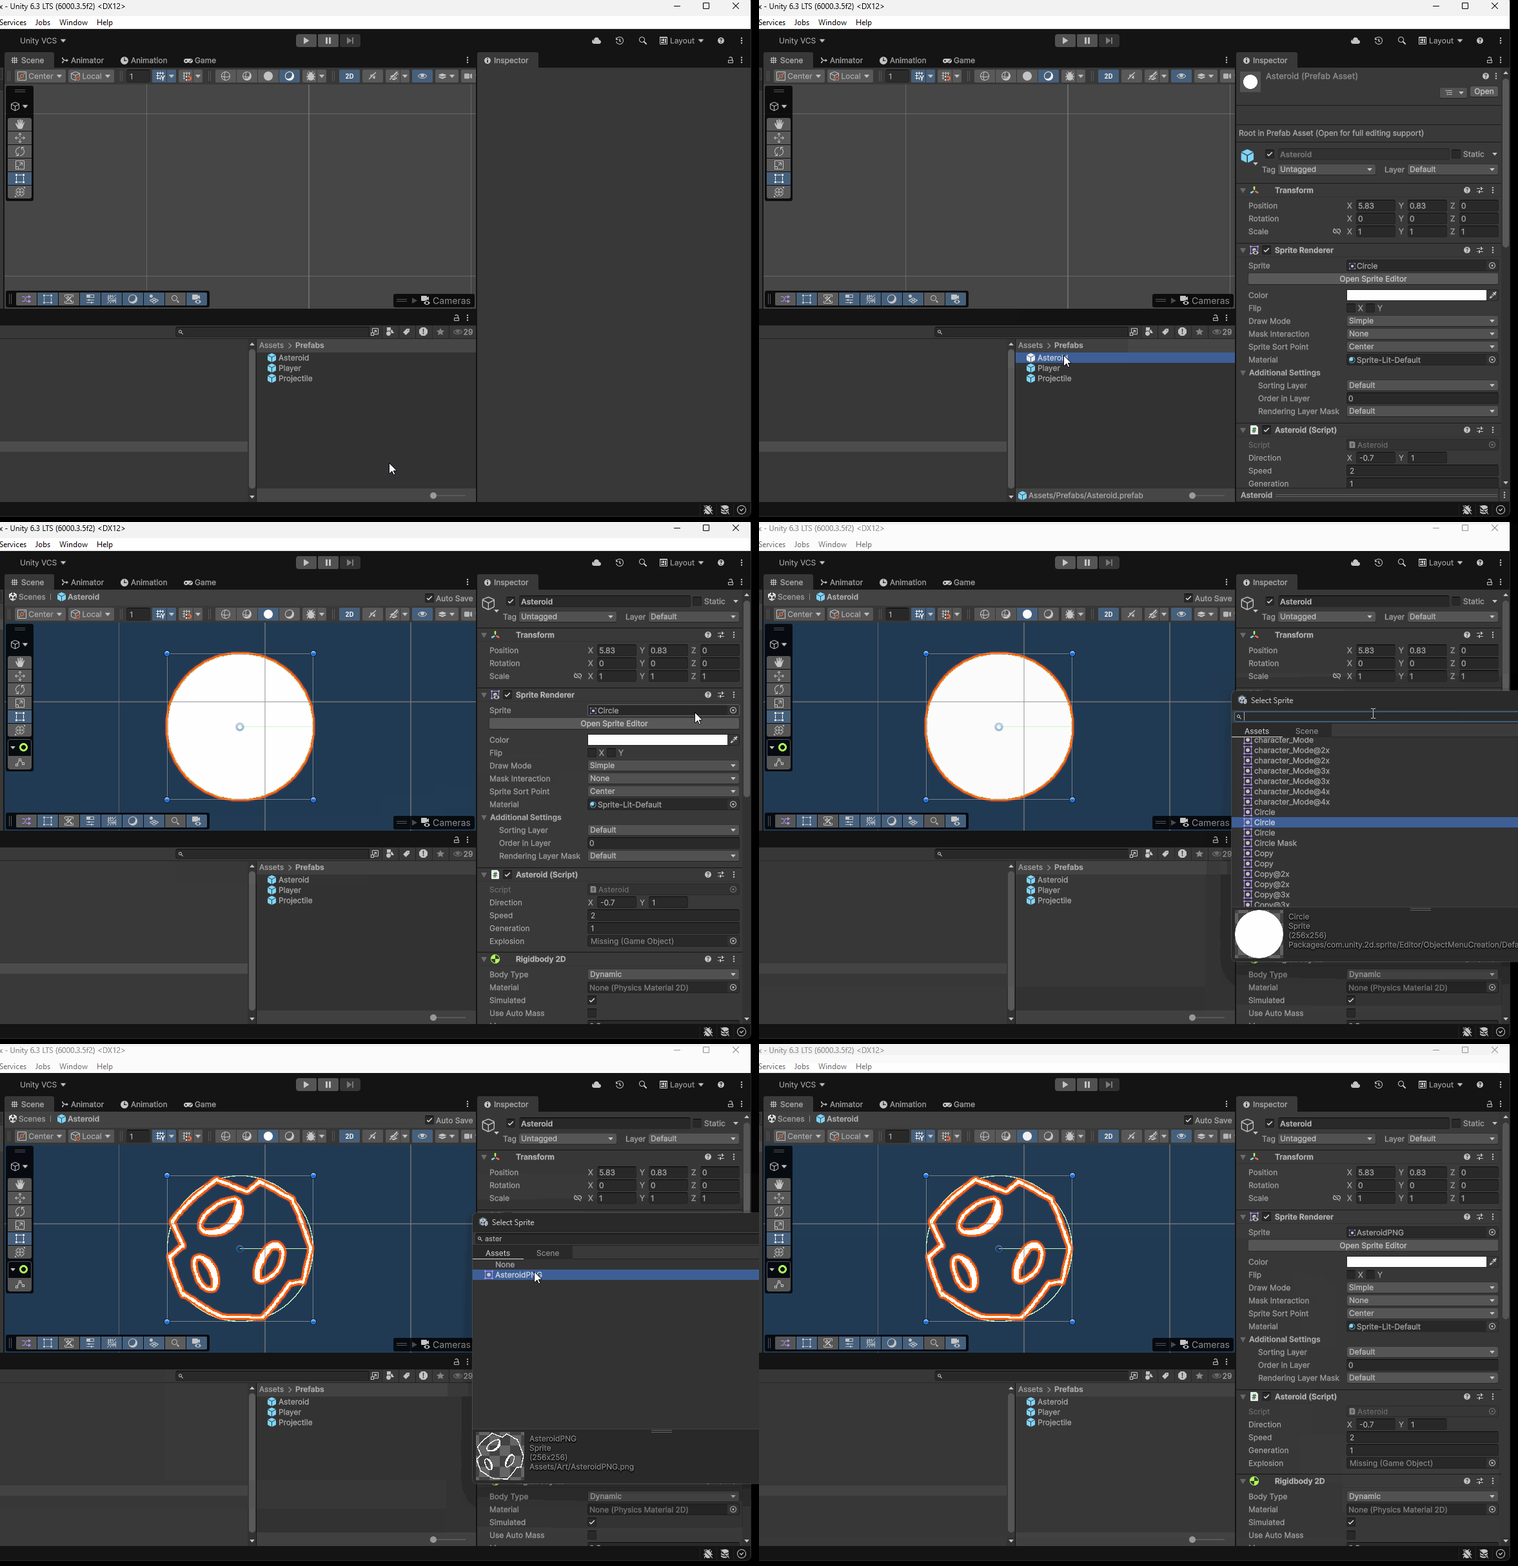
Now that our sprite is imported and the settings are correct. We can assign an of our objects to display this sprite. Since this is the sprite for our Asteroid, we can set our asteroid to use this sprite by following the below steps:
- Select the Asteroid Prefab and enter into Prefab editing mode
- Locate the Sprite Renderer component
- Select the circle within the Sprite property to search for a new sprite.
- Select the imported Asteroid sprite
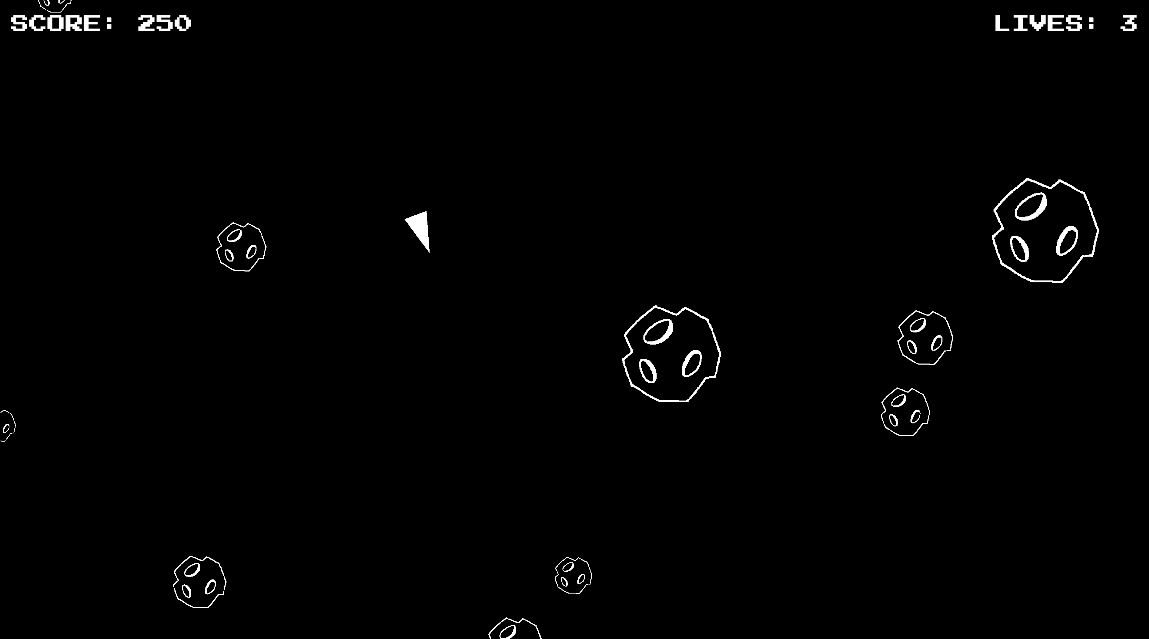
If we play our project we will see that this asteroid image is being used for all of our asteroid game objects:
Random Rotation
As a final step for this tutorial, let’s add a random rotation to our Asteroids when they spawn so that all of our images are not facing the same direction. We can do this within the Start() method of our Asteroid.cs file.
With the Start() method, we can begin by choosing a random angle between 0 and 360. We can store this random float value within a variable called randomAngle:
void Start()
{
    float randomAngle = Random.Range(0, 360);

//...rest of code
Next, we need to provide this angle to the Rotation value of the transform component of the Asteroid game object. Since rotation in unity is handle by using Quaternions (a mathematical term that is well beyond the scope of this class), we need to convert the rotation of our transform to instead use the more intuitive X,Y,Z rotation angles, also known as Euler Angles.
Since Euler Angles are a Vector3 value, lets first create a Vector3 variable to hold our new rotation. Since we are working within 2D, we only want our rotation to be along the Z axis of our game object. Therefore, we can create a new Vector3 that has a value 0 for the X and Y axis and a value of our randomAngle for the Z axis.
void Start()
{
    float randomAngle = Random.Range(0, 360);
    Vector3 randomRotation = new Vector3(0,0,randomAngle);
Lastly, we can assign this to our transform.Rotation by first calling the method Quaternion.Euler() and providing this method our new Vector3 randomRotation. This method converts Euler Angles into a quaternion.
    void Start()
    {
        float randomAngle = Random.Range(0, 360);
        Vector3 randomRotation = new Vector3(0,0,randomAngle);
        transform.rotation = Quaternion.Euler(randomRotation);
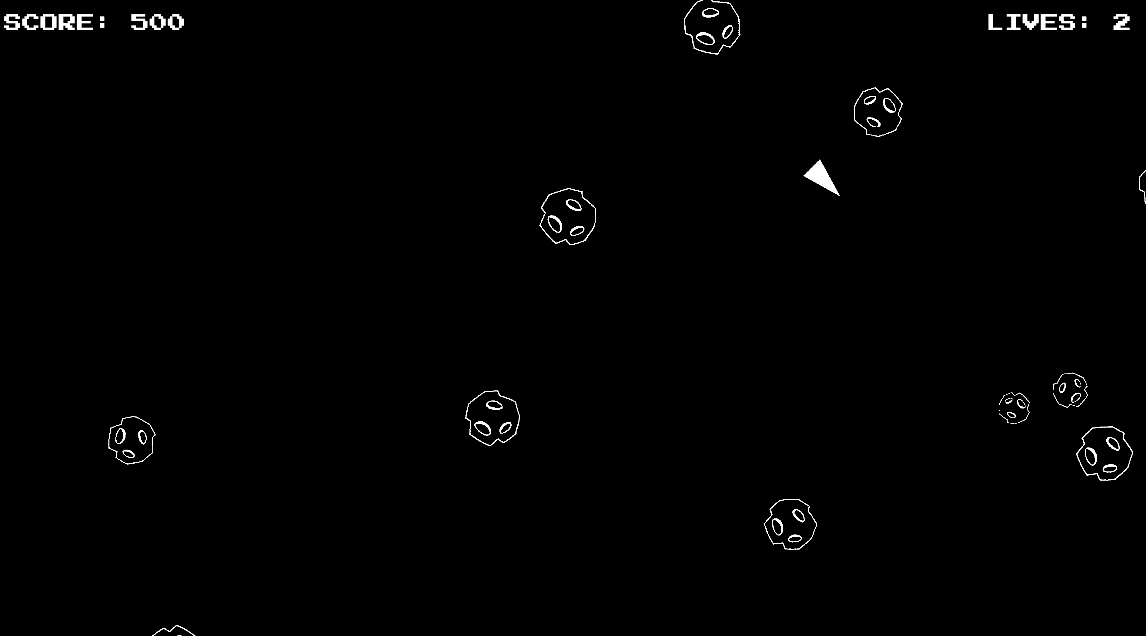
As a result, all of our asteroids will now have a random rotation applied to them when they are instantiated:
Challenge
As a challenge, see if you can allow your asteroid to select a random sprite when it is created. This would allow for a greater level of variety of the asteroids in your scene.