Animation
In this tutorial we will learn how to handle Animation within Unity.
Creating Animations
To create 2D animations for Unity, you can use a variety of tools. Some of the most common and acessible tools for creating 2D animations include:
- Photoshop (available through Intercollegiate Media Studies)
- Aseprite (a low cost sprite creator software)
- Piskel (a free online pixel art tool)
- Procreate (popular iPad app)
- Clip Studio (popular application for digital painting)
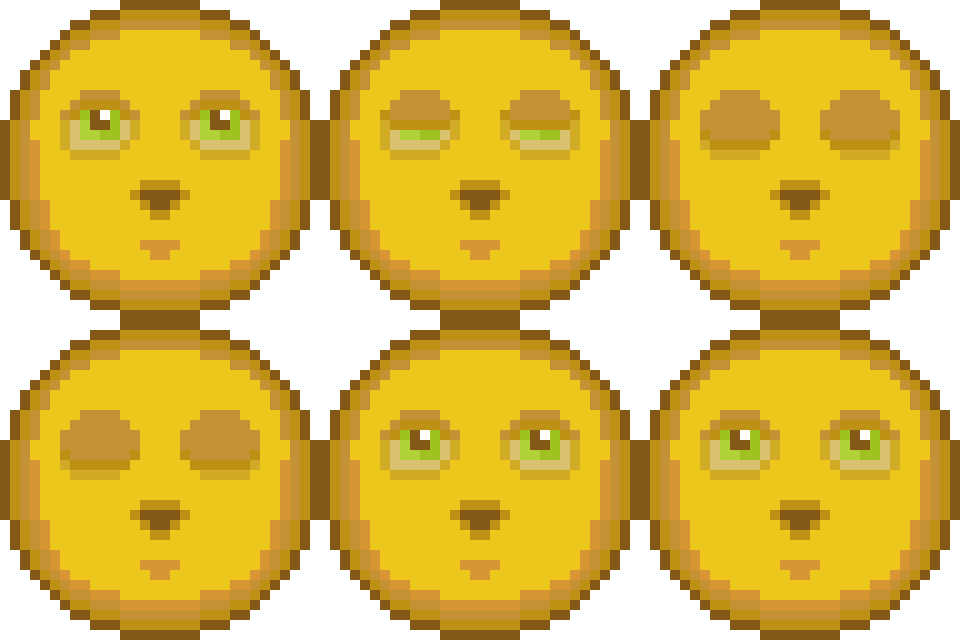
What is ultimately exported for any of these tools, however, is an image that contains all of the frames of your animation that can be processed within Unity. For example, I could make a simple blinking animation using Piskel:
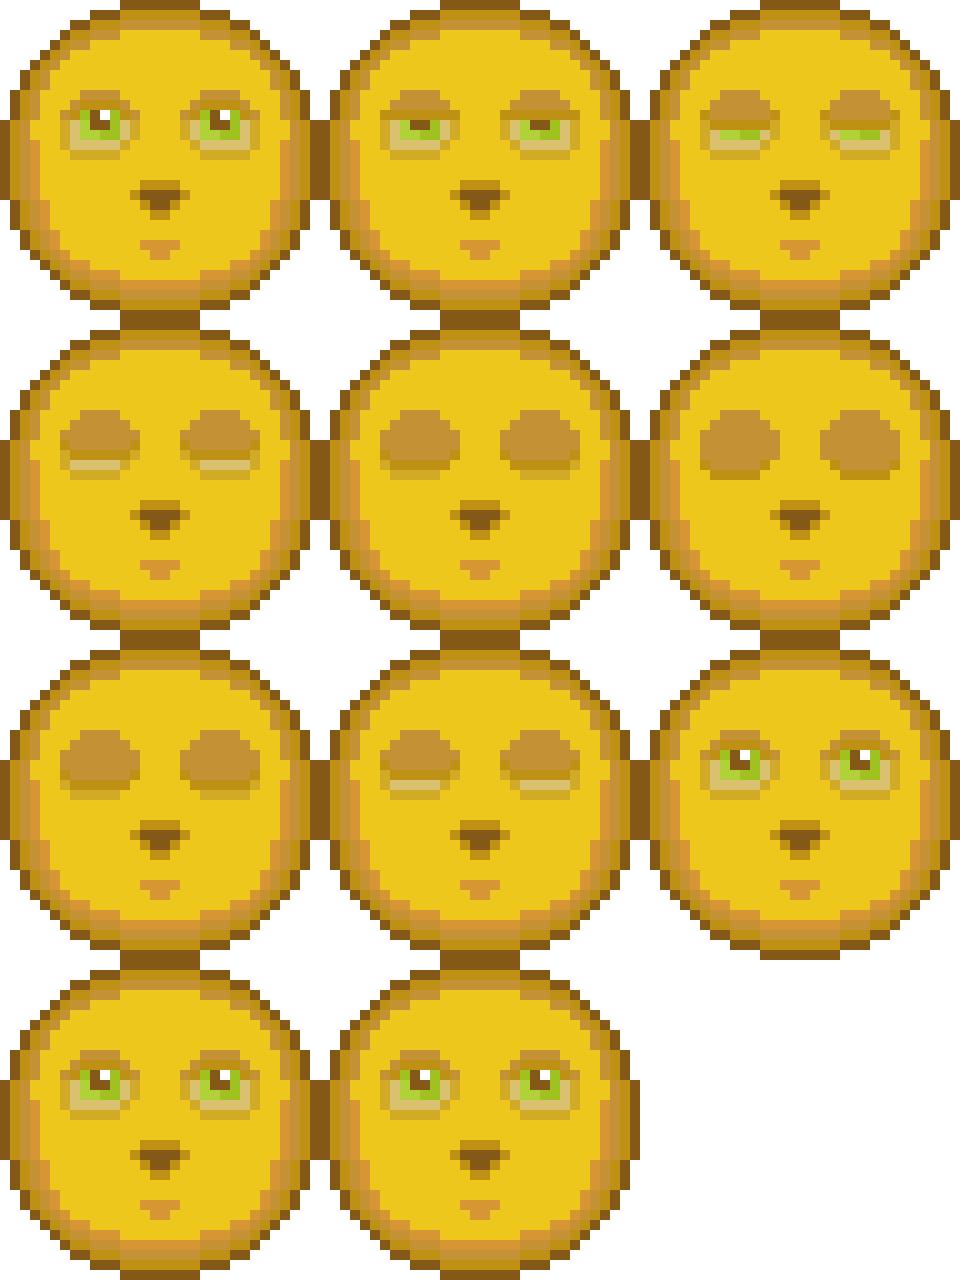
To get this animation into Unity I could export each frame individually, but it is best to export and image with all the frames of your animation. This can be done natively in software such as Piskel and Aseprite, however this will need to be done manually for software such as Photoshop. An exported sprite sheet will include all the frames of my animation:
Explosion Animation
As part of this tutorial, let’s create an explosion animation for our Asteroid. We can begin by downloading the following animation as a sprite sheet:
Importing Animation
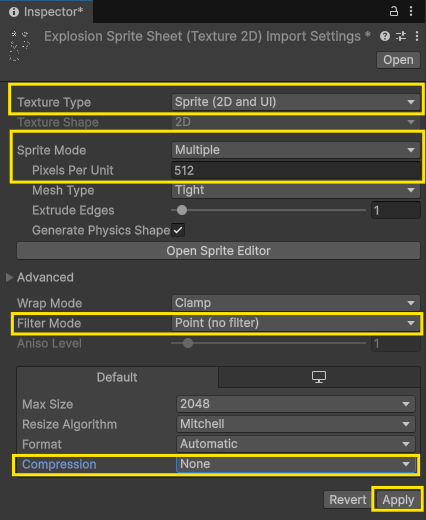
Once we download our sprite sheet and bring it into our scene. We then need to change our import settings. To begin, lets make sure we have the following settings set:
- Texture Type: Sprite
- Sprite Mode: Multiple
- Pixels Per Unit: 256
- Filter Mode: Point
- Compression: None
Make sure to press Apply:
Sprite Editor
Once we have our sprite settings correct, we need to begin slicing up our sprite sheet. This will allow Unity to know the boundaries of each image, letting us create our animations.
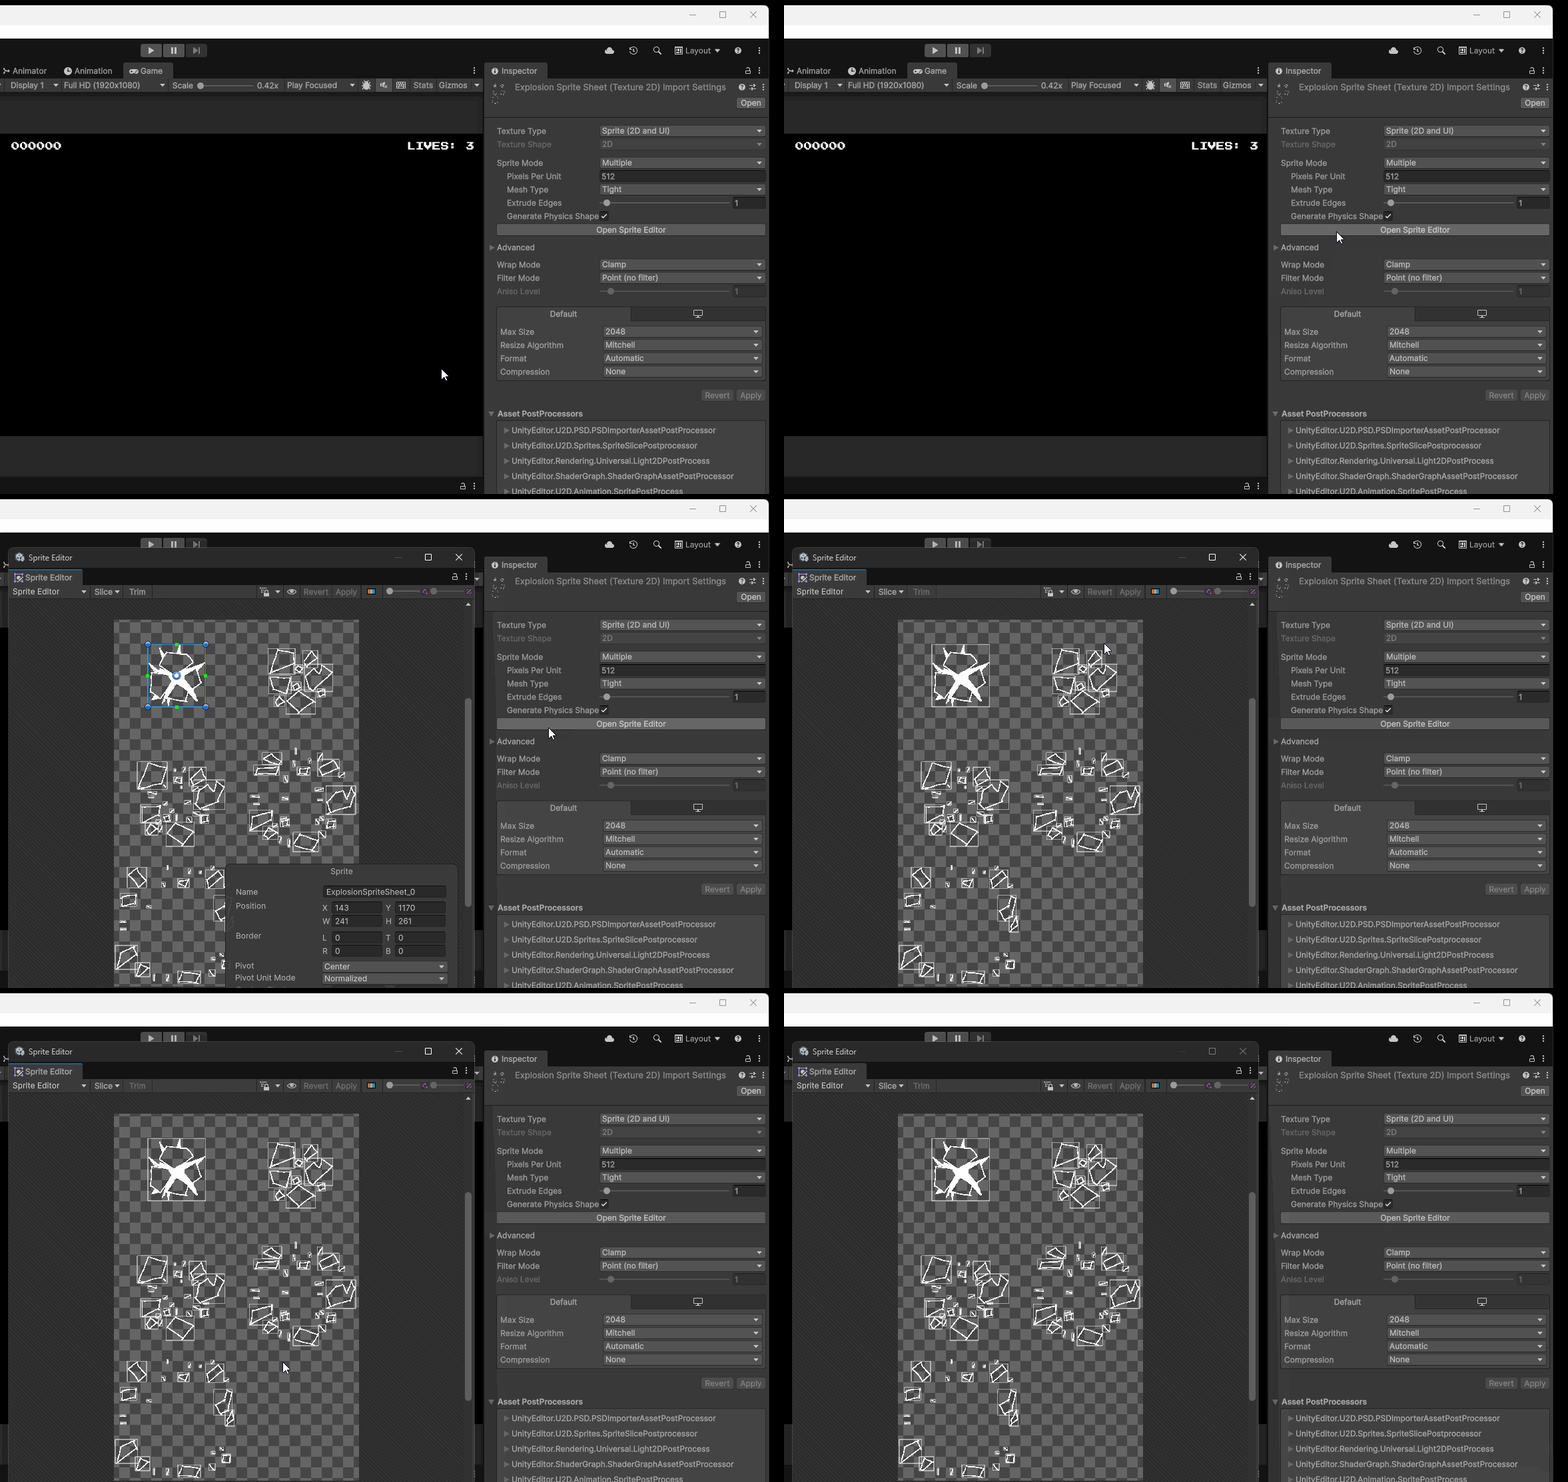
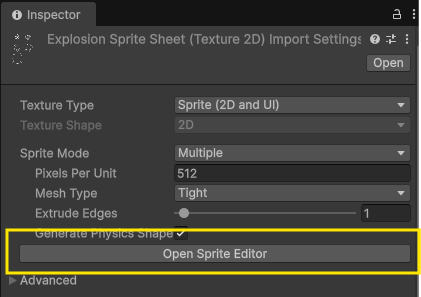
By default, Unity will attempt to slice our sprite sheet. We can see this by navigating to our imported sprite sheet, inspector and then to the Open Sprite Editor button and observing the boundary boxes on the different parts of our sheet:
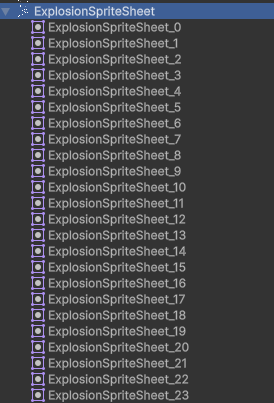
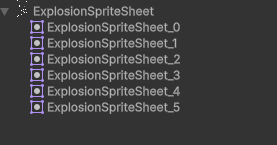
We also see how Unity has split up our sprite by looking at the image within our project folder. If we press the arrow next to our image we can see all of the different sprite assets Unity has produced from our sheet:
Returning to our original animation and sprite sheet, we know that our animation only contains 6 frames, with the last frame being a blank image. With that in mind, we need to tell Unity our sheet only contains six images.
Slicing Sprites
To slice our sprites into six images we have a few options. However, two methods tend to work best in most cases. We can either tell Unity:
- How many pixels are in each sprite
- Or, how many rows and columns are within our sprite sheet.
To do this, we first need to open the Sprite Editor using the Open Sprite Editor Button:
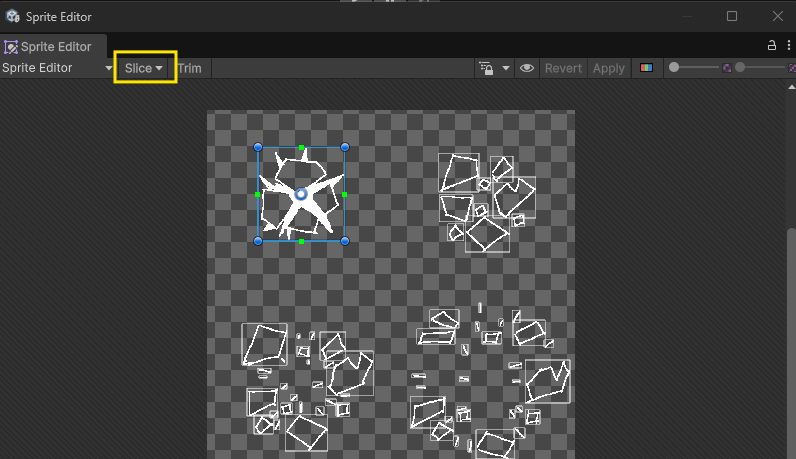
With our sprite sheet open, we can then navigate to Slice:
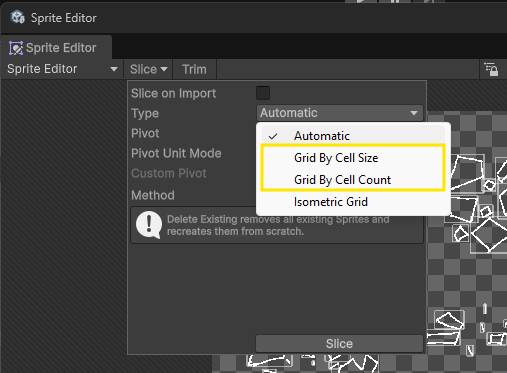
Next, after selecting slice, we either want to set our Type to Grid By Cell Size or Grid by Cell Count:
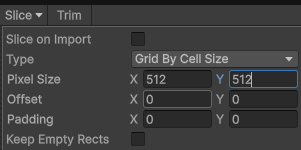
Grid by Cell Size will allow us to enter in the size of our cells, or, in other words, the size of our images:
Gird by Cell Count will allow us to enter in the number of rows and columns that make up our sprite sheet:
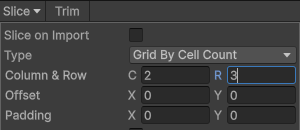
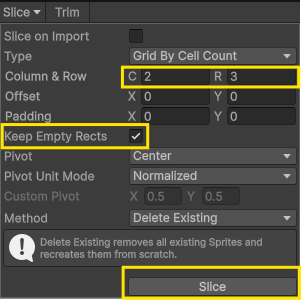
Either option will work in our case. For this tutorial, let’s use Grid by Cell Count and enter in a value of 2 for Column (C) and value of 3 for Rows (R). Additionally, let’s make sure we check Keep Empty Recs since we want to include our last blank frame as part of our animation. The reason we need to keep this blank frame is because we will play our animation once each time our asteroid is destroyed so we need the animation to end on an empty frame as the last frame will remain on our screen until the animation game object is destroyed. Make sure to press Slice at the bottom of the slice menu:
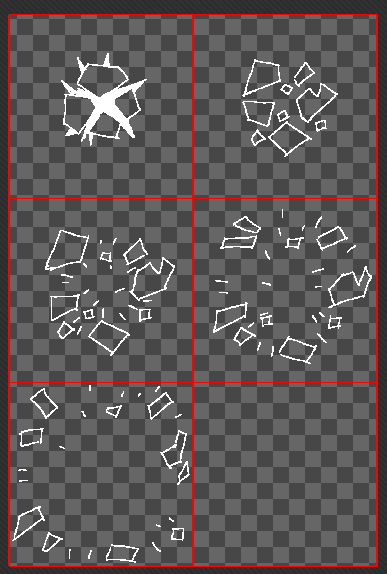
The result will be our sprite sheet split up into six images, each containing a frame of our animation:
As a last step, we need to press Apply in the upper right corner of the Sprite Editor:
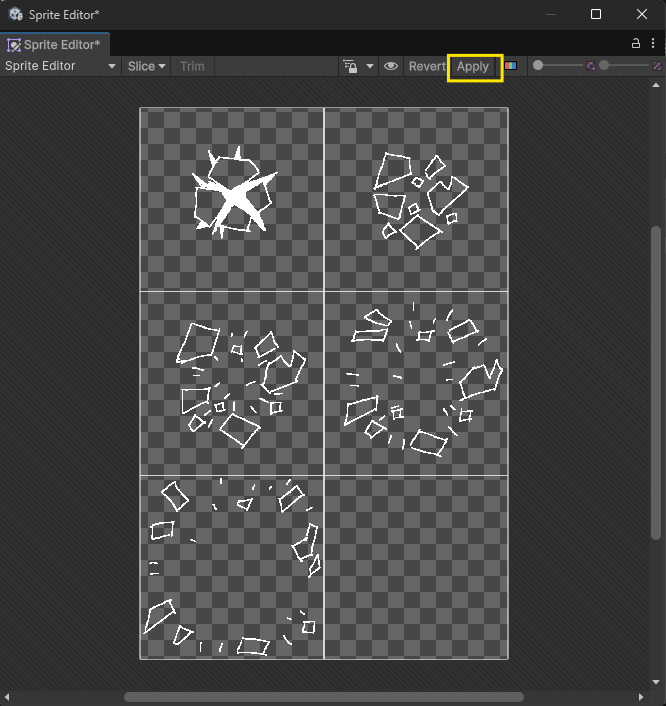
We will notice that our original sprite file now only contains six images:
Creating Animator
Our next step is to take our images and create an animation. The easiest way to do this in Unity is to to use shift select to select all of the frames of our animation, and then drag those frames into our hierarchy:
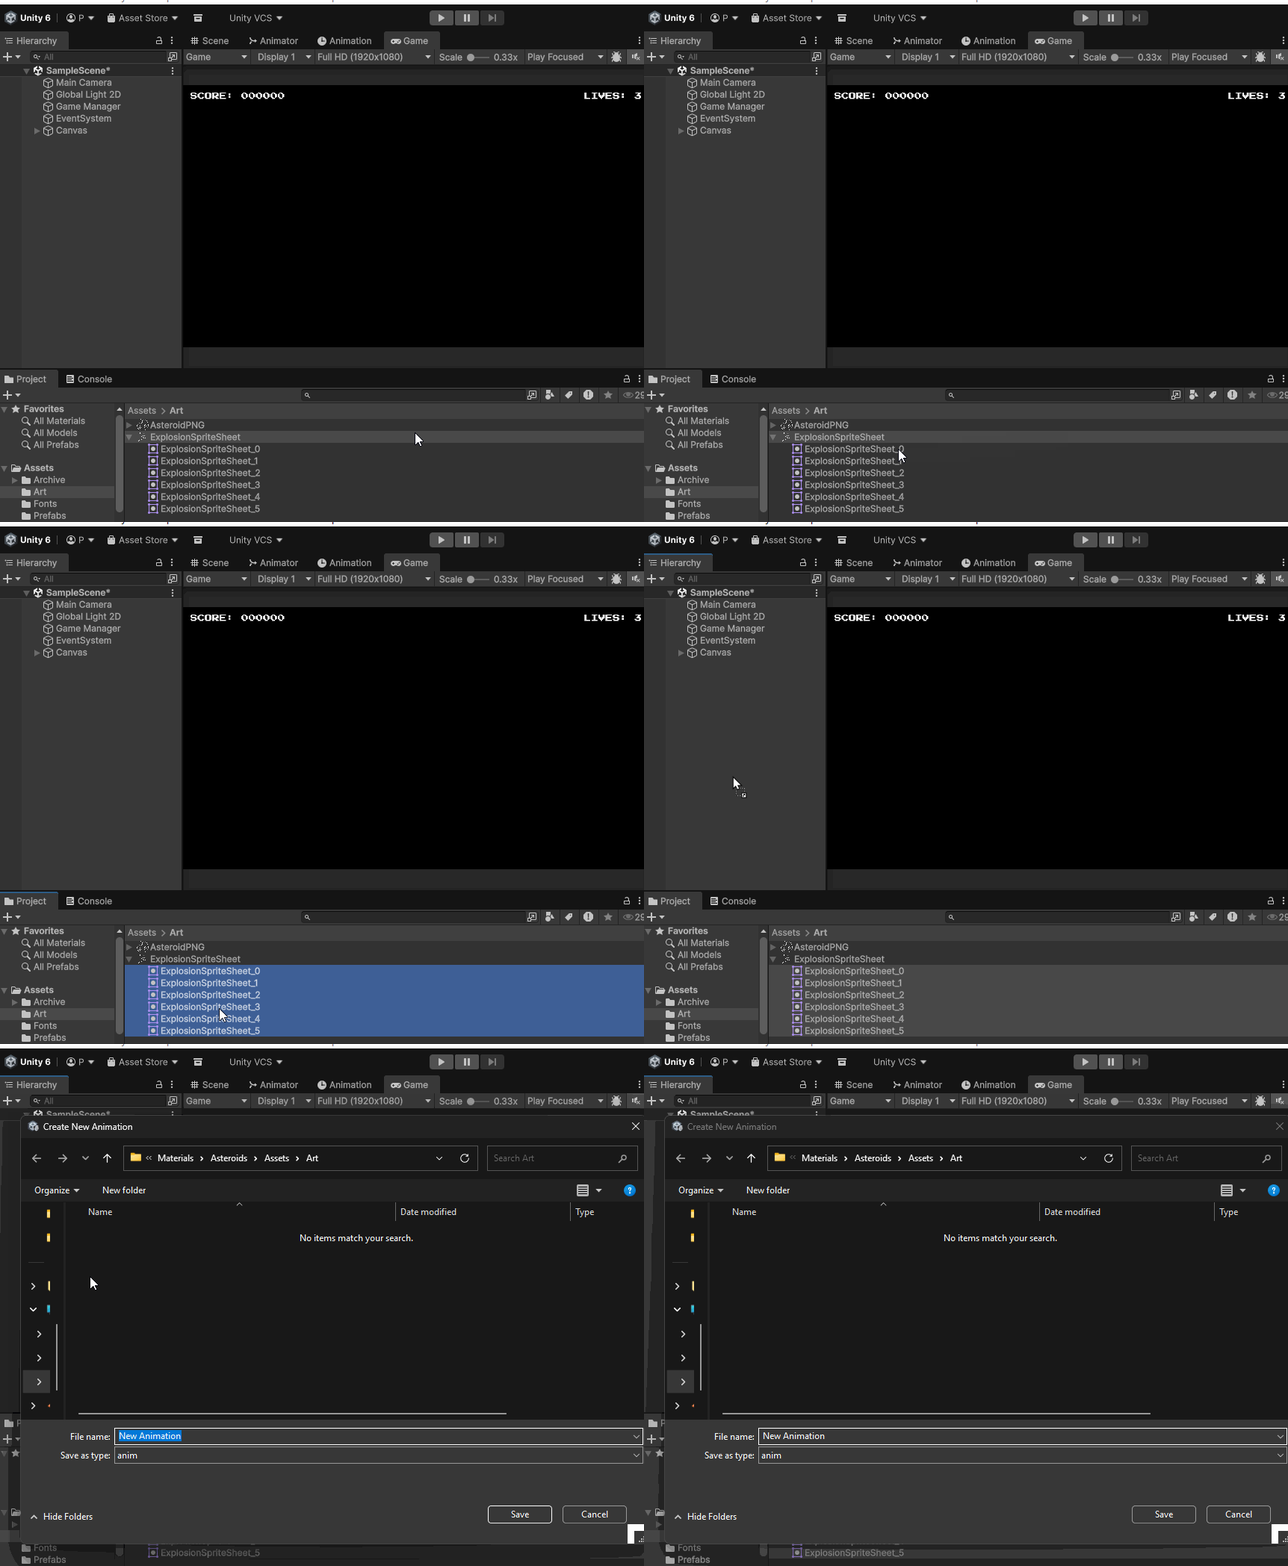
This will result in a dialog pop up where we can choose to save our animation. Let’s name our animation explosion, and save it within our Art folder we created for our art assets:
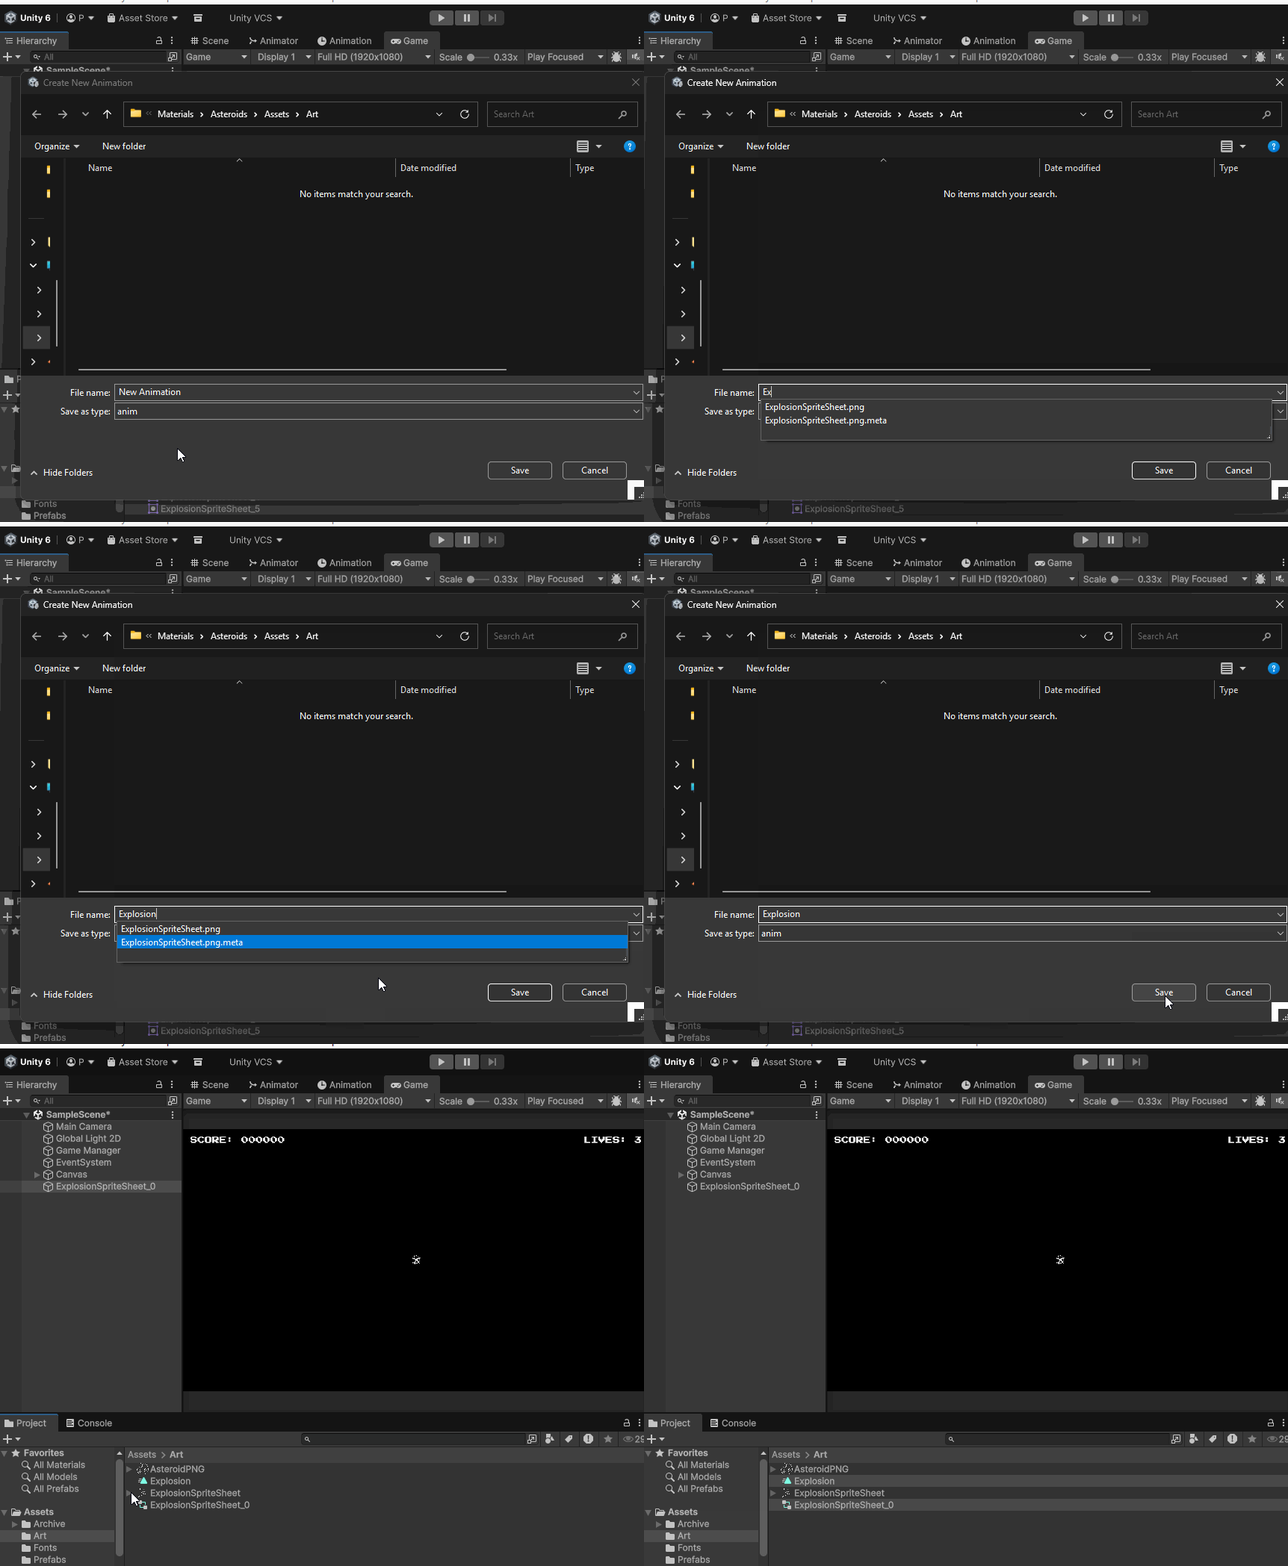
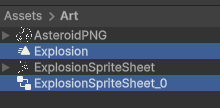
We will notice that when we save our animation, two files are created within our project folder:
- An animation file (named Explosion)
- An Animator controller file name (ExplosionSpriteSheet_0)
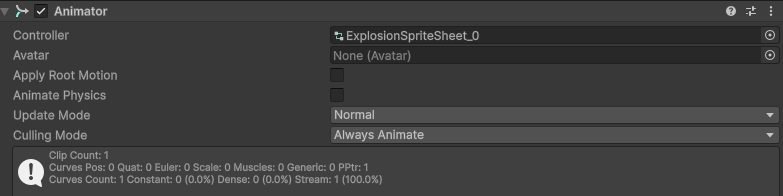
We will cover Animators and animator controllers in the next tutorial, but for now, if we click on our Explosion Sprite Sheet in our hierarchy , we will see that it contains an Animator component. This controls the play back of animations.
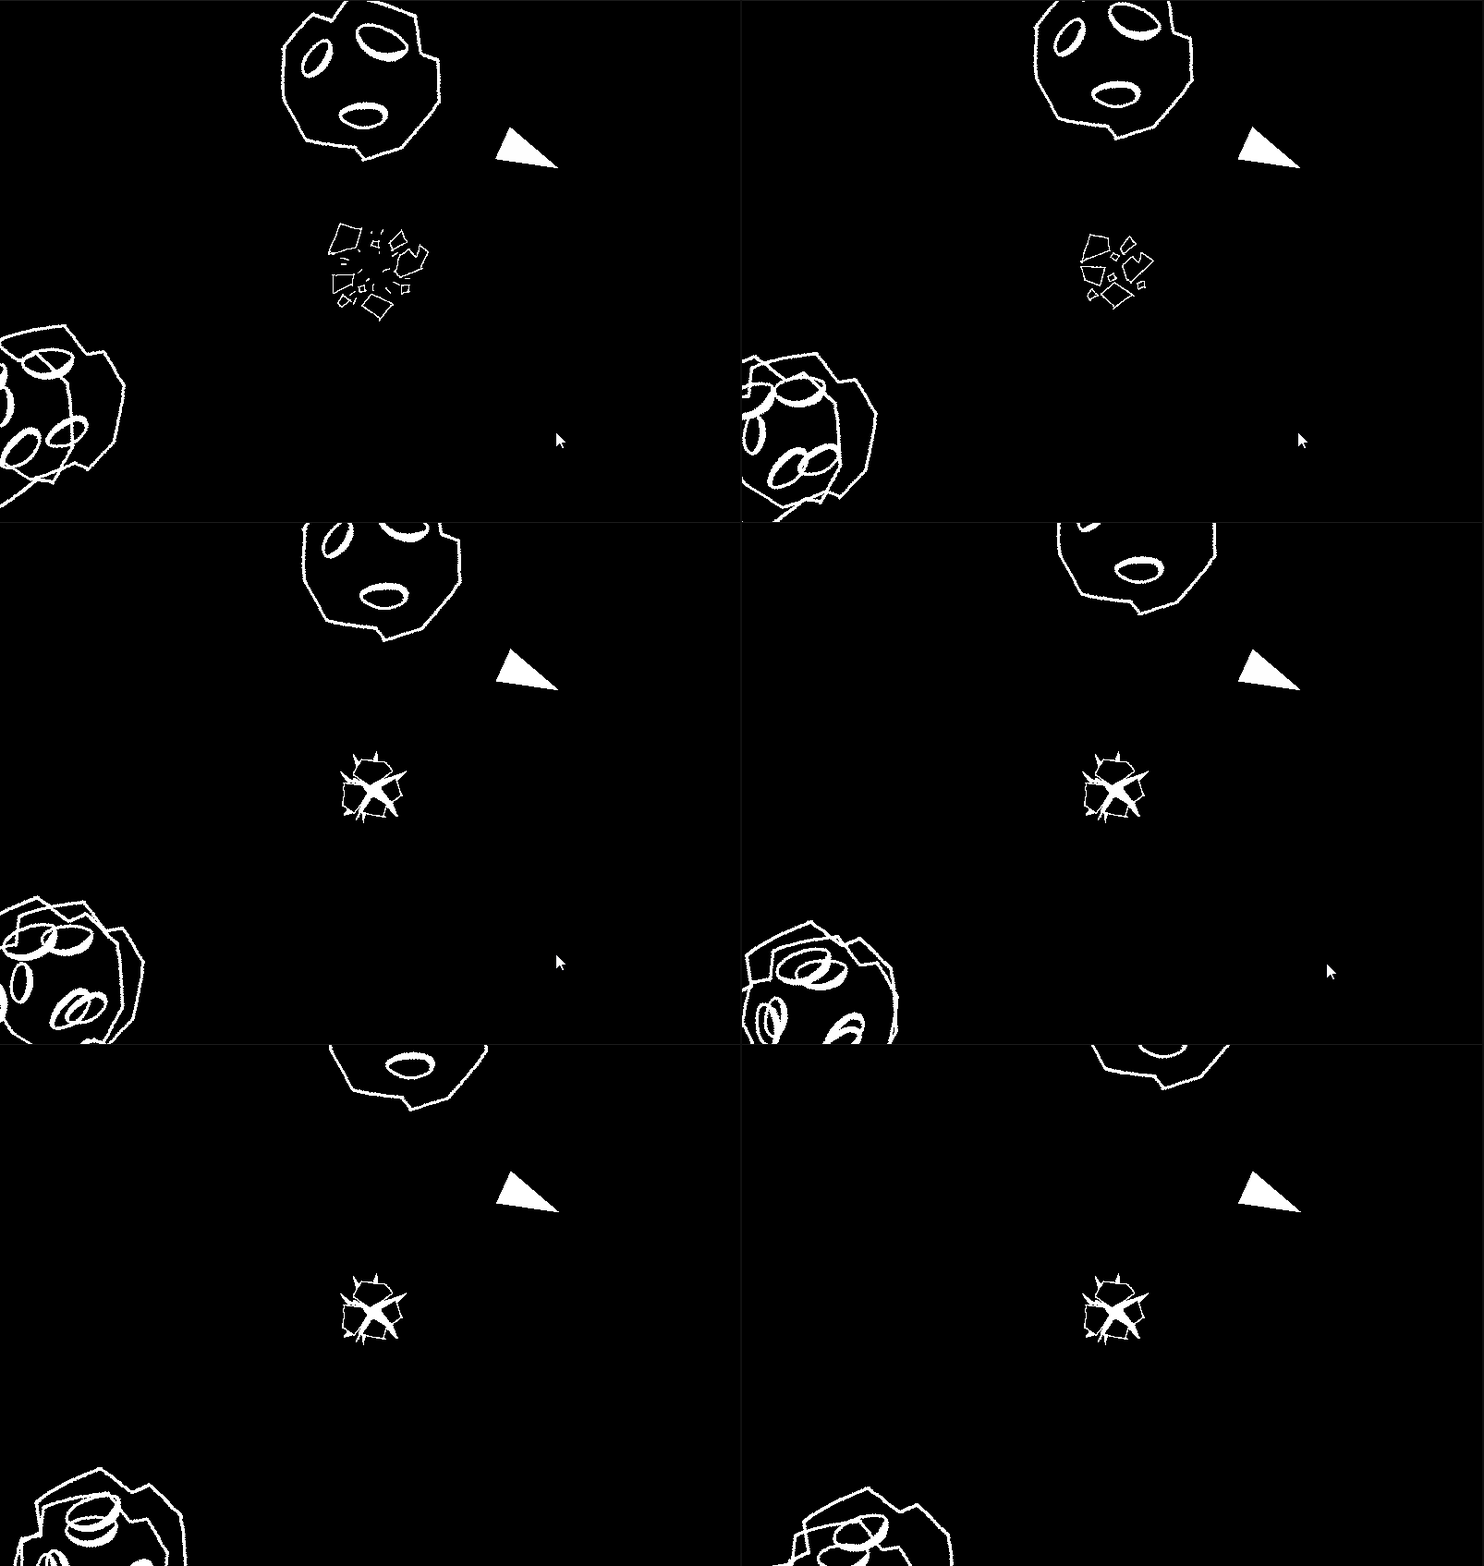
Now that we have our animation created, we can test it by playing our scene:
Let’s also rename our explosion animation object to be named Explosion.
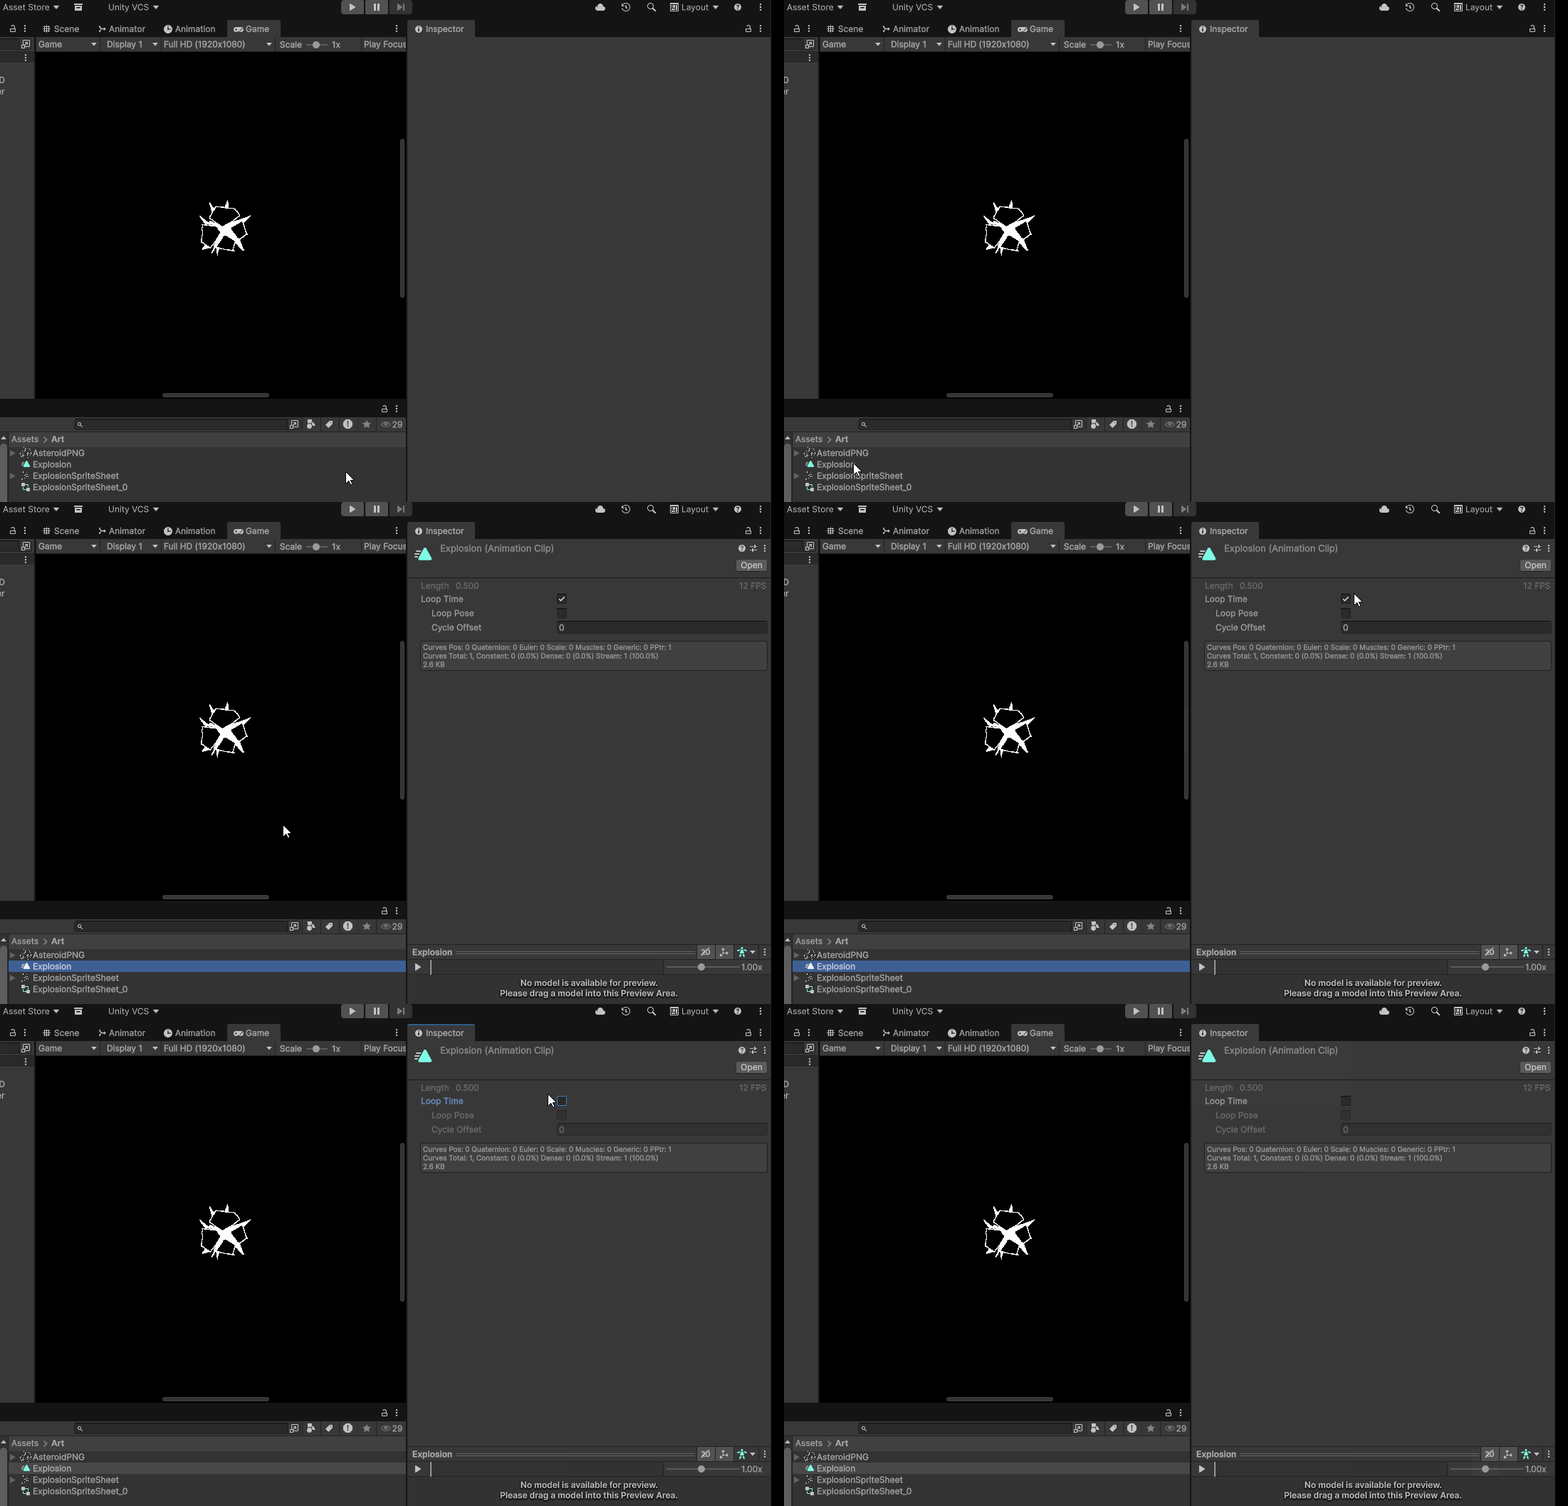
As a last step, we only want this animation to play once. Let’s navigate to the newly created Explosion animation file and make sure to check off Loop Time within the inspector window
Instantiating our Explosion Animation
With are explosion animation functional, let’s figure out how to play this animation when our asteroids are destroyed. There are many options to create this system. For this tutorial, let’s create a simple system in which when our asteroid is destroyed, we instantiate a new Explosion animation game object and then destroy it after a few seconds.
To begin, drag your Explosion game object into your Prefabs folder to create an Explosion prefab, and then delete the original. We will instantiate the prefab in our Asteroid.cs file.
Next, open your Asteroid.cs file and add a variable to hold the Explosion game object as a variable:
public GameObject explosion;
Then, in our OnTriggerEnter2D method where we destroy our Asteroid, before increasing our generation number, let’s instantiate a new explosion game object and store its value within a newly created variable named newExplosion:
private void OnTriggerEnter2D(Collider2D collision)
{
    if (collision.CompareTag("Projectile"))
    {
        GameObject newExplosion = Instantiate(explosion, transform.position, transform.rotation);
Setting Scale
Next, we need to make sure the scale of our explosion matches our asteroid. Let’s begin by getting the current scale value of our asteroid by looking at the x value of our localScale:
float asteroidScale = gameObject.transform.localScale.x;
Then we can assign this asteroidScale to the value of our newExplosion local scale:
newExplosion.transform.localScale = new Vector3(asteroidScale, asteroidScale, 1);
Destroying Explosion
Lastly, we need to destroy our explosion. Let’s do this using the Destroy method, but we will add a second parameter of 1 so that there is a one second delay in the destruction of our explosion:
Destroy(newExplosion, 1);
As a result, our OnTriggerEnter2D method will look like this:
private void OnTriggerEnter2D(Collider2D collision)
{
    if (collision.CompareTag("Projectile"))
    {
        GameObject newExplosion = Instantiate(explosion, transform.position, transform.rotation);
        float asteroidScale = gameObject.transform.localScale.x;
        newExplosion.transform.localScale = new Vector3(asteroidScale, asteroidScale, 1);
        Destroy(newExplosion, 1);
Testing
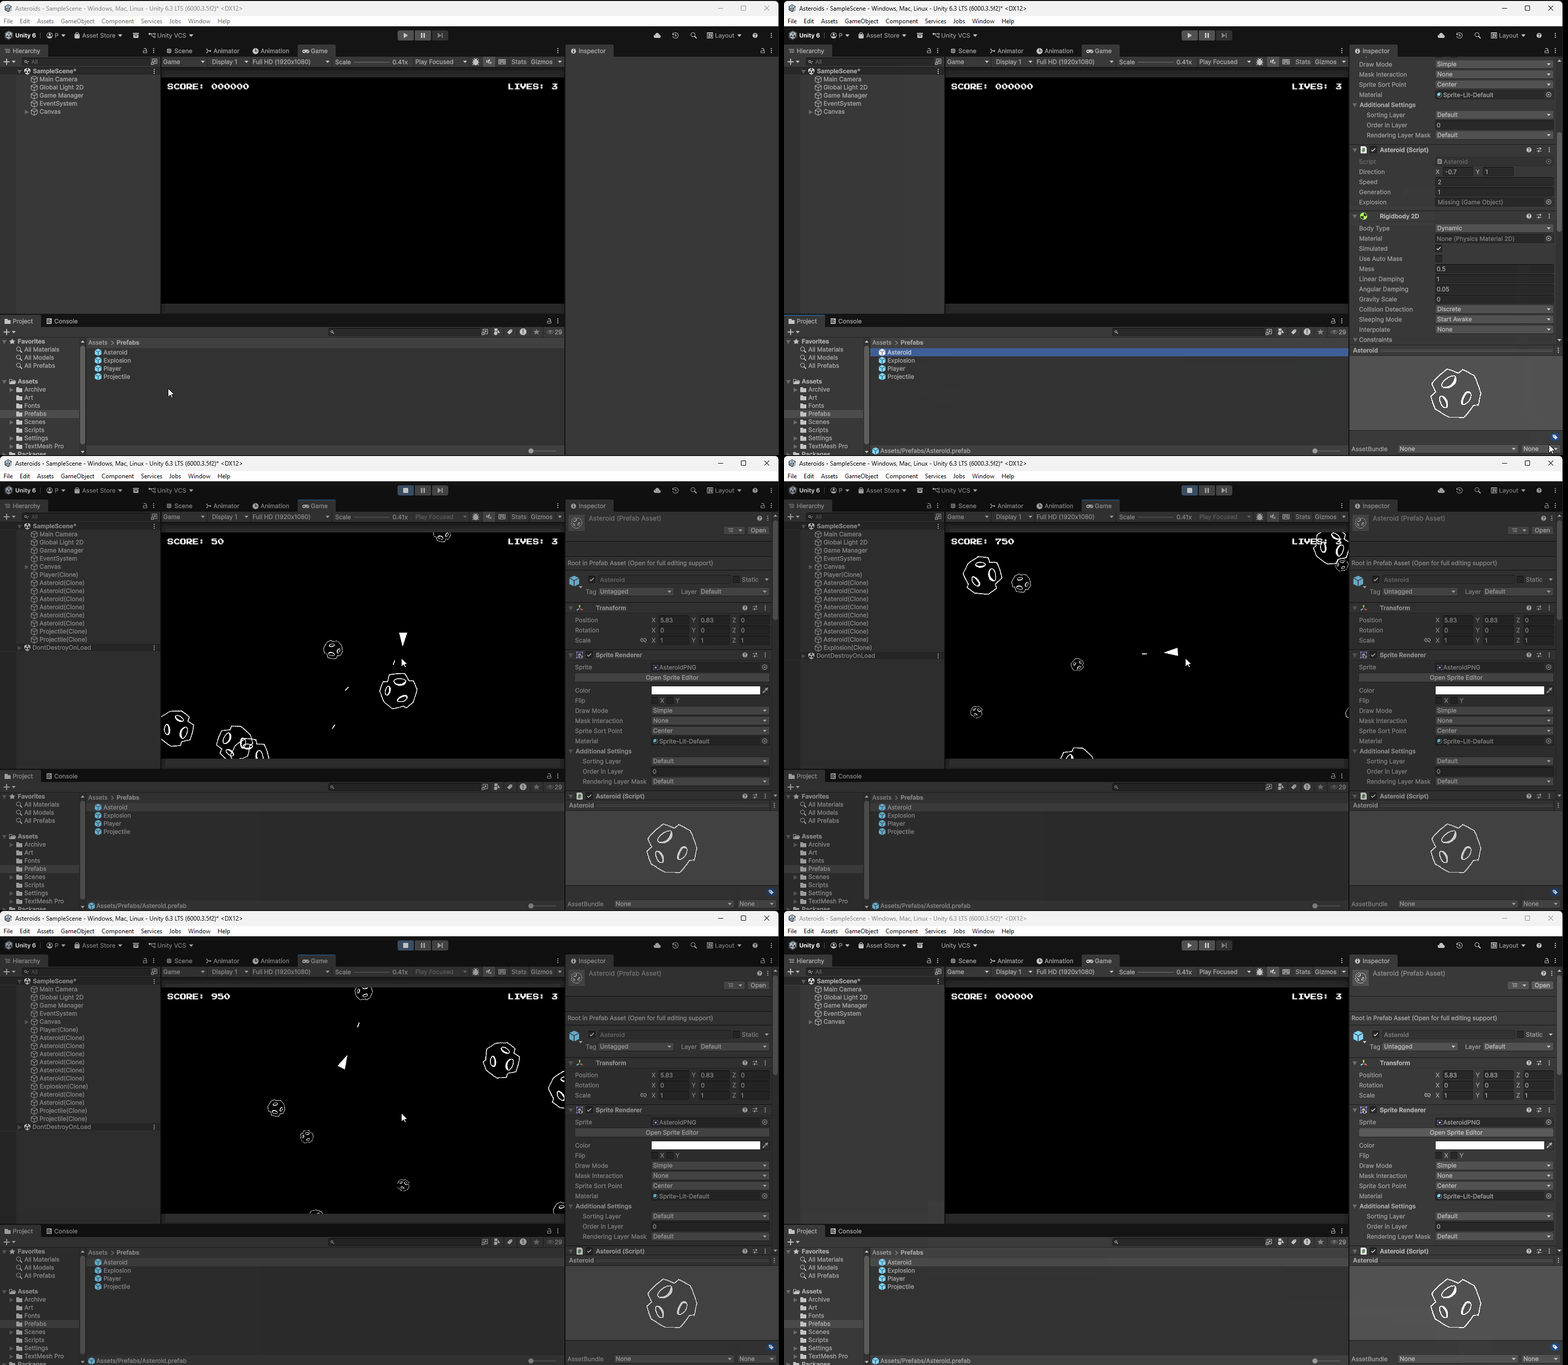
If we assign our Asteroid prefab explosion variable the value of our Explosion prefab within the Unity inspector, and then test our game, we should see each asteroid creates and explosion: