Scenes
So far in Unity we have learned about the Component and Game Object relationship. Components are small bits of code that are stored on a game object. But where are game objects stored? Where is information stored on how our game objects are laid out in our project?
Although it has not been discussed so far, every time we have been saving our project in Unity, we have been saving a Scene. A scene in unity is a collection of game objects and other assets. Thus far in this project, we have been working within the default scene in Unity. This scene is often called SampleScene.
You can see this scene name at the top of your Unity project:

You can also see within our Project we have a Scenes folder:
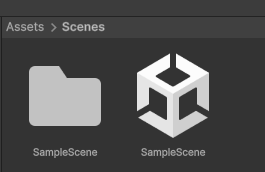
What are scenes used for? In Unity, scenes are used to structure our projects. They allow us to collect game objects and assets in the scene editor and then save the position and relationship between these objects. Within a Unity project, you technically only need one scene. As long as you have one scene, you can create a finished application.
In this tutorial, however, we are going to focus on how you can have multiple scenes within your Unity project and how you can transition in between different scenes.
Creating Scenes
To create a scene, we can right click in our Project window and select Create > Scene > Scene. It is recommended that you create this Scene in your scene folder. Let’s name this scene MainMenu:
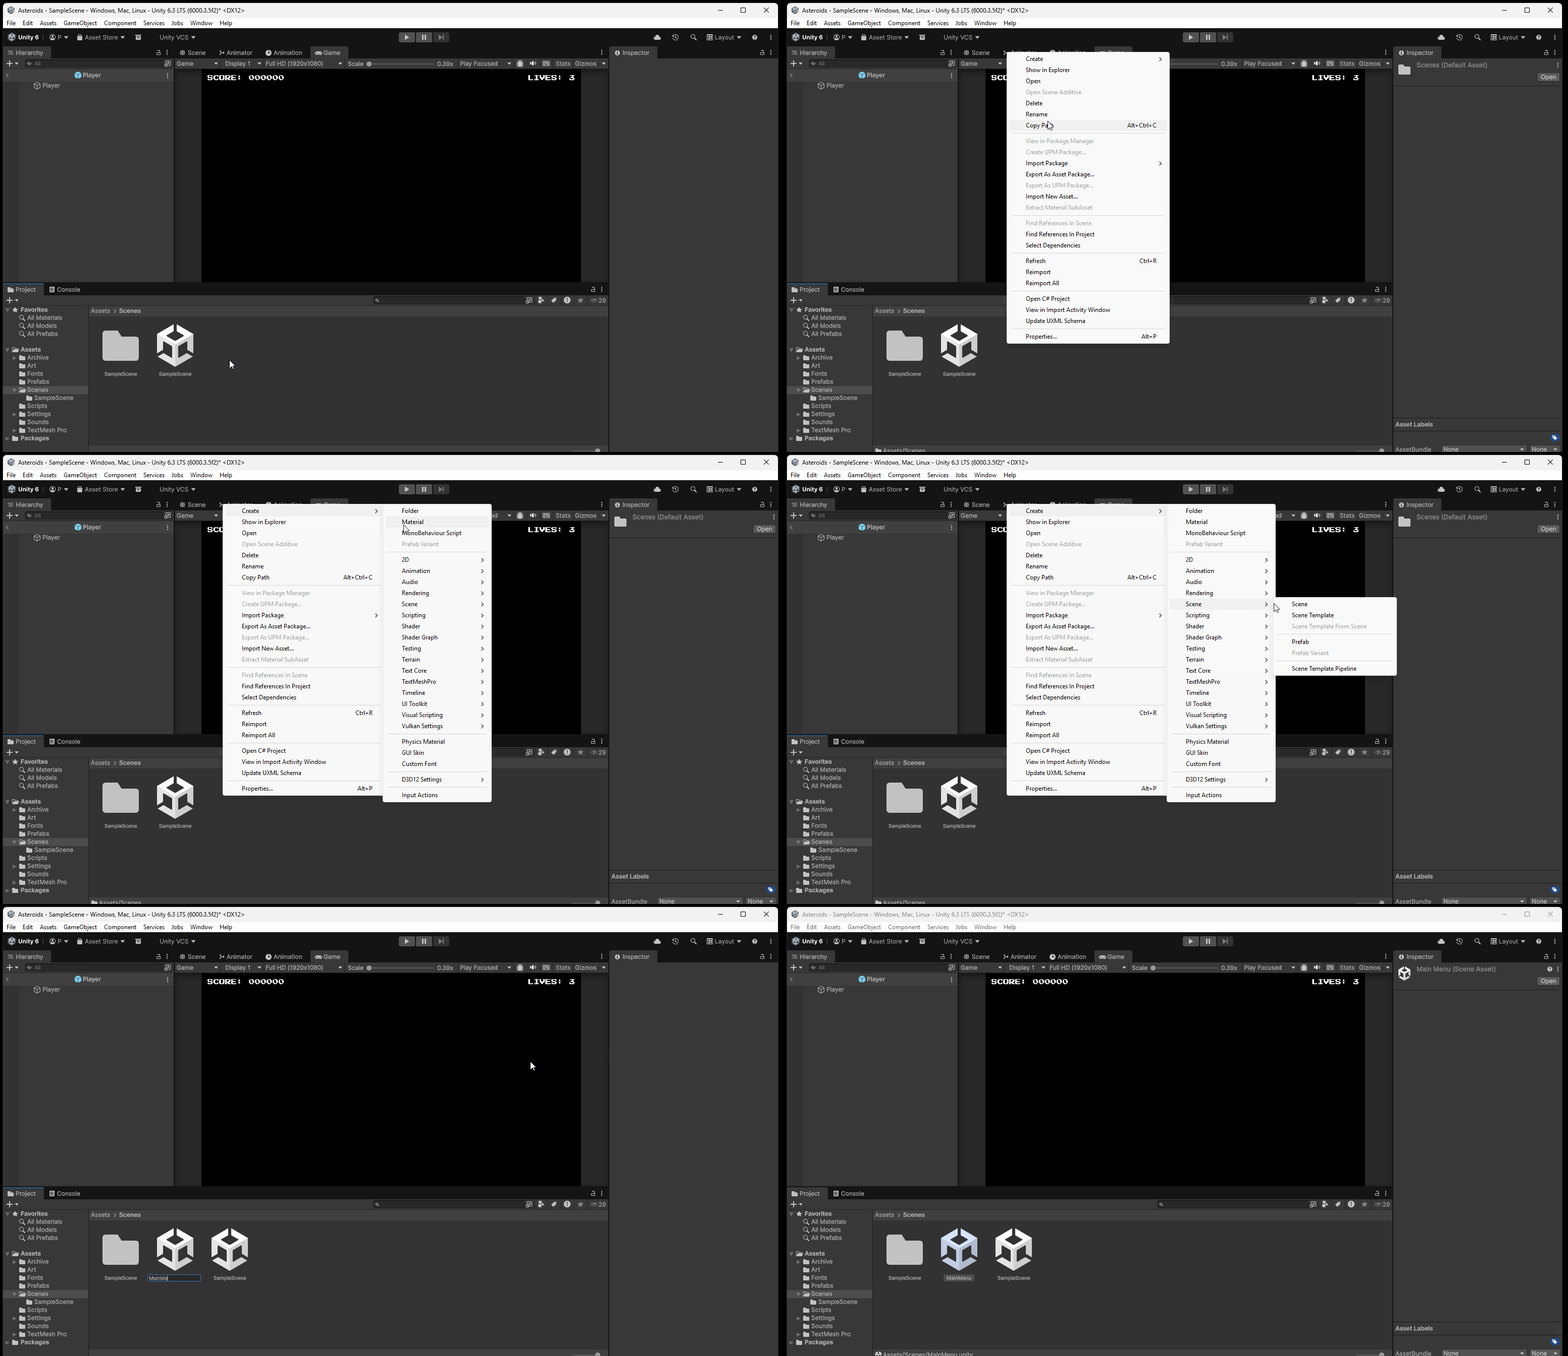
Note: Before opening another scene make sure you save the state of the current scene. Switching to a scene with out saving will result in losing data.
We can then select our MainMenu scene and double click to open it.
Scene List
In this tutorial, let’s write a basic script to transition between our Main Menu scene and our game scene.
To do this, we first need to learn about our Scene List.
The scene list in Unity stores all of our active scenes in a list. These are the scenes that will be in our final application when we build our game. In order to access different scenes in code, our scenes need to be in this scene list.
To open your Scene List:
First, navigate to File > Build Profiles
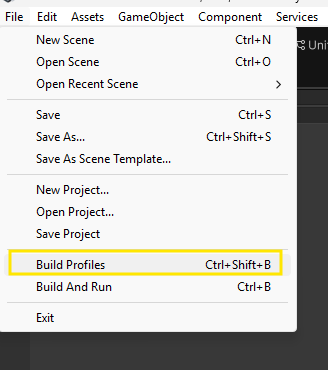
Next, press Open Scene List

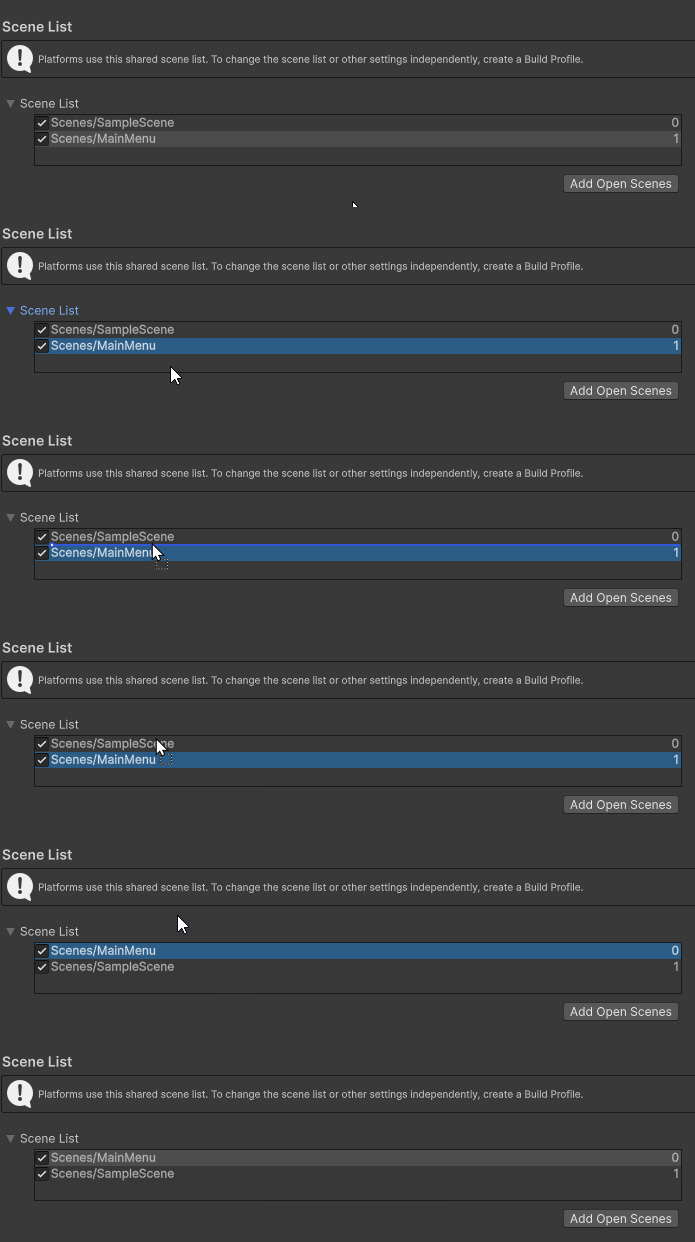
Within our scene list, we can see that our only scene is our SampleScene. This is the default scene within Unity. If we want to transition back to our main menu when we get a game over, we will need to make sure our Main Menu scene is on this list. To add our Main Menu scene, make sure your main menu scene is open and then press the Add Open Scenes button.

From there, we can see our Main Menu scene is on our list.

If we look to the right side of the Scene List, we will see the numbers 0 and 1. These numbers are the index of each of our scenes. Importantly, the scene with index value 0 will launch when we start our project. Therefore, we need to switch our scenes by clicking an dragging our Main Menu scene above our Sample Scene:
Creating SceneLoader Script
Now that we have our scene in our scene list, we can write some code to transition between our Main Menu scene and our Sample Scene.
In order to switch between the two scenes, we will use a UI button on our main menu that calls a public method to switch our scene.
We will create this public method on a new script.
Let’s begin by creating a SceneLoader script.
In that SceneLoader script, let’s edit our namespaces to include the Scene Management namespace. The Scene Management namespace gives us access to scripts we can use to manage our scene, such as changing scenes.
We can add the following code to the top of our SceneLoader script:
using UnityEngine.SceneManagement;
Next, let’s create a public method we can use to switch our scene.
    public void LoadSceneIndex()
    {

    }
We can then use the LoadScene method on the SceneManager class to load a scene:
    public void LoadSceneIndex()
    {
        SceneManager.LoadScene();
    }
Instead of loading in one particular scene, let’s create an integer parameter for our LoadSceneIndex method, and then use this value to load a scene index:
    public void LoadSceneIndex(int sceneIndex)
    {
        SceneManager.LoadScene(sceneIndex);
    }
Our scene index will be the number associated with our scene in our Scene List.
Creating a Button
Now that we have this script, let’s create a button that will run this code.
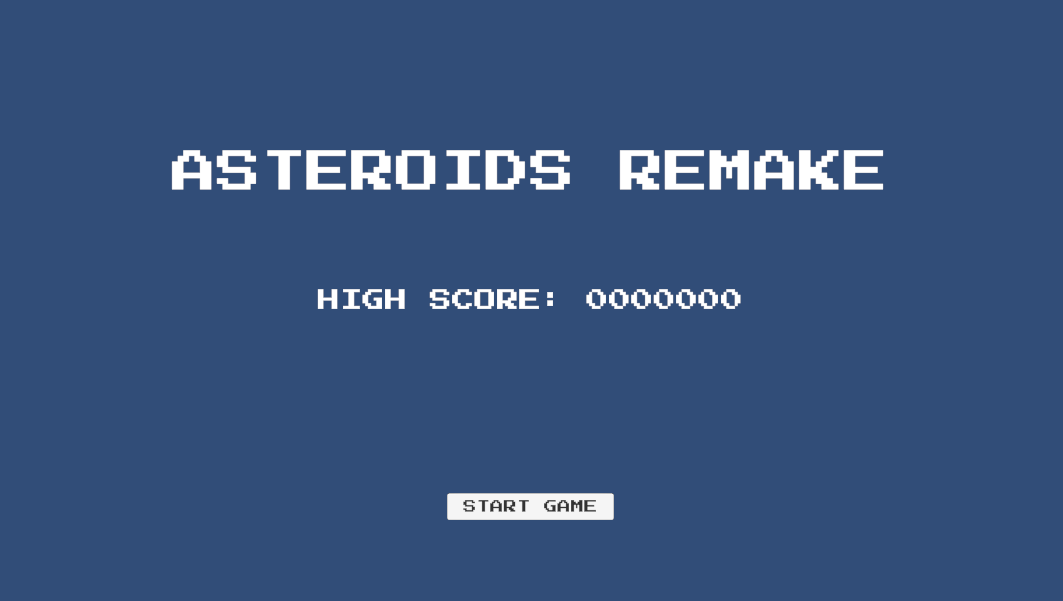
In our Main Menu scene, let’s create 3 UI elements:
- A Text Mesh Pro element to hold our title
- A Text Mesh Pro element to hold our high score
- A Button element to start our game.
Using these elements, create a UI setup that looks similar to the below image. Note that the text for the button is a child of the Button game object:
On Click Events
We can then navigate to our button game object and then to the On Click () section.
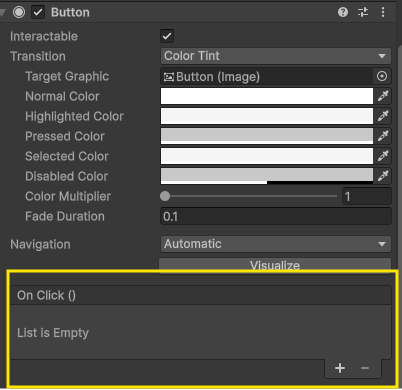
But pressing the button within our On Click section, we can add a new event. We will be covering events in more detail in the 2nd part of this class. For now, you can think of events as actions we can call during runtime.
We notice that when we press the plus button, we have the option to drag in a game object. We can use our event to look at a game object containing our SceneLoader script and then load a new scene.
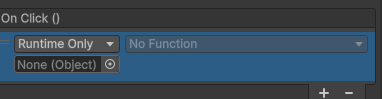
Let’s first create a SceneLoader game object by dragging our SceneLoader script into our Hierarchy. We can then drag our SceneLoader game object into our On Click event on our button:

Setting our Function
Next, we need to set our event to execute our SceneLoadIndex method. We can do this by navigating to our Function drop down and then navigating to our script name SceneLoader and then our method name, LoadSceneIndex (int):
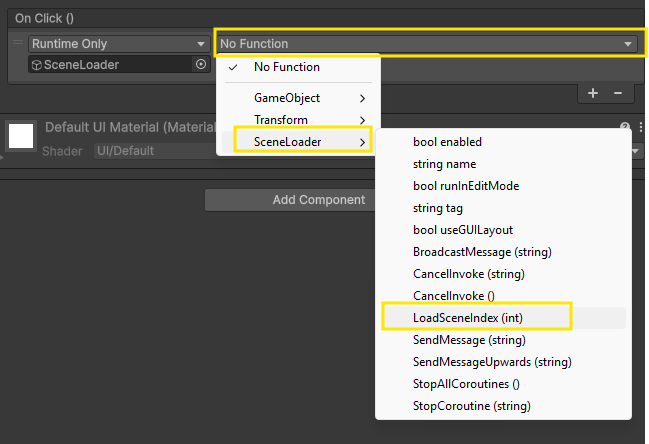
As a last step, we then need to provide our event with the the index value of the scene we want to load. In our case, we want to load our SampleScene which has a scene index value of 1:

Returning to Main Menu
If we play our game, we should then see that when we click our Start Game button, our game scene should load.
As a last step, let’s edit our GameManager script so that when our player dies we return to the main menu scene. To do this, we need to edit one line of code. Currently within our Game Manager script, we load the current active scene when our player dies with this line of code in our PlayerDeath method:
SceneManager.LoadScene(SceneManager.GetActiveScene().buildIndex);
Instead of loading our active scene, we can load index 0 (our Main Menu Scene):
SceneManager.LoadScene(0);
Now when we play our game, when our player dies, our main menu scene should load.